WiseCleaner Think Tank
Encounter difficult computer problems?
All about maintenance and optimization of your Windows System.
Oct 11, 2016
"System protection is a feature that regularly creates and saves information about your computer's system files and settings. System protection also saves previous versions of files that you've modified. It saves these files in restore points, which are created just before significant system events, such as the installation of a program or device driver. They're also created automatically once every seven days if no other restore points were created in the previous seven days, but you can create restore points manually at any time.
System protection is automatically on for the drive that Windows is installed on. System protection can only be turned on for drives that are formatted using the NTFS file system." — Windows Help and Support.
A System Restore point captures key system files, registry settings, and drivers. If an update, driver, or app causes problems, you can roll Windows back to the restore point without affecting most personal files. It’s a quick, low-risk safety step before installing software or making system changes.
Wise Care 365 is a popular Windows system maintenance tool that can help you clean up the disk to free up disk space, turn off unnecessary startup programs to speed up system startup, and other very useful and free functions, such as creating system restore points, which we will use next.

1. Click here to download and install Wise Care 365. If you have already installed it, please skip this step and go to the next step.
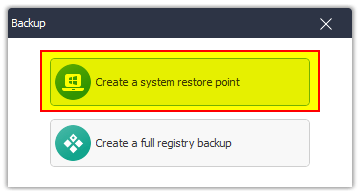
2. Open Wise Care 365, click the Menu in the upper-right corner, and then click Backup.

3. Select Create a system restore point and wait for a while. After the creation is complete, you can see the restore point in Menu –> Restore -> System Restore.
Right-click the Start icon to activate the Power User menu (Win+X), then select Settings.
Or press Windows key + I to open Settings directly.

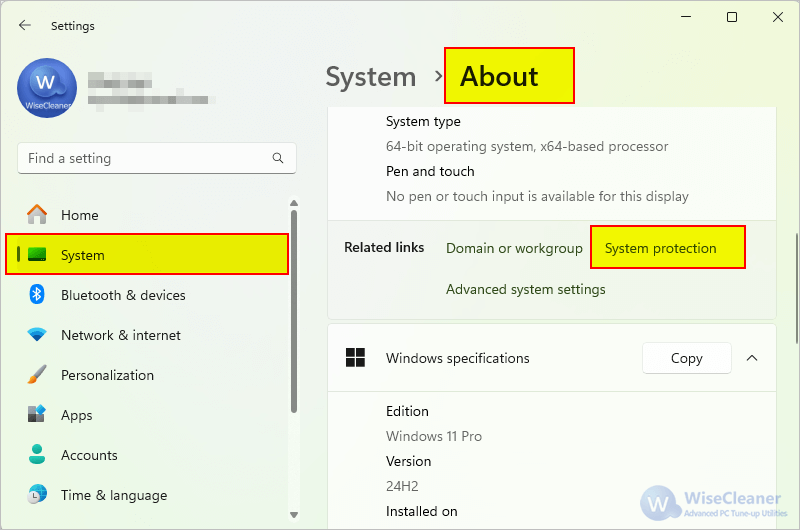
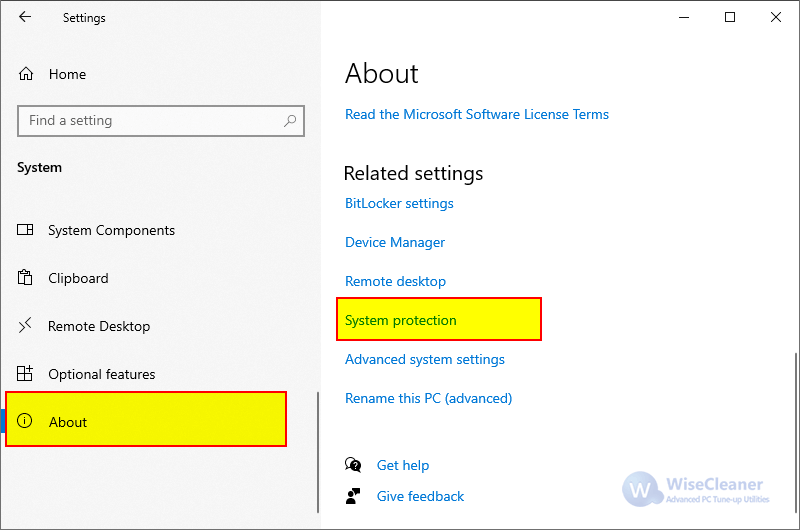
In Settings, choose System on the left. Then, on the right pane, scroll down and click About.
Under the Device specifications, find Related links and click System protection. This opens the System Properties dialog.
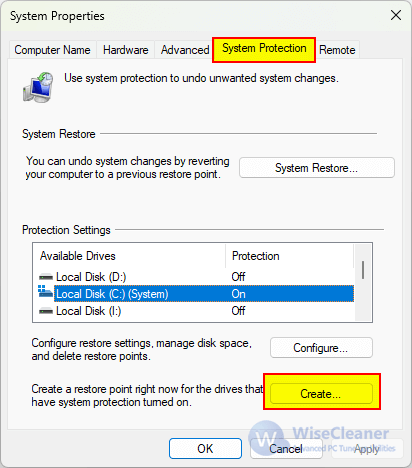
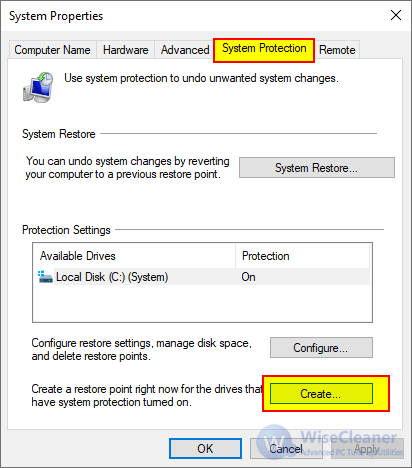
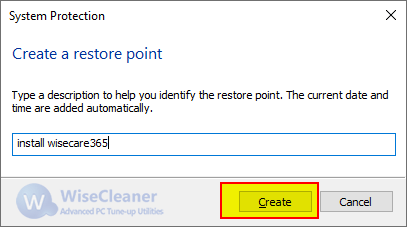
Click the Create button at the bottom, enter a descriptive name for the restore point, and then click Create again to start.
This process will take from a few seconds to a few minutes, so please be patient.
Note: You need administrative rights, and System Protection must be enabled for the drive you want to protect.
1. Click the Start icon in the lower left corner of the desktop, and then click Settings (gear icon).
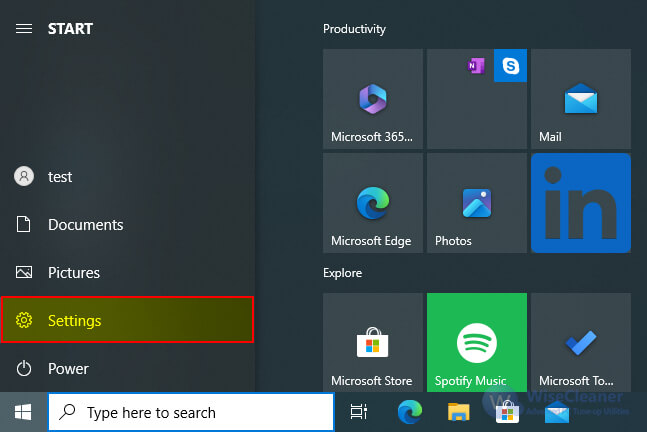
2. In the Settings window that opens, click System, click About, and click System Protection under Related Settings.
3. In the System Protection tab of the System Properties window, click the Create button at the bottom.
4. Then name the restore point and click the Create button to start.
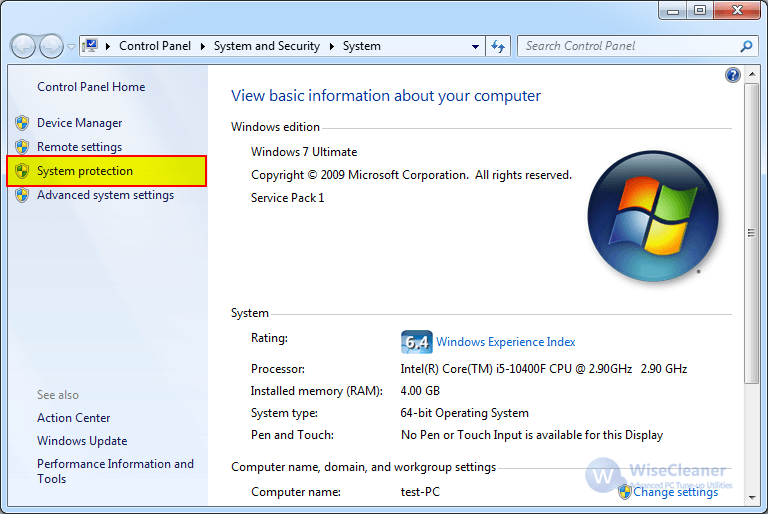
1. Right-click on the Computer icon in the desktop, and select Properties.
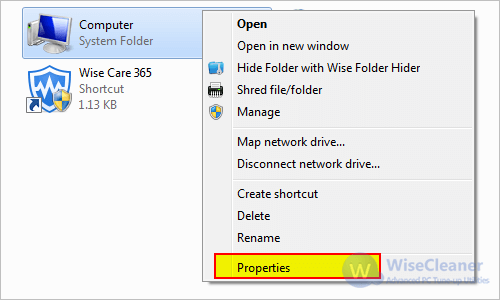
2. Click System protection in the left.
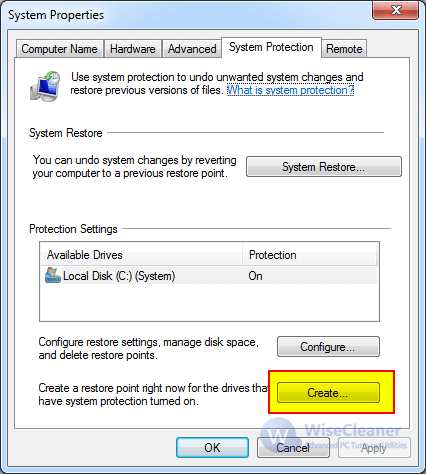
3. Find and click the Create button in the System Protection tab.
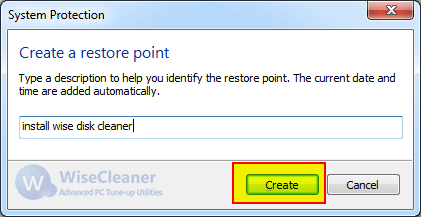
4. Type a description for your restore point that will help you remember why you created it and then click the Create button to start.
System Protection is an important and useful feature in the Windows operating system. It allows you to restore your system to its previous normal state without losing any personal data when a system error occurs (such as a blue screen of death or an inability to boot).
If you find that the System Restore, Configure, and Create buttons in System Protection are grayed out and unclickable, click here to learn how to fix the problem that the System Restore has been turned off by your system administrator.
Additional Related Articles
wisecleaner uses cookies to improve content and ensure you get the best experience on our website. Continue to browse our website agreeing to our privacy policy.
I Accept


