WiseCleaner Think Tank
Encounter difficult computer problems?
All about maintenance and optimization of your Windows System.
Mar 29, 2024
Windows versions are updated quickly, but for a number of reasons, you may wish to stop windows automatic updates. For example, you are not interested in rolling out updates, don't have enough data to download updates, or are running software that may be affected by automatic updates. This article will guide you through some simple ways to easily turn off automatic updates for Windows 11 and put Windows under your control.
This is the simplest and commonest way to stop Windows 11 from updating automatically. Here's how to do it.
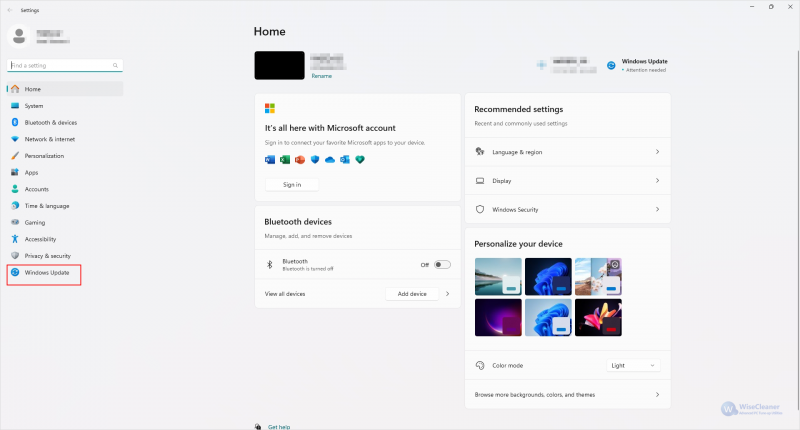
Open Settings and click on Windows Update in the left menu bar.
Click the down arrow next to Pause Updates and select the time period you want to pause, i.e. "Pause for 4 weeks".
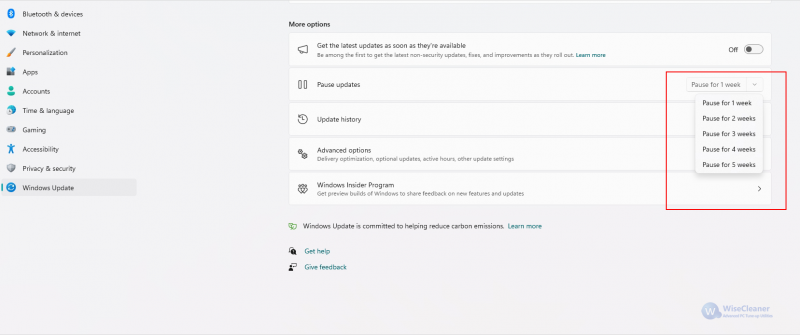
Note: This setting stops Windows 11 updates for up to 5 weeks. After that, the system will resume downloading Windows updates as soon as they become available. If you need to stop updates for a longer period, please refer to How to pause Windows updates for 100 years.
This method utilizes Windows Services and allows you to permanently disable Windows Updates.
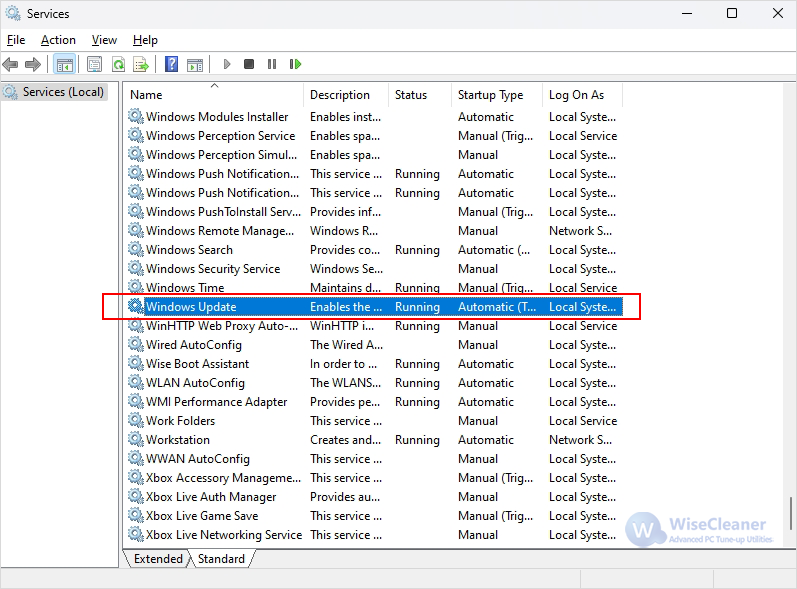
Press "Windows Key + R" to open the RUN dialog box, type services.msc in the Run dialog box, and then click OK.

In the list of services scroll down and locate the Windows Update service, then double-click to open its properties.
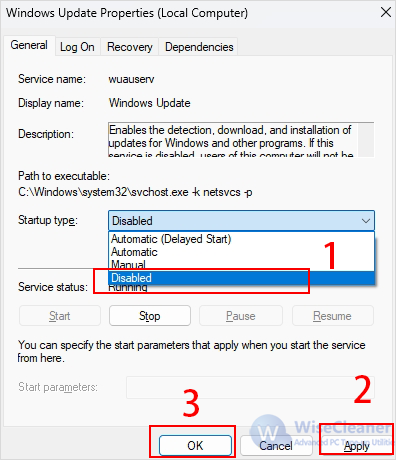
Next to Startup Type on the General tab, select Disabled from the drop-down menu. Then click Apply, and then click OK.
You can also edit the Windows registry to disable automatic updates for Windows 11. However, editing the registry can be risky and it is recommended that you backup Windows registry first. Once the problem occurs, you can easily restore the registry settings on your computer.
Press the Windows key, type Registry Editor, and click Run as administrator. Or press Windows + R and type regedit.exe in the Run dialog box to open the Registry Editor.
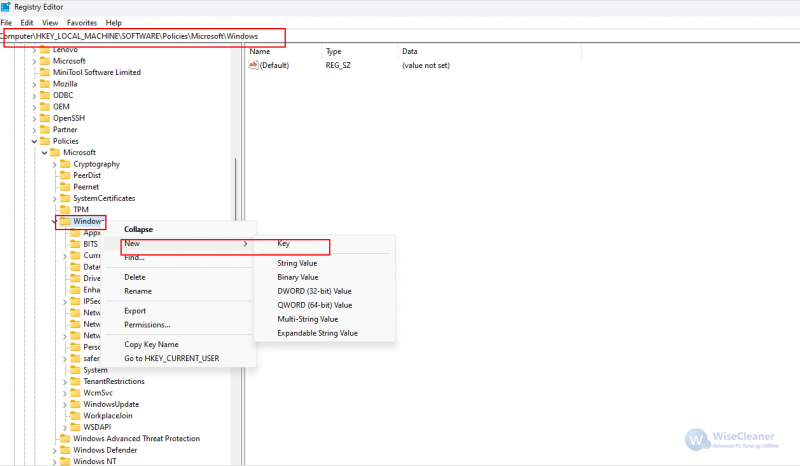
Now, right-click on WindowsUpdate and again create a new key. Name it AU and press Enter.

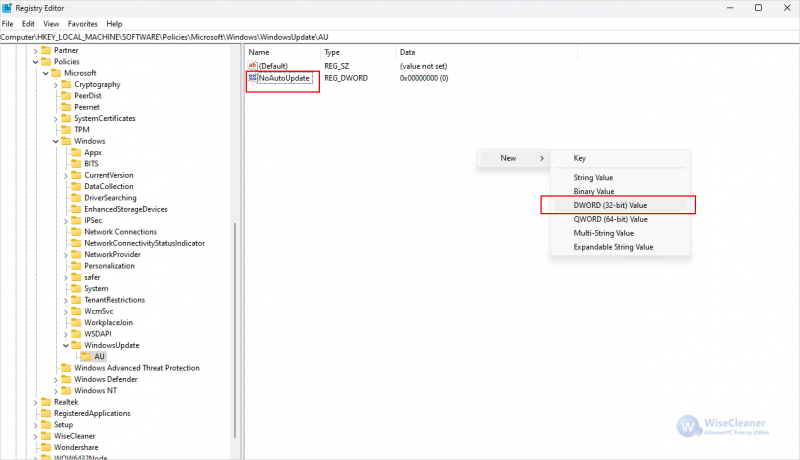
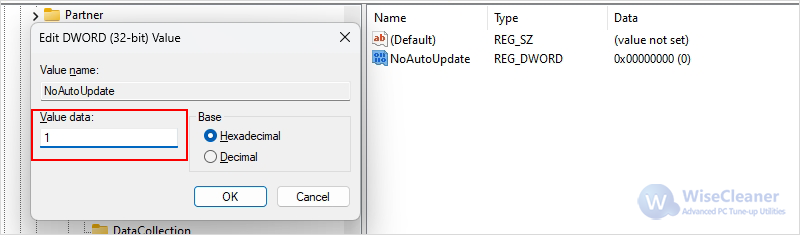
Now, select the AU key in the left window, right-click on the empty space in the right window and click New > DWORD (32-bit) value and name it NoAutoUpdate. Finally, double-click on the new value and set its value to 1.
Windows Updates can be useless at times, if you want to disable automatic updates, you can try these solutions above. I am sure you will be able to implement them easily.
wisecleaner uses cookies to improve content and ensure you get the best experience on our website. Continue to browse our website agreeing to our privacy policy.
I Accept


