WiseCleaner Think Tank
Encounter difficult computer problems?
All about maintenance and optimization of your Windows System.
May 7, 2025
The Windows Indexing Service is a critical component designed to enhance search functionality within the operating system. It allows users to quickly find files, emails, and other data by creating an index of selected locations on the computer.
However, over time, this index may become outdated or corrupted, leading to slower search performance or inaccurate results. Deleting and rebuilding the index may help resolve these issues by forcing Windows to recreate the search database from scratch.To rebuild Windows Index, please follow the steps in this article.
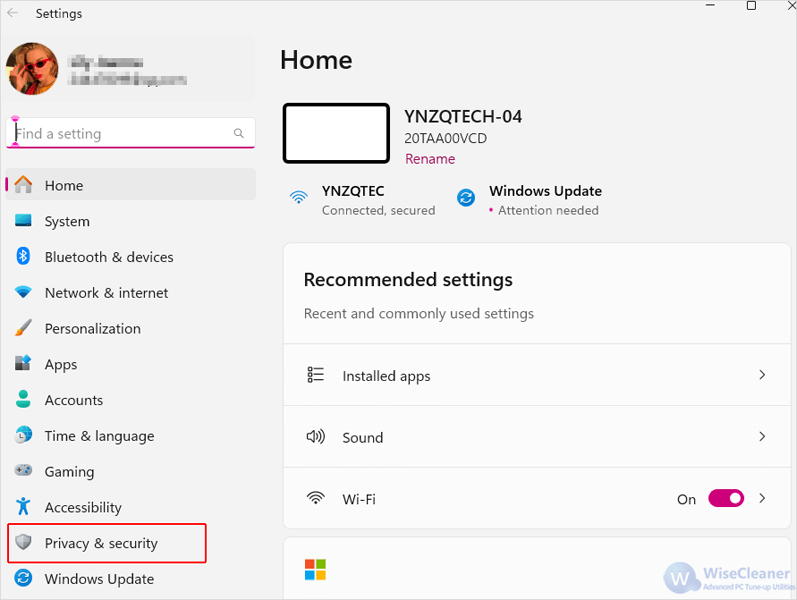
Press the Windows key + I on your keyboard to open the Windows Settings app.
Navigate to Privacy & security tab from the left-side pane.
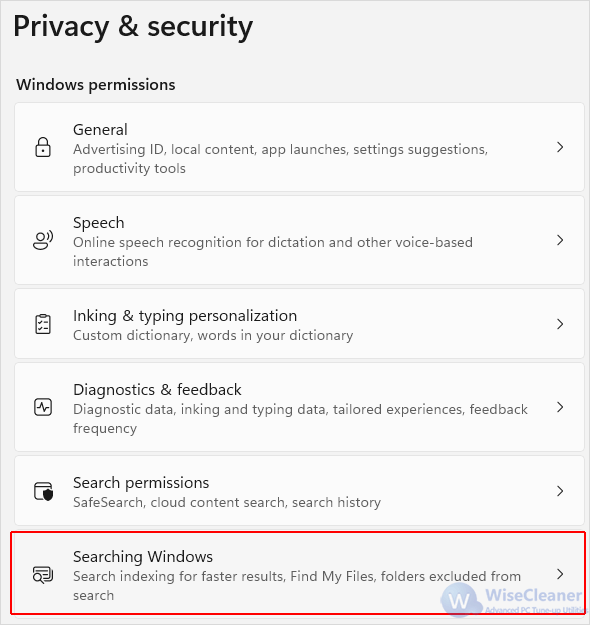
Scroll down and click the Searching Windows option under the Windows permissions section.
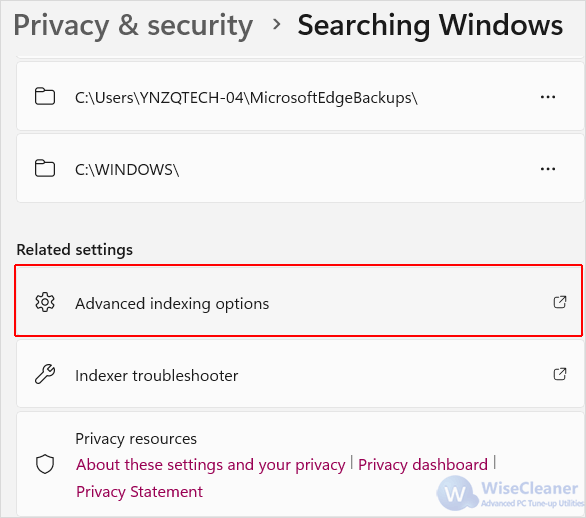
Scroll down to the bottom and click Advanced indexing options under Related settings.
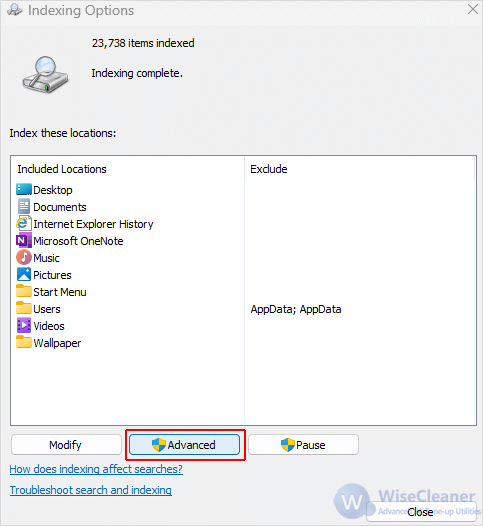
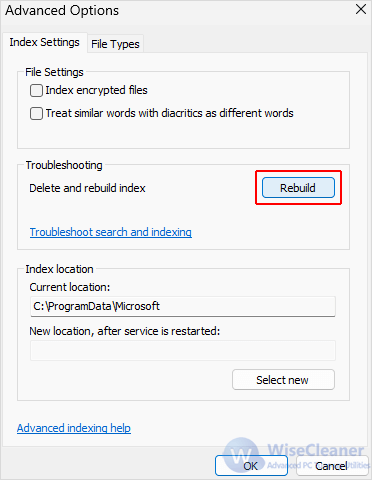
On the Indexing Options window that pops up, click the Advanced option.
In the Advanced Options window, click the Rebuild button under the Index Settings tab.
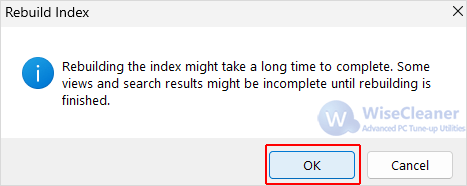
Click on OK if you see a prompt appear warning that rebuilding the index might take a long time, and wait for the process to complete.
Once the rebuild process finishes, reboot your PC and test the search functionality to ensure that the indexing performance has improved and that results are accurate.
By following these steps, you can effectively rebuild the Windows index, leading to faster and more accurate search results.
wisecleaner uses cookies to improve content and ensure you get the best experience on our website. Continue to browse our website agreeing to our privacy policy.
I Accept


