WiseCleaner Think Tank
Encounter difficult computer problems?
All about maintenance and optimization of your Windows System.
May 21, 2024
Like any other operating system, Windows might have some hardware-related issues as well. Luckily, there is a built-in hardware diagnostic tool called Windows Memory Diagnostic which can help users identify and troubleshoot any hardware issues related to RAM (Random Access Memory) in their computers.
Regular diagnostics can help ensure the system function well, prevent minor issues from escalating into major problems, and improve the overall performance of the computer. In this WiseCleaner article, we will guide you through the steps of diagnosing memory issues by using Windows Memory Diagnostics on Windows 11.
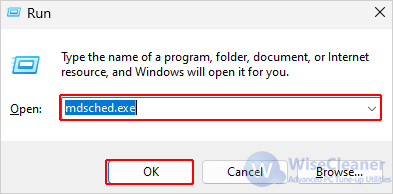
Press the Win key + R on your keyboard to open the Run dialog box. Then type “mdsched.exe” and press Enter or click on the OK button.
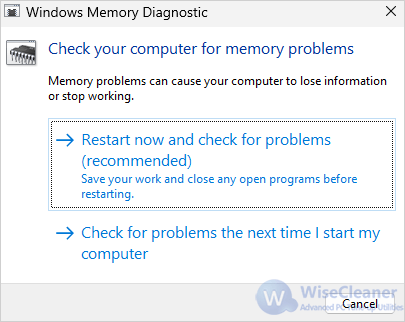
You will be presented with two options. Choose the option which best suits your needs.
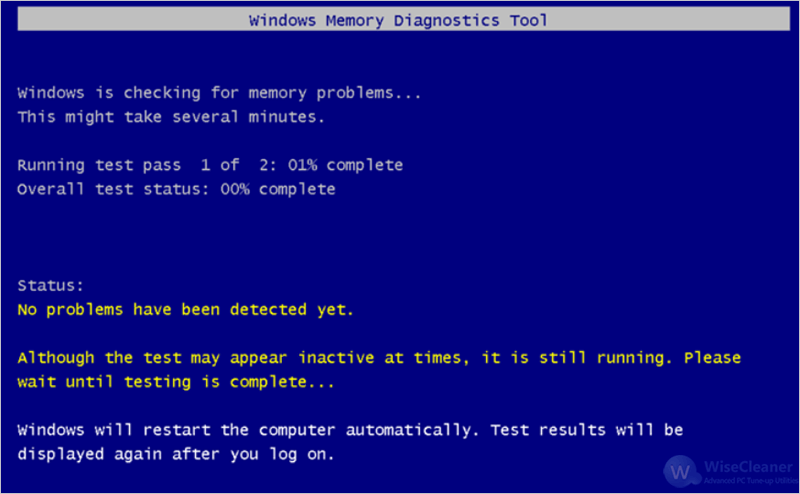
After scanning, the Windows Memory Diagnostic tool will display the results. If there are any problems, you can address them by the information provided.
Running Hardware Diagnostic on Windows is a simple way for maintaining the health and performance of your computer. View more handy skills and tips for Windows PCs at WiseCleaner.
Additional Related Articles
wisecleaner uses cookies to improve content and ensure you get the best experience on our website. Continue to browse our website agreeing to our privacy policy.
I Accept


