WiseCleaner Think Tank
Encounter difficult computer problems?
All about maintenance and optimization of your Windows System.
Jun 15, 2023
Hibernate is similar to Sleep. They both save your computer’s state for an extended period. The biggest difference between them is that Hibernate doesn’t continue using any power, which gives it the advantage of retaining the work environment even if there is a complete power cut, and thus extending your battery life.
However, Hibernate mode saves the current state of your system into a large file named “Hiberfil.sys” on you hard drive to help restore your work when you boot up. Though the speed of booting is not as fast as Sleep mode.
Please read on as we discuss all you need to know about enabling and disabling Hibernate mode on Windows 11.
The Hibernate feature is disabled by default in Windows 11, you can’t find it on the Power menu. But it is not difficult to enable it to extend your battery life. Please follow the steps below:
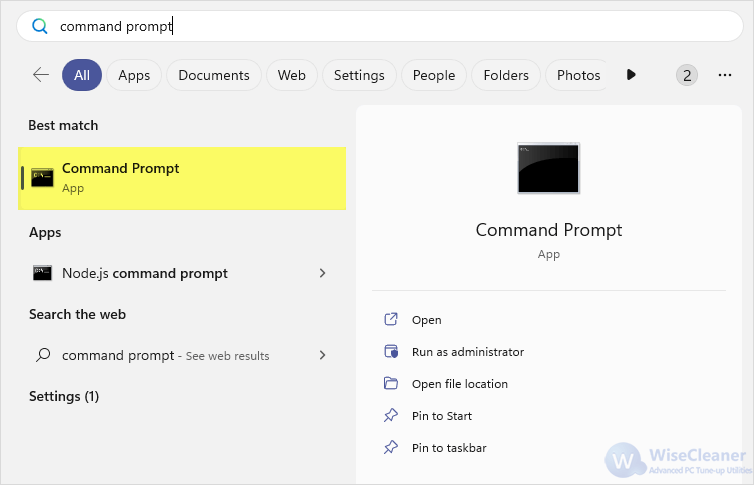
Press Windows key on the keyboard to open Start.
Type “Command Prompt” directly, right-click on it from the results and select Run as administrator to run the window of CMD as an Administrator.
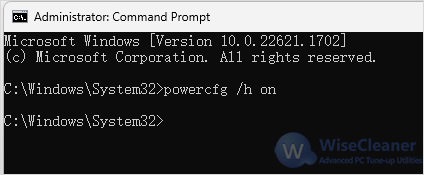
Type or copy the command below in Command Prompt, and press Enter. By doing so, the Hibernate function on your Windows 11 will be enabled. You need to keep setting to let it show up on the Power menu.
powercfg /h on
Control Panel is not easy to be found on Windows 11. You may want to know 5 ways to open Control Panel on Windows 11.
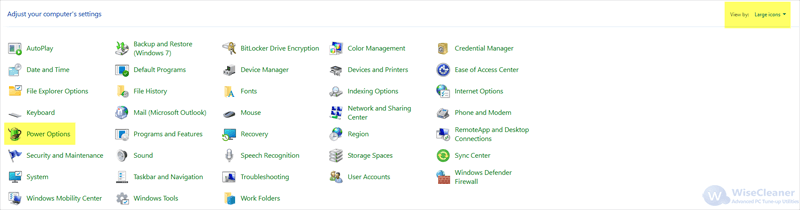
After opening Control Panel, click on Power Options. If you can’t find it, change View by to Large icons.
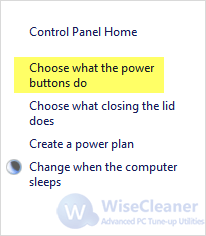
On the left pane of the page, select Choose what the power buttons do.
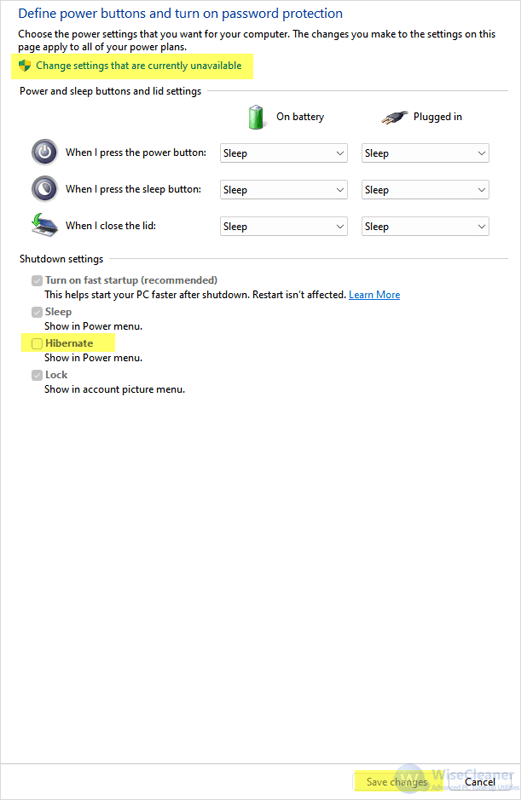
Here you can define power buttons and turn on password protection. Also you can see Hibernate with a box in front of it unchecked by default under Shutdown settings.
Click on Change settings that are currently unavailable to enable Shutdown settings.
Now you can check Hibernate easily.
When you’re done, click Save changes at the bottom.
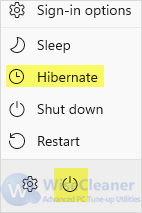
Press Windows key, and click on Power button. Hibernate should be shown there for you to choose now.
However, some users may have found that their PCs show 100% disk usage after rebooting from Hibernate. That is because the Hiberfil.sys file creates on your hard drive consumes a large amount of space, usually up to 1GB. If you are not using the Hibernate feature or you have a small SSD with only a few gigabytes left, you’d better disable it to save disk space.
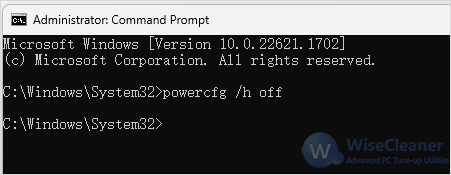
Run Command Prompt as administrator from the Start.
Type or copy the command below in Command Prompt, and press Enter. By doing so, the Hibernate function on your Windows 11 will be disabled, which means you can’t find it on your Power menu.
powercfg /h off
This WiseCleaner post shows Windows 11 users how to enable and disable the Hibernate function on their computers. If you have any other thoughts or suggestions, welcome to contact us and we will reply to you as soon as possible.
wisecleaner uses cookies to improve content and ensure you get the best experience on our website. Continue to browse our website agreeing to our privacy policy.
I Accept


