Start menu is one of the most important features in Windows 10. To meet all kinds of requirements from the users, Microsoft has already added many methods for you to customize it now. Let’s have a look!
Changing the size of your start menu:
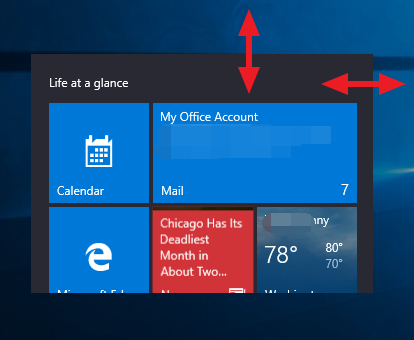
It is easy to change the size of your start menu, just moving your mouse to the edge of the start window, and left-click it when you seed the cursor icon changes to a double-sided arrow, then move your mouse to your desired size.
Changing the color of your start menu:
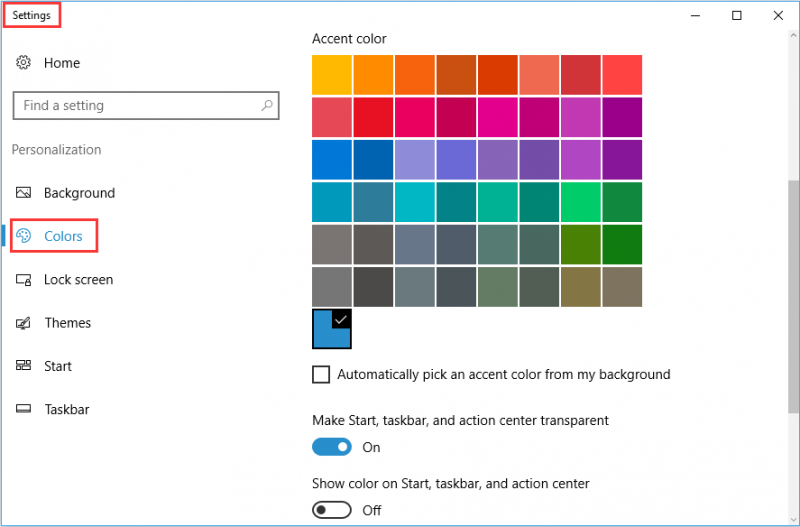
Go to the start menu and type "Color”, then go into the “Settings” to customize the color you prefer to.
Add and remove App items:
Click the Start button and then right-click the item you want to appear on the start menu, then choose "Pin to start".

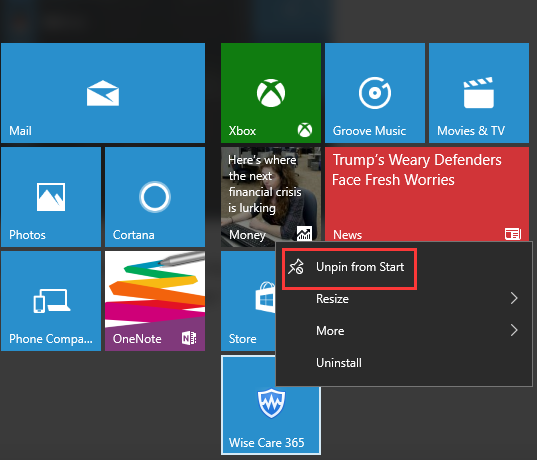
Conversely, if there's an app you don't want to see in the Start menu, you can right click on it and choose "Unpin from Start."
Resize the item area:
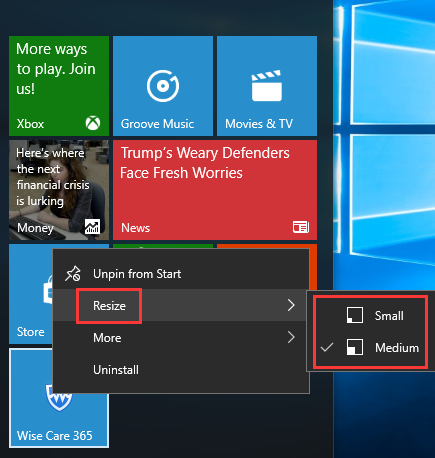
Right-click the title and then you will find the option of "Resize", click it and choose which size you prefer to.
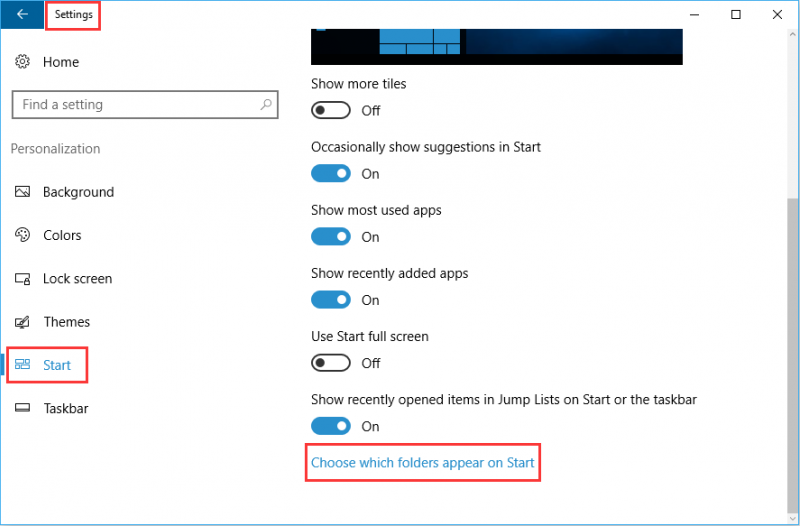
Add options in the start menu:
Another great setting that doesn't get used enough is "choose which folders appear in start."
Please click “Settings” -->“Personalization”-->”start”, then you will find “choose which folders appear on starts” at the right bottom.
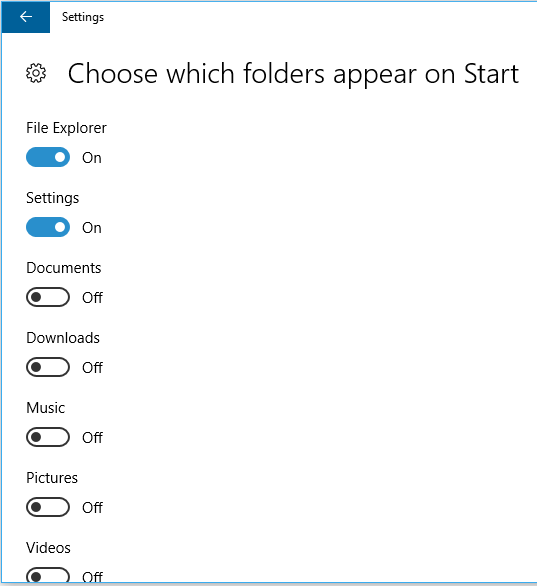
On the right, you will find the condition option "On" and "Off", Turn on, or off, as many as you like to customize your Start Menu.
Do you have any other ways to customize your Start Menu in Windows 10? Sound off in the comments.

