There are many hidden files on your Windows 11 which cannot be shown in the File Explorer. They are hidden by default by the system to prevent users from deleting or modifying.
Actually, Windows has two types of files that are usually hidden, one is normal hidden items, and the other one is protected operating system files, also called “super hidden” files.
But we may need to view and modify these hidden files to fix some serious problems. By changing a single setting or searching the full name of a hidden file in Wise JetSearch, one of the best alternatives to Windows Search, you can easily find the file hidden by Windows.
Show Hidden items
Normal and regular hidden files don’t show up by default because they are dizzying and annoying when they are in the File Explorer. So there is no need to always let them show. After modifying, please hide them again.
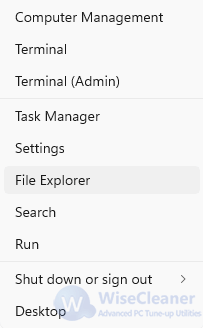
Step 1. Open File Explorer
Right-click on Start, choose and tap File Explorer.
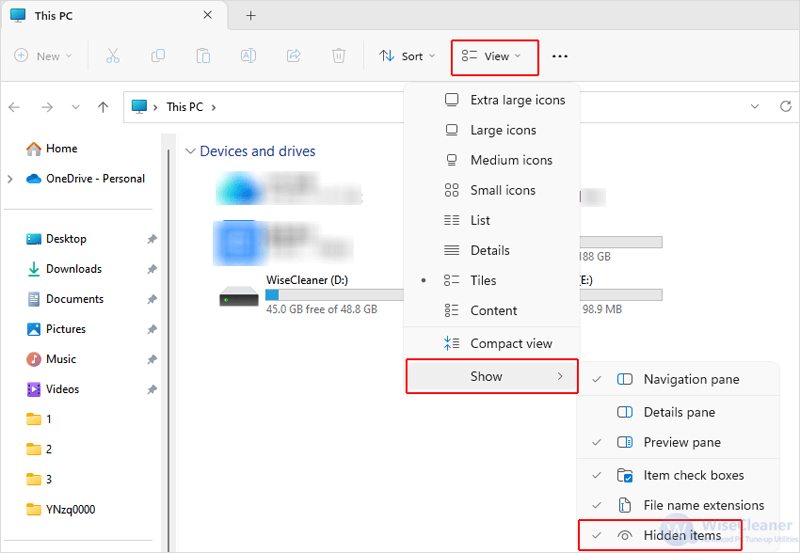
Step 2. Check Hidden items
On the top bar, click on View, and choose Show. Select and check Hidden items. This will show hidden files, folders, and drives...
Find super hidden files with Wise JetSearch
When you show hidden files, the system keeps hiding those super hidden files. They are protected important system files which shouldn’t be deleted or modified in order to not damage Windows system. This is the reason why they keep hidden even if you enable show hidden files.
But if you know what you are doing and you really need to view these protected system files, you can search them with Wise JetSearch. It not only searches hidden files and folders, but also searches super hidden files on your Windows 11.
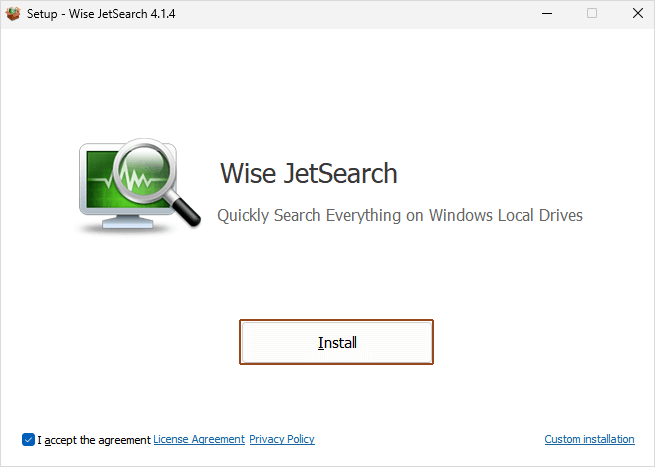
Step 1. Install free Wise JetSearch
Wise JetSearch is all for free. You can click here to safely download the newest version from the official website if you haven’t had it installed on your PC.
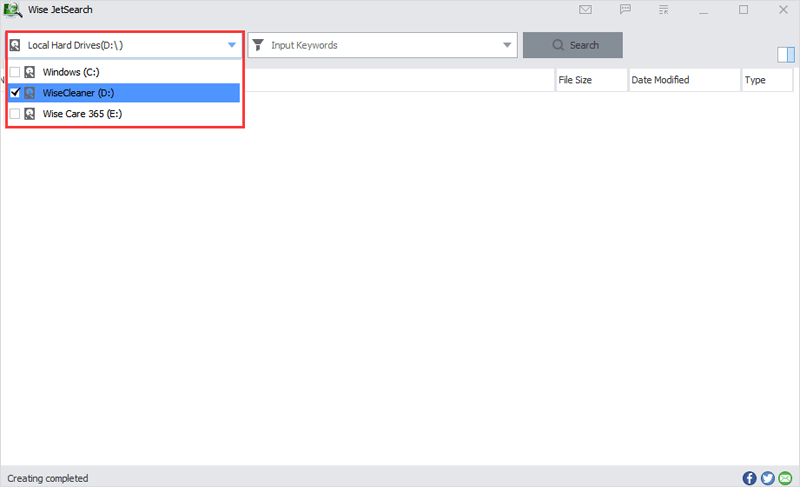
Step 2. Select the drive
After launching Wise JetSearch, you will see all available local hard drives selected by default on the top left corner. Select the drive which stores the hidden files or folders by opening the drop-down menu to reduce searching time.
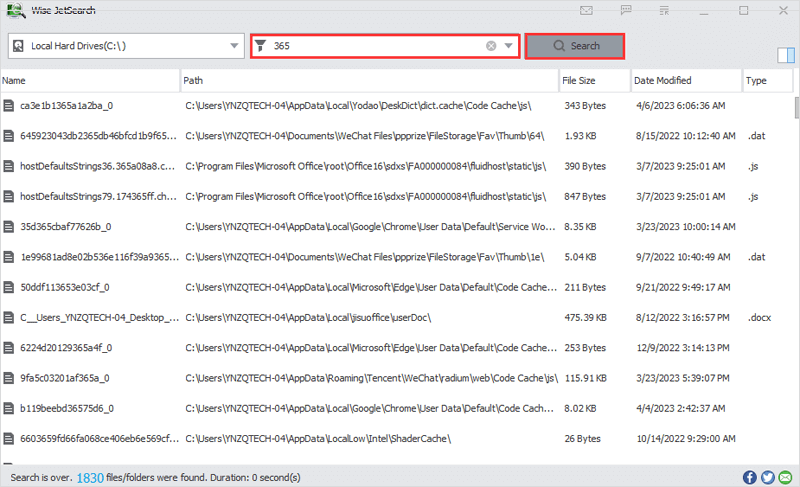
Step 3. Input the full name and Search
Input the full name of the target hidden file or folder in the box of Input Keywords. Click on the big gray button of Search or press Enter key on the keyboard to begin searching. It only takes a few seconds to scan.
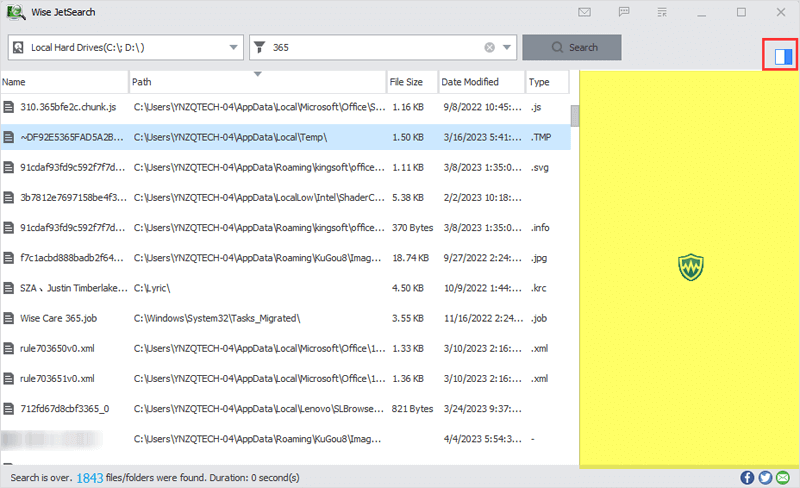
Step 4. Preview the results
All the relevant results are listed after searching by their names, path, size, date modified and types. To preview each item, turn the icon on the upper-right corner from gray to blue. Then you can preview the selected file in the Preview Pane and find the target file quickly, as long as it can be previewed in the File Explorer.
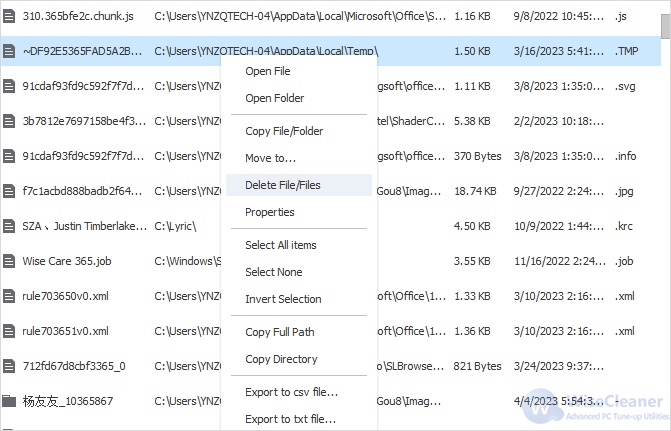
Step 5. Modify the target files
When you find the target file, right-click on it and conveniently modify it in Wise JetSearch without opening its folder. Wise JetSearch enables you to directly open, copy, move, delete and do more other operations to a file in it.
These two methods are how to search and find hidden files on Windows. Wise JetSearch always offers the ultimate choice to help search items on local hard drives on your Windows PC.

