WiseCleaner Think Tank
Encounter difficult computer problems?
All about maintenance and optimization of your Windows System.
Feb 5, 2024
On Windows 11, if you need to monitor file access, you can check the last date a specific file was accessed by changing the setting simply in File Explorer.
However, in Windows 11, the Last Access Time feature is usually turned off by default to improve system performance. Which means the last access time may not reflect the actual last time that the file was accessed if the feature is disabled.
To ensure that last access time is being tracked, you will need to enable this feature by modifying the Registry Editor. Remember to disable it again after you check the last date of the file, because enabling it can significantly slow down file operations, especially on systems with a large number of files. Here are the steps:
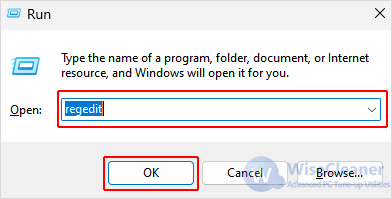
Press Windows key + R to open the Run dialogue.
Enter “regedit” in it to open the Registry Editor app. Be very careful when editing the Windows registry as incorrect changes can lead to system instability. Back up the registry and your whole system first.
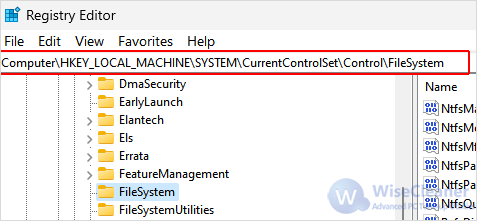
Navigate to the following key:
HKEY_LOCAL_MACHINE\SYSTEM\CurrentControlSet\Control\FileSystem
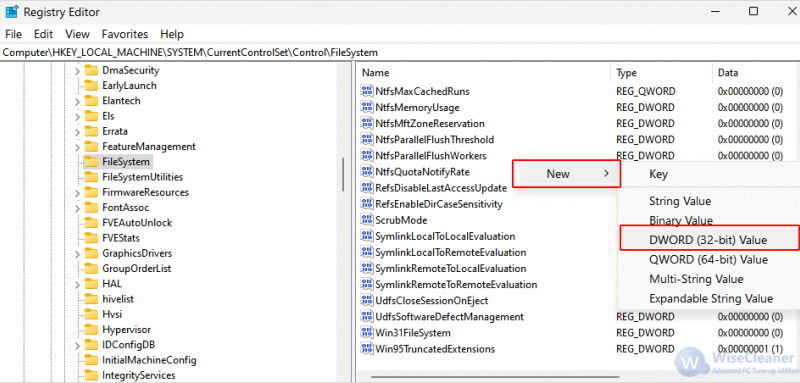
Find the NtfsDisableLastAccessUpdate value from the right-hand pane. If it is not there, right-click on a blank space and select New-DWORD (32-bit) Value. Name the new value as NtfsDisableLastAccessUpdate.
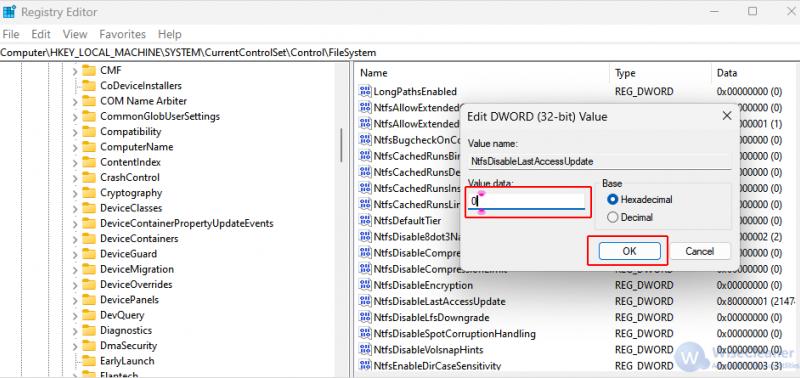
Double-click on the new value and change its Value data to 0. Click OK to save the changes. Close the Registry Editor app and restart the PC.
Now the last access time of all files is being tracked every minute. You will now only need to let them show in the File Explorer.
Open File Explorer and navigate to the folder where the file you want to check is.
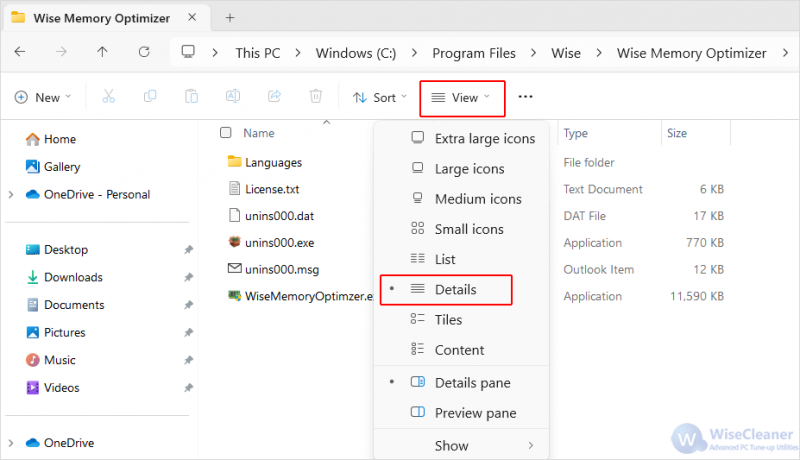
Click on View on the top tool bar, and select Details from its drop-down menu.
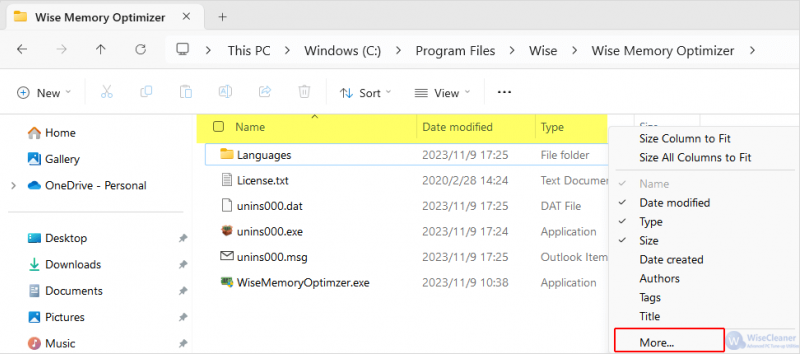
Right-click on the column headers at the top of the file list where it says Name, Date modified, Type, and Size. Then click More... to choose additional details you want to display.
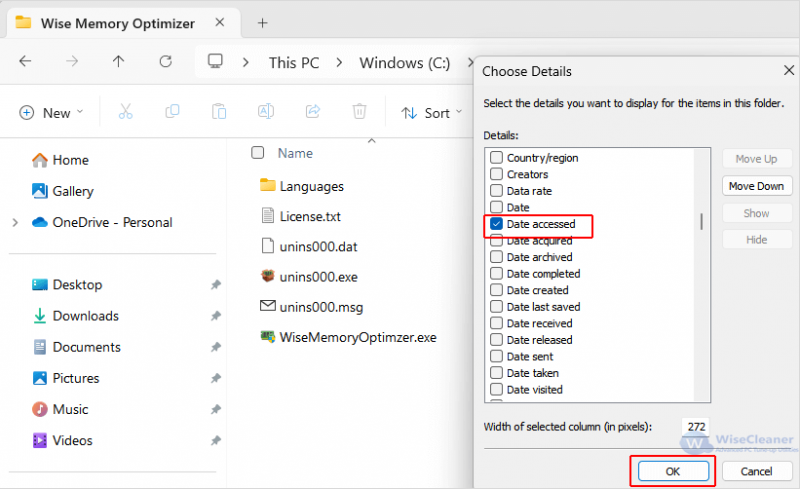
Scroll down in the list and check Date accessed. Then click OK.
Now you should be able to see a new column, Date accessed, showing the last access date and time for each file and folder.
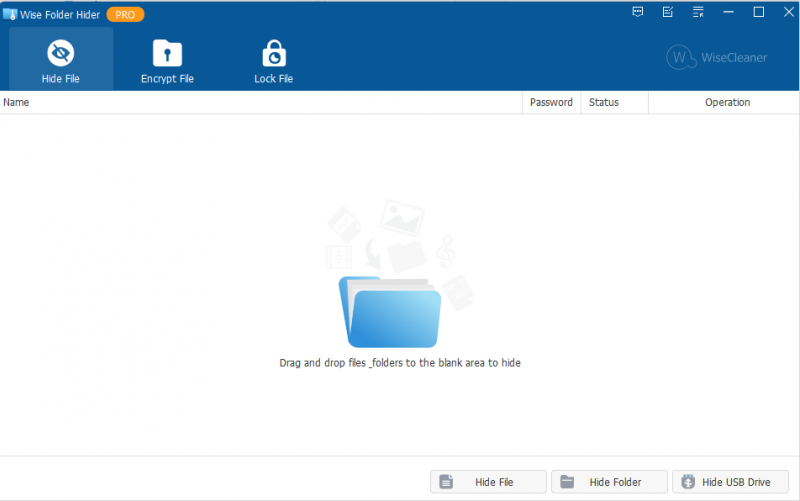
Apart from this, if you have sensitive files which you do not want anybody else to open or modify on any internal or external drives, you might consider using Wise Folder Hider to protect your data.
Wise Folder Hider is a handy file/folder hiding, encrypting and locking tool that allows you to protect you private data from unauthorized access. It provides data protection for files and folders, and also offers an option to hide the entire USB drive. By protecting your personal data with it, you will never need to monitor the file access in the future, because no one can modify the protected file without the password.
By utilizing the file properties and the built-in features of Windows 11, you are able to view the last date a file was accessed on Windows 11 and thus tracking or managing files. This is particularly useful for file management and security on your Windows 11, too.
Additional Related Articles
wisecleaner uses cookies to improve content and ensure you get the best experience on our website. Continue to browse our website agreeing to our privacy policy.
I Accept


