WiseCleaner Think Tank
Encounter difficult computer problems?
All about maintenance and optimization of your Windows System.
Dec 26, 2023
The mouse pointer (also called pointer) is a graphical image on a computer screen that indicates the position where the mouse is pointing. It is typically an arrow, but it can change into different shapes depending on the context, such as a hand when hovering over a hyperlink or a spinning wheel when the system is busy.
The mouse pointer is an essential part of the user interface on Windows OS. If you are tired of the default appearance of your mouse pointer, want to personalize its appearance or improve visibility, you can easily change it by using the 3 methods we are going to introduce in this article to customize your mouse pointer on Windows 11.
Press the Windows key to open the Start menu, then click on the Settings (gear) icon. In the Settings app, select the Accessibility tab from the left sidebar.
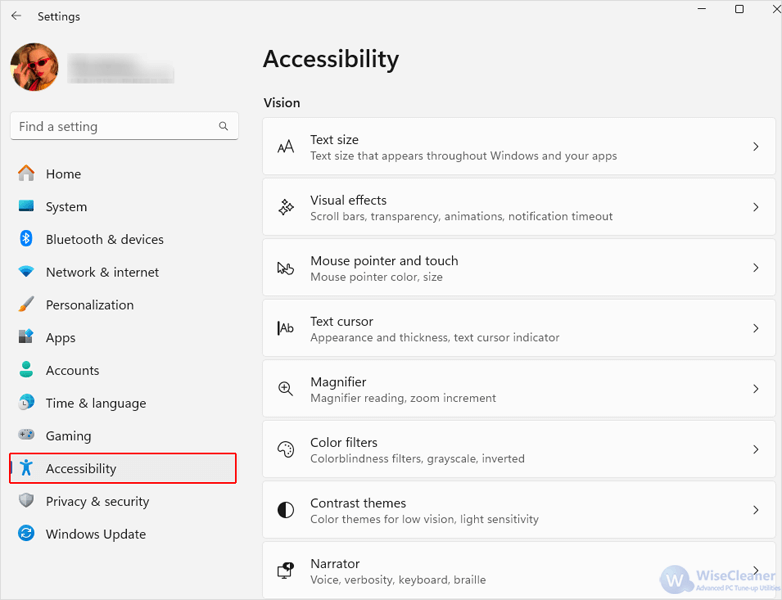
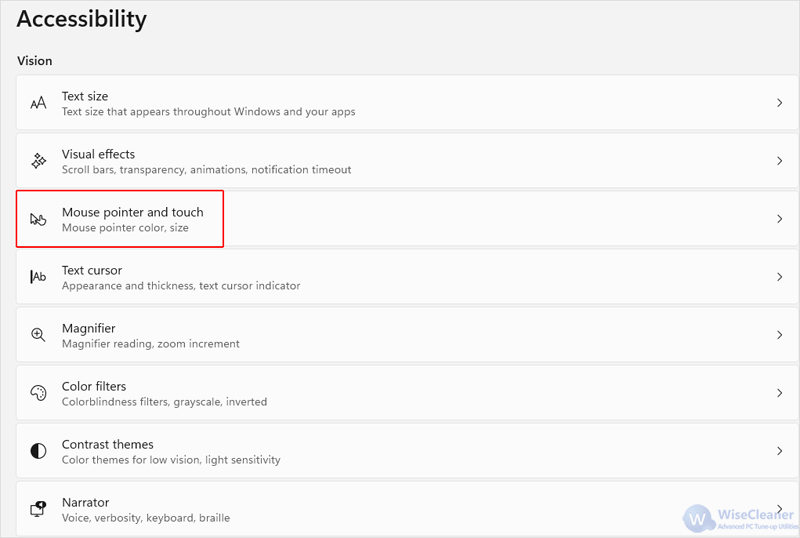
Under Vision, choose Mouse pointer and touch.
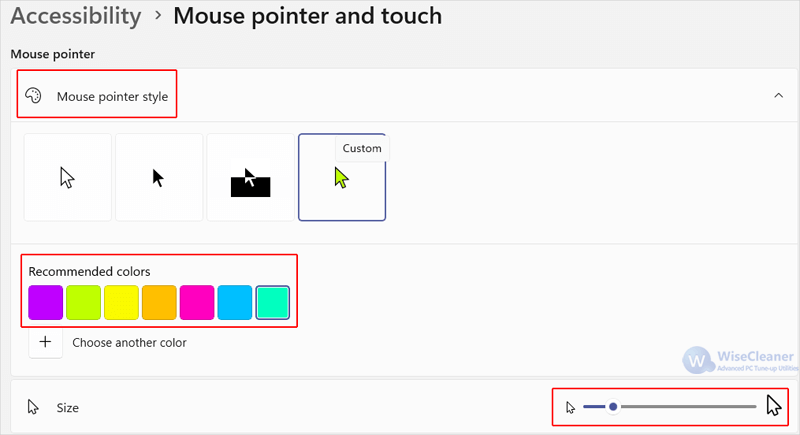
Pick one of the Mouse pointer style and use the Size slider to adjust the pointer size. You can also select Custom (the far-right option) to pick a color.
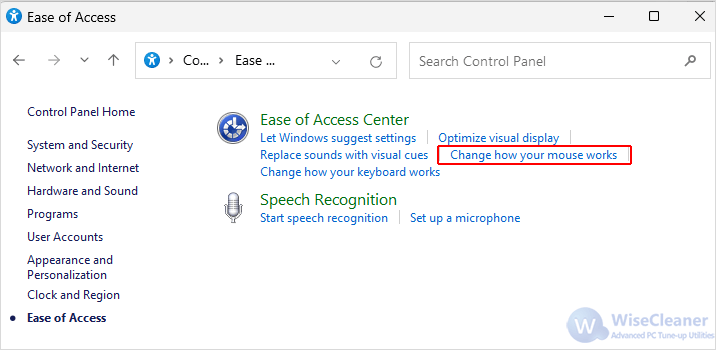
First click on Ease of Access (View by Category), then select Change how your mouse works.
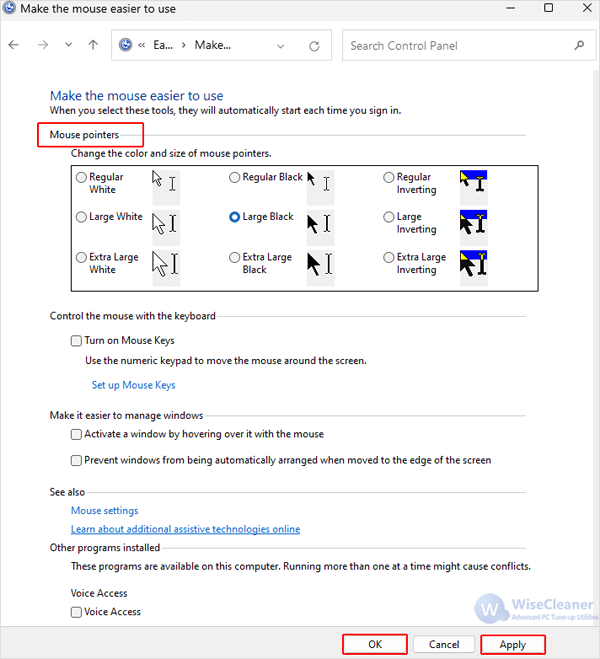
Choose the color and size of mouse pointers under Mouse pointers and select Apply then OK to confirm and save your changes.
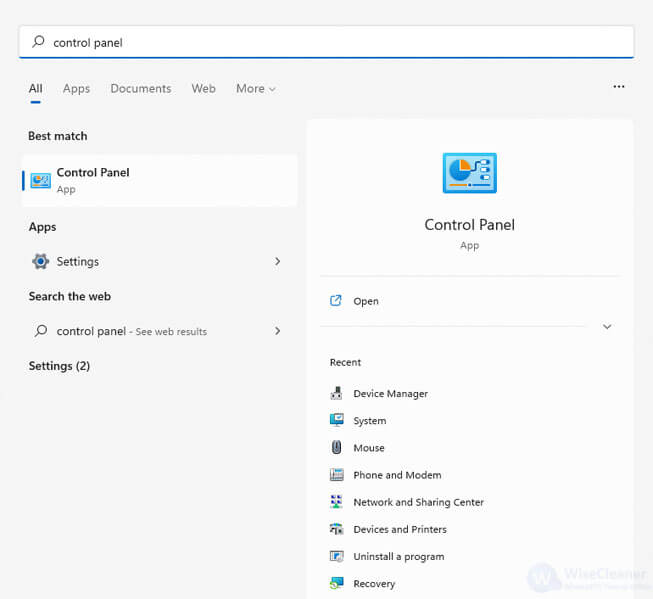
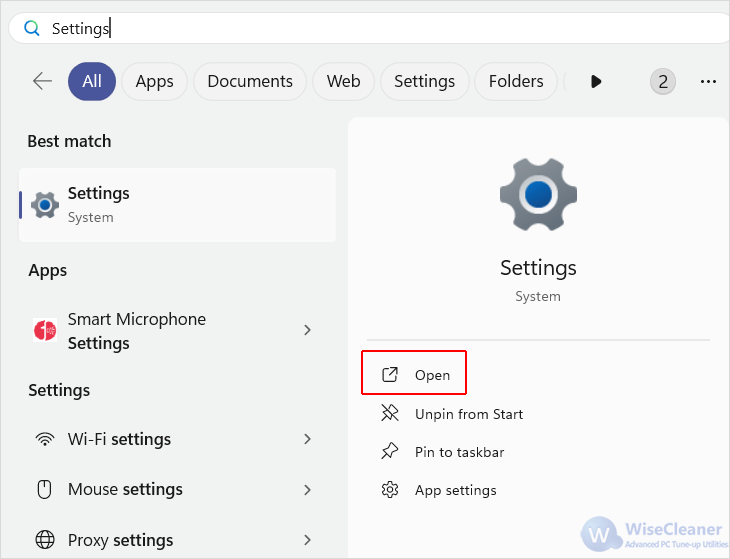
Click on the Windows taskbar Search box. Type “Settings” and select it from the results.
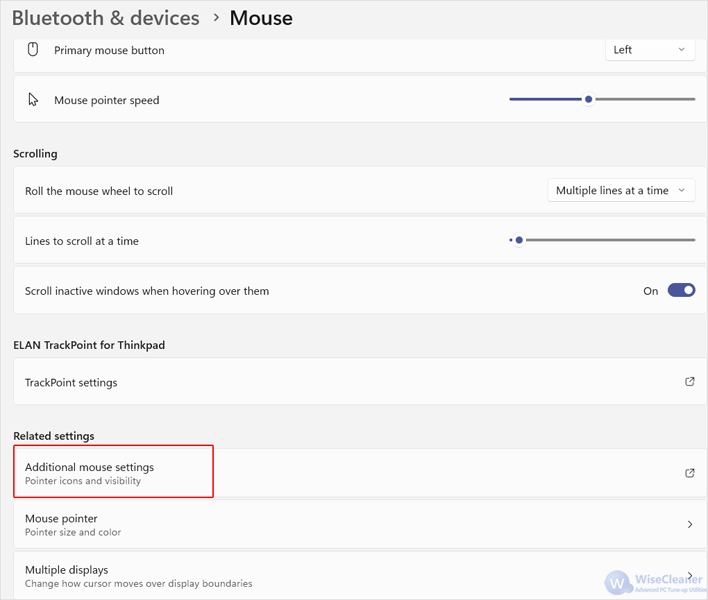
Select Bluetooth & devices in the left sidebar. Navigate to Mouse > Additional mouse settings from the right sidebar.
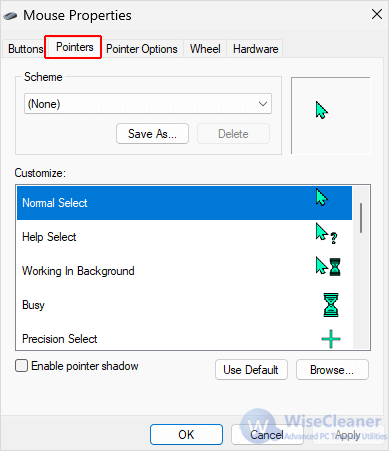
In the Mouse Properties window, select the Pointers tab.
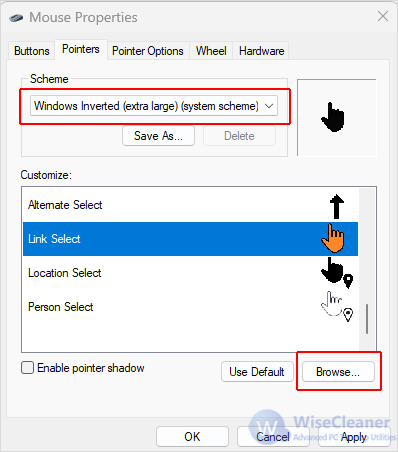
Click Apply and then OK to save the changes to your pointer.
We have discussed step-by-step instructions on how to change the mouse pointer on Windows 11 using 3 different methods. If you have other computer-related questions, you can visit WiseCleaner to learn more.
wisecleaner uses cookies to improve content and ensure you get the best experience on our website. Continue to browse our website agreeing to our privacy policy.
I Accept