WiseCleaner Think Tank
Encounter difficult computer problems?
All about maintenance and optimization of your Windows System.
Nov 17, 2023
A USB recovery drive is akin to a digital phoenix, capable of breathing life back into your PC when it does not boot normally. If you have created a recovery drive earlier, you can use that drive to recover it to a normal working state. But how can you use this tiny gadget to restore your precious machine to its former glory? Let's plunge into the process that could potentially save your day, your data, and your money.
First of all, the Windows system will be reinstalled from the USB recovery drive. Then, it is important to note that the recovery process will erase all of your personal files and installed apps that did not come with the system. Apart from this, if your have created any other partitions, they will be restored to the original state, too. You might be required to enter the recovery key during the process if you have encrypted the drive with BitLocker. Make sure to back up all your important files before starting the recovery process.
To recover your PC using a recovery drive, follow these steps:
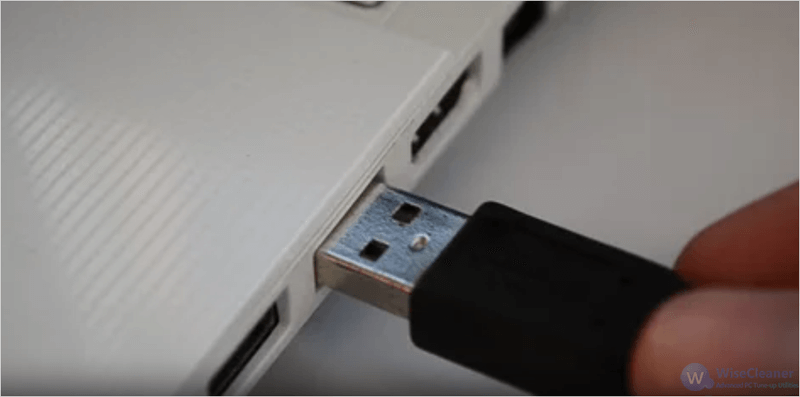
Make sure the PC is turning on, and connect the USB recovery drive to the PC by inserting it to one of the USB ports.

After selecting the language, select the Troubleshoot option on the main menu of the Choose an option screen, and then select the Recover from a drive option from it.

Once the recovery environment loads, you will be presented with two different removing options:
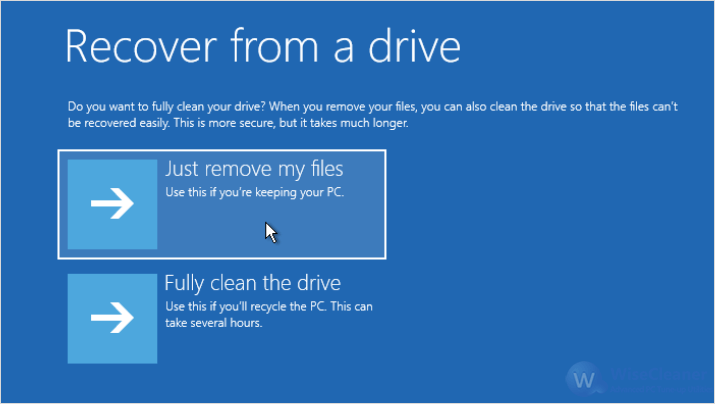
After clicking the Recover button, the recovery process begins and the computer will restart and sign-in with a brand new Windows OS. Once done, you can remove the recovery drive.
The USB recovery drive is the key to unlock a paralyzed PC and the beacon of hope when the digital night is darkest. In just a few steps, you may just turn what seemed like the end into a brand-new beginning. Speaking of the hero, professional WiseCleaner family will always offer you the ultimate solutions to optimize Windows PCs and make them at best performance as well.
wisecleaner uses cookies to improve content and ensure you get the best experience on our website. Continue to browse our website agreeing to our privacy policy.
I Accept


