The Recycle Bin is one of the system folders in the Microsoft Windows operating system, which is mainly used to store temporary documents deleted by users. Any items deleted from the hard drive are placed in the Recycle Bin, and these files can be recovered. So, if you want to permanently delete all deleted files, you must empty the Recycle Bin. Is there any method to delete the file directly without moving it to the Recycle Bin? Here are 3 methods:
- Delete Files without Moving to Recycle Bin via Keyboard Shortcut
- Delete Files without Moving to Recycle Bin by Context menu
- Delete Files without Moving to Recycle Bin through Wise Force Deleter
Method 1. Delete Files without Moving to Recycle Bin via Keyboard Shortcut
Step 1. Open File Explore
Double-click the “this PC” icon on the desktop to open the File Explorer.
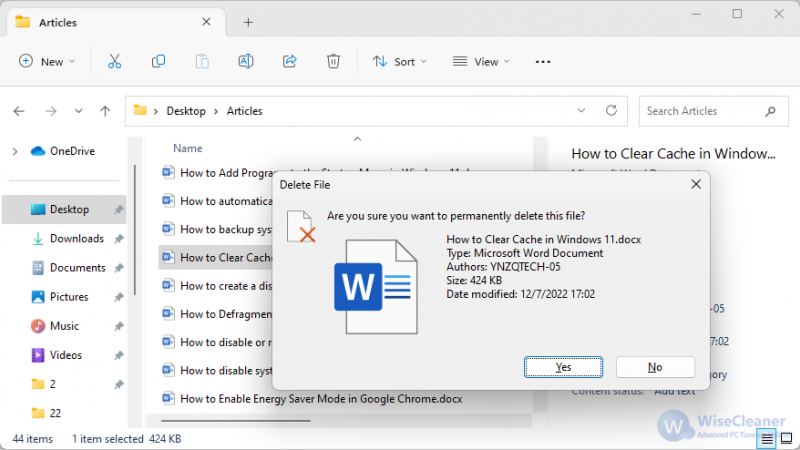
Step 2. Use the keyboard combination Shift + Delete
Select the files to be deleted, and then use the key combination Shift + Delete, these files will be directly and permanently deleted.
Method 2. Delete Files without Moving to Recycle Bin by Context menu
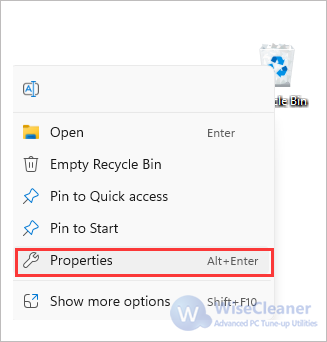
Step 1. Open the Context menu
Right-click on the Recycle Bin icon on the desktop and select Properties from the context menu.
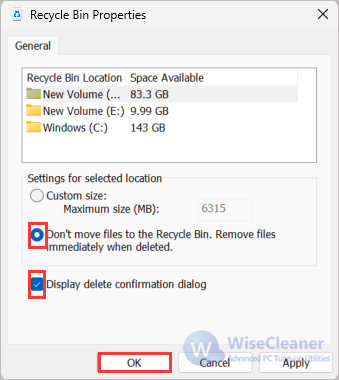
Step 2. Modify the Recycle Bin Properties
In the Properties window, select the drive for which you want to modify the Recycle Bin properties, check the option “Don't move files to the Recycle Bin. Remove files immediately when deleted” and the box “Display delete confirmation dialog”. Then click on OK.
Method 3. Delete Files without Moving to Recycle Bin through Wise Force Deleter
Wise Force Deleter is a completely freeware that allows you to delete any file in your Windows system. It can completely delete files, and the deleted files will not appear in the recycle bin. In addition, it can easily delete files that Windows cannot delete.
Step 1. Download Wise Force Deleter
You can click here to download Wise Force Deleter first.
Step 2. Add Files/Folders
Add files or Folders that you want to delete, and that will be more convenient if you prefer to drag and drop them directly.
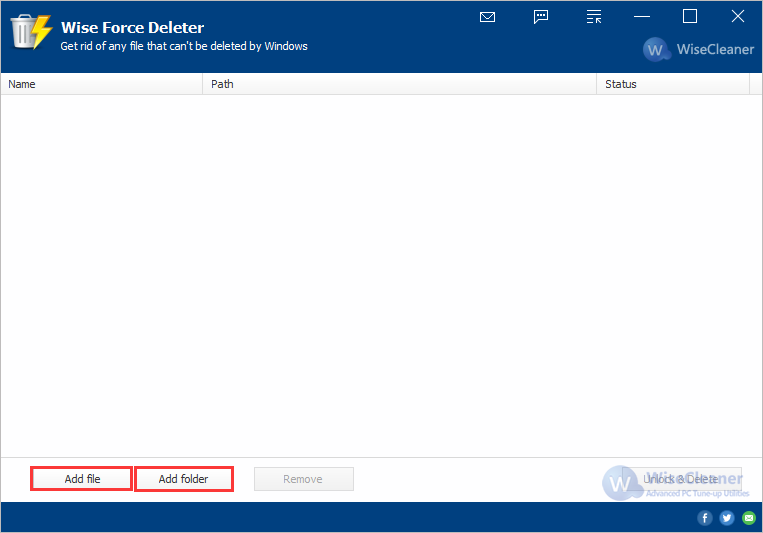
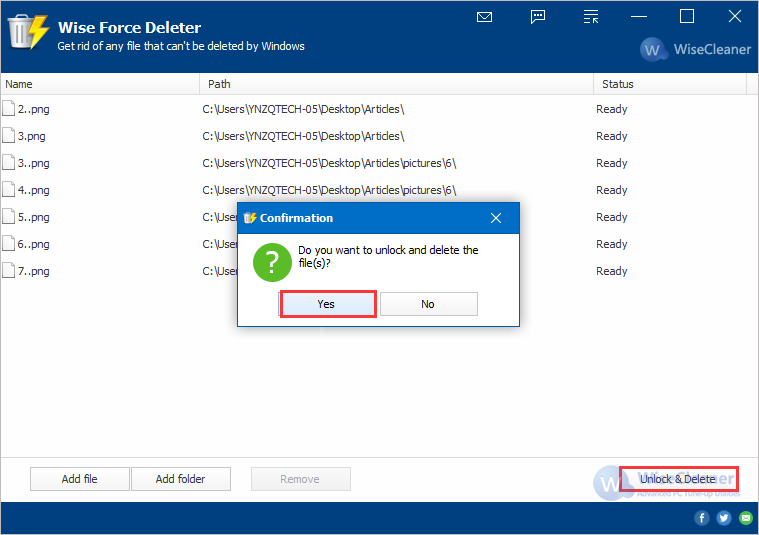
Step 3. Force Delete selected Files/Folders
After you add files or folders, click the “Unlock & Delete” button in the lower right corner of the window. When a pop-up window appears, you need to confirm your choice.
Conclusion:
These are the three methods to delete files completely. Once they are deleted, they will not appear in the Recycle Bin. You must make sure that the Windows system or installed applications do not need this file before removing it. The above is the whole content of this article, welcome to visit WiseCleaner to learn about more Windows tips.

