When you click the “Delete” button on your keyboard, Windows will move the file to the recycle bin, which can help you to recover the file if you deleted it by accidently. However, the recycle bin will take up much space disk on your computer as the files you deleted are not removed from your PC. Here we will discuss how to empty recycle bin automatically on schedule.
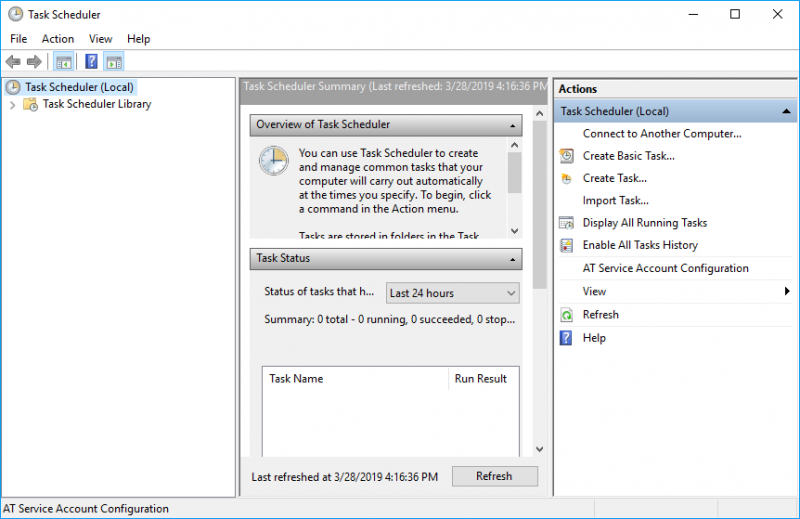
Step 1: Search “Task Scheduler” in “Start”.
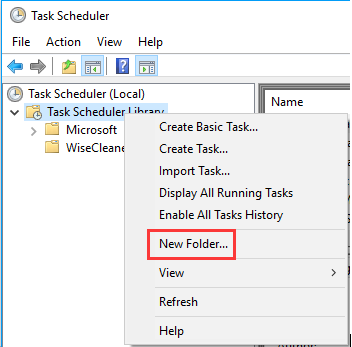
Step 2: Right-click “Task Scheduler Library” and choose “New Folder”.
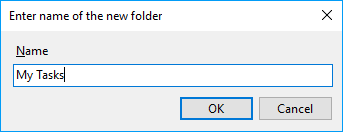
Step 3: Name the folder “My Tasks”.
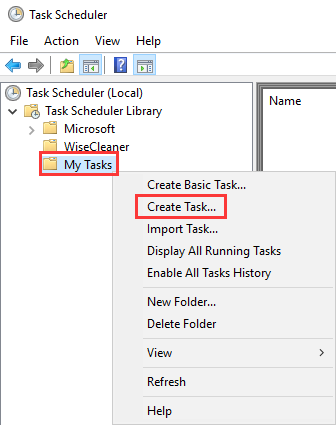
Step 4: Right click the newly created folder and select “Create task”.
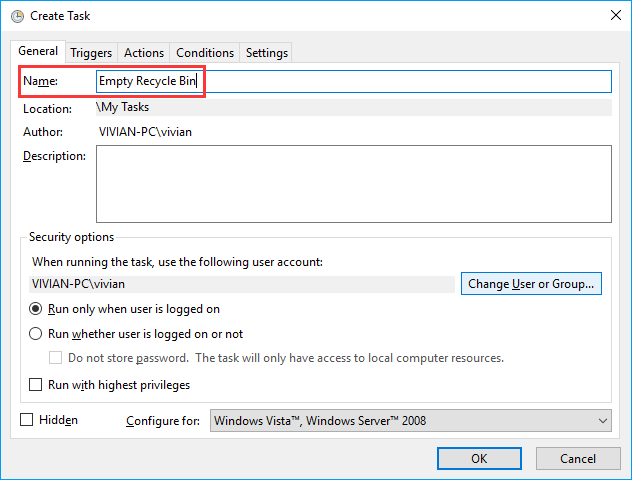
Step 5: input a name on the general tab like Empty Recycle Bin.
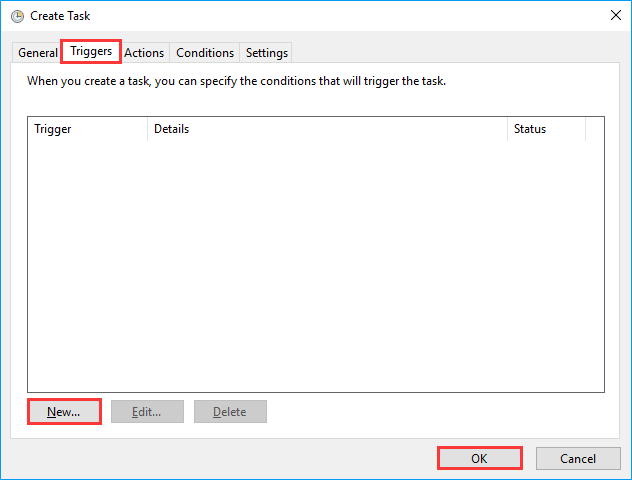
Step 6: Click “New” on the triggers tab to create an action.
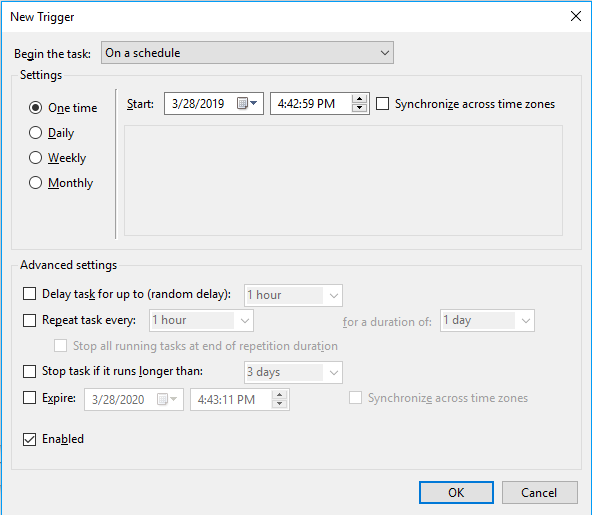
Step 7: Here you can pick from a number of trigger actions.
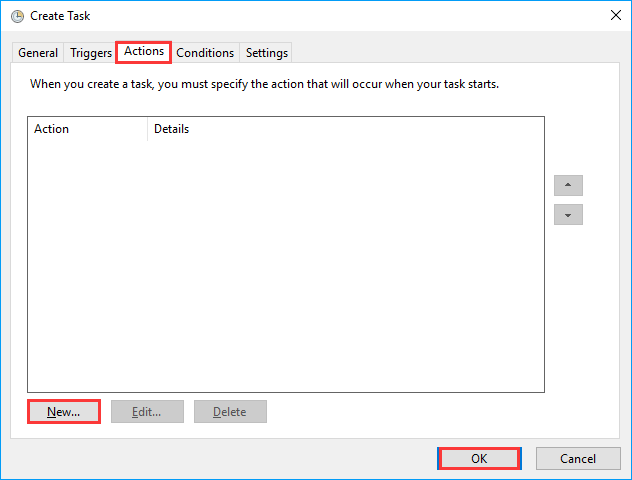
Step 8: Click “New” on the Actions tab.
Step 9: Enter “cmd.exe” and on “Add arguments” then input the following argument: /c "echo Y|PowerShell.exe -NoProfile -Command Clear-RecycleBin"
Step 10: Don’t forget to click OK. Now the task will run automatically at the trigger condition you have configured.
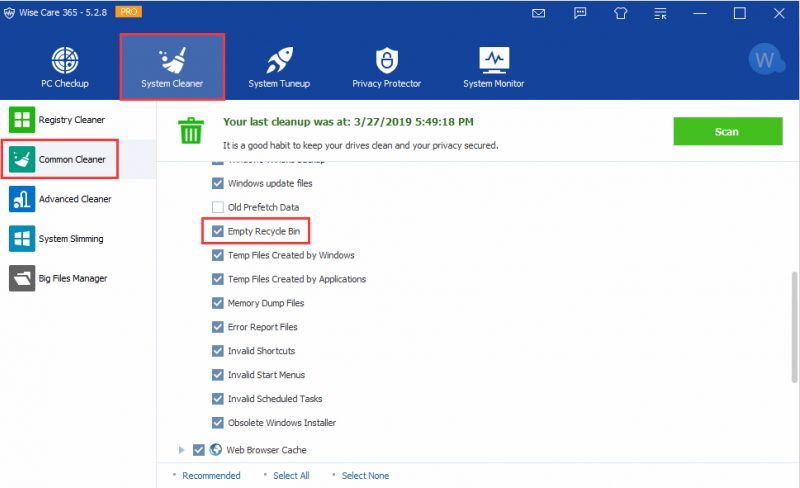
If you think the above steps are too difficult, try to use Wise Care 365, which can help you clear recycle bin with only one-click:
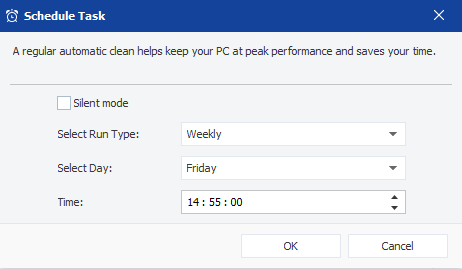
Of course, you can also set a schedule task on Wise Care 365. So easy, right?
Welcome to leave a comment below sharing your thoughts about using the above steps to empty the recycle bin automatically.

