The Windows Task Scheduler is one of the most convenient tools, which can keep tabs of the events on your PC, executing certain actions whenever the specified condition is met. What's more, with the help of the task scheduler, you can run commands, start applications, even execute scripts easily, if you want to know how to create, run, edit and delete a task scheduler, follow me!
How to use Task Scheduler in Windows
Step 1: As you can see, the Task Scheduler interface has three panes.
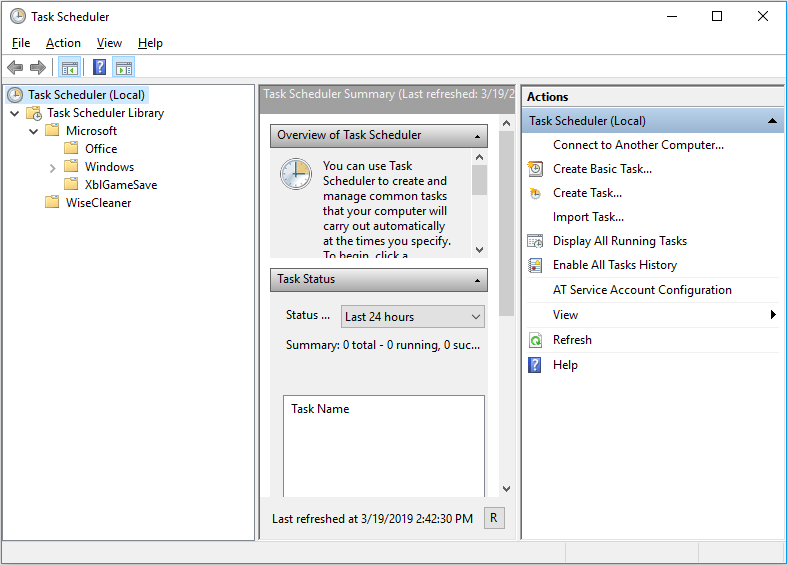
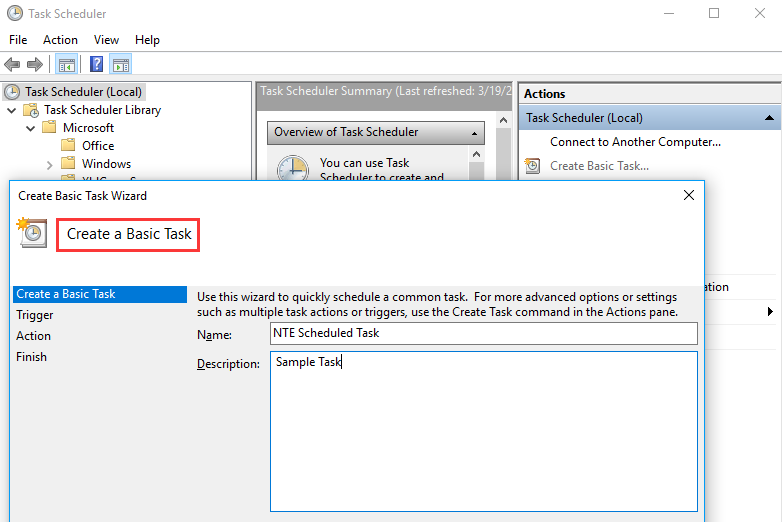
If you want to create a new task, just clicking the “Create basic task” button, then fill in the name and description fields in the task wizard.
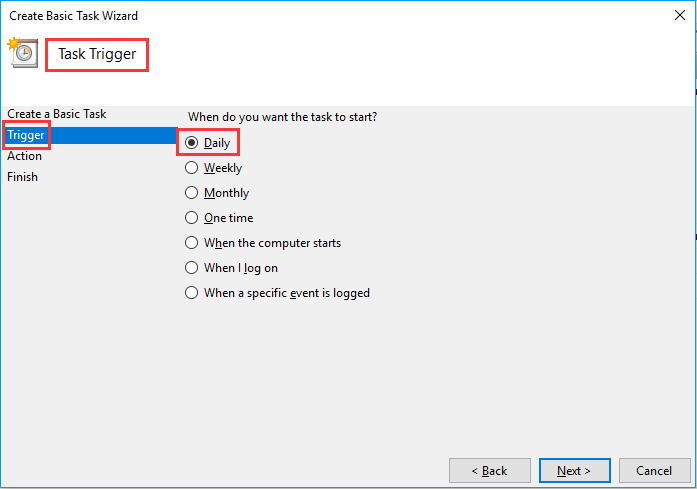
Step 2: Select a trigger to activate the task.
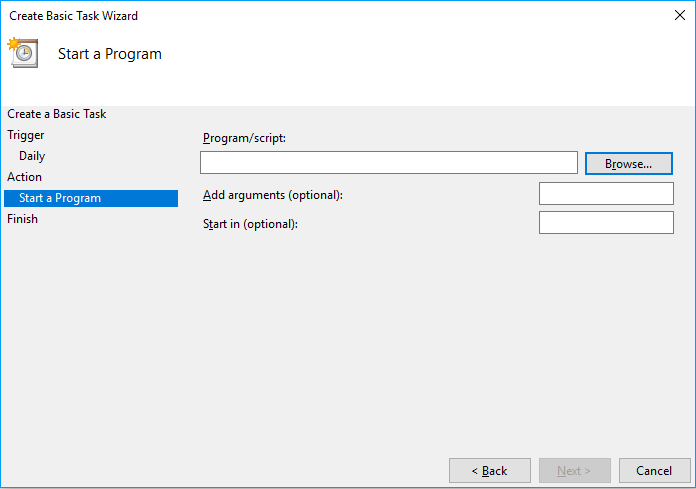
Step 3: There are three tasks for you to choose in the “Task” item: Start a program, send an email, and display a message.
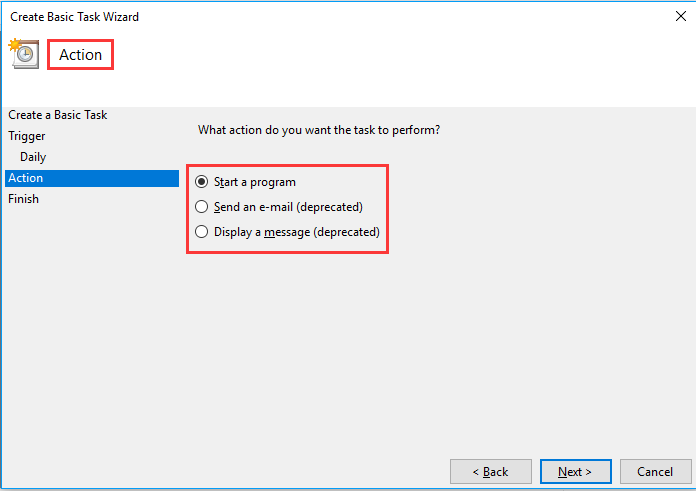
Step 4: If you choose “Start a program”, you will be promoted to select the application and add any argument.
How to run, edit and delete a task with Task Scheduler
Step 1: Go for “Start” and search for “Task Scheduler”, then open the experience.
Step 2: Expand “Task Scheduler Library”.
Step 3: Select the folder with your task and right-click the task you want to run.
Step 4: If you want to edit a task, right-click and choose “Properties”.
Step 5: If you want to delete a task, right-click and select the “Delete” option.
Hopefully, the above steps can help you, what do you think of that? Welcome to share your thoughts and experiences in the comments below.

