There is no doubt that screenshot is the most convenient way to share info with others. And windows 10 has a default location where you can save captured screenshots. Whenever you press windows key + PrintScreen Key, the screenshot will be automatically saved in the folder named screenshots. Today, we will discuss how to change the screenshot from the default to a folder of your choice.
Step 1: Go to This PC-->Pictures-->Screenshot folder and right-click on any blank area then choose "Properties".
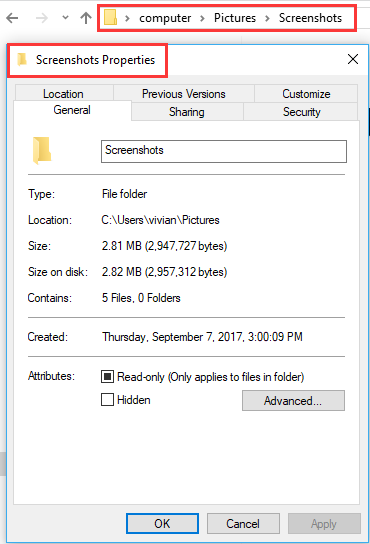
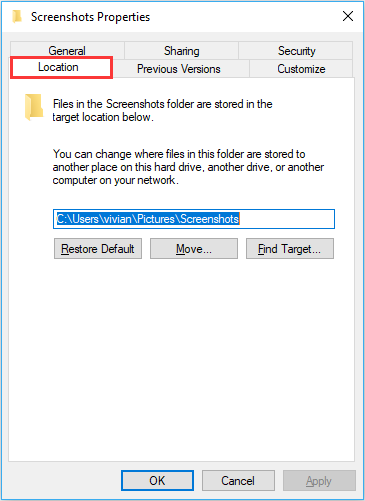
Step 2: Select the first tap “Location” and you can find the details about the location of the screenshots folder.
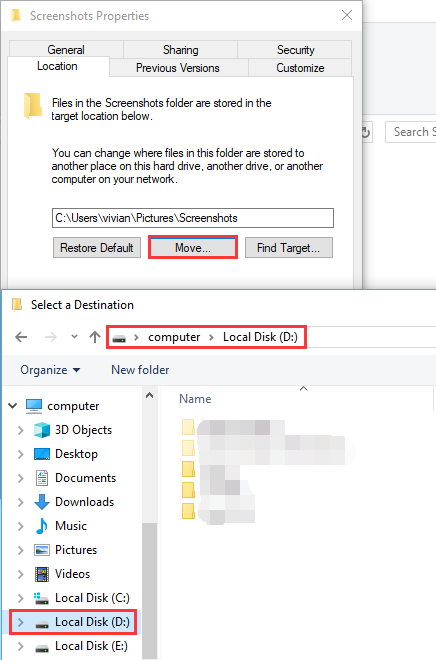
Step 3: Click on the “Move” button, which will ask you to browse to the new location of screenshot folder.
Step 4: The new path you selected will be shown in the location tab in properties, then click OK to accept the change.
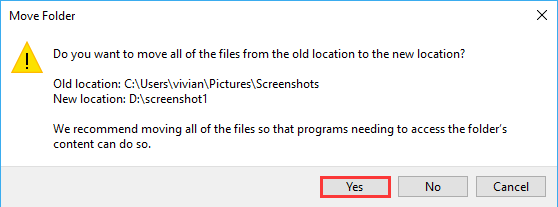
Note: You will get a prompt asking “Do you want to move the files from the old location to the new location?”, so click “Yes”.
From now on, all the screenshots will automatically save in the new folder that you selected. However, if you would like to restore the default location for your screenshots folder, go to that location and right click on your new screenshots folder, click “Properties”. Then you need to create a new screenshot folder.

We are looking forward to your responses in the comments below.

