The adaptive brightness feature taps into the ambient light sensors to automatically adjust your display to match surrounding lighting conditions. However, most of us would like to manually adjust the screen brightness. What’s more, it always quite annoying when windows constantly adjust the screenshot brightness for you. Let’s look at how to enable or disable adaptive brightness in Windows 10.
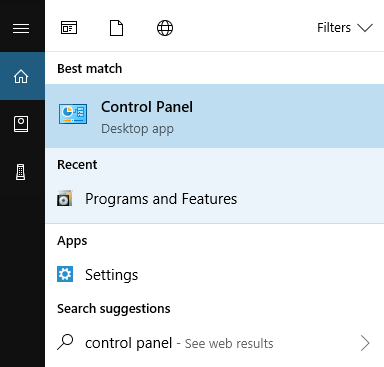
Step 1: Open the “Control Panel” in the start menu.
Step 2: Find the click on “Power Options”.

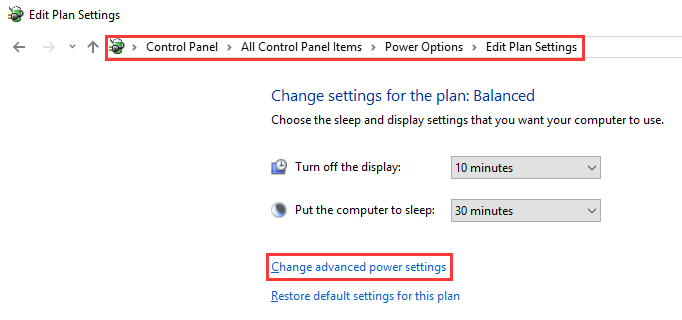
Step 3: Click “Change plan settings” next to the current power plan.

Step 4: Choose “Change advanced power settings”.
Step 5: Scroll down and locate the “Display” and expand it for “Enable adaptive brightness.”

Change the settings as you desire, then hit “Apply” to save your settings.
If you want to enable adaptive brightness in the future, simply follow the above steps and change the off option to on.

