WiseCleaner Think Tank
Encounter difficult computer problems?
All about maintenance and optimization of your Windows System.
Apr 27, 2025
Windows 11 brings a modern interface and improved performance, but some older programs designed for previous versions of Windows may not run properly due to compatibility issues.
If you encounter issues like crashes, errors or programs not launching, running them in Compatibility Mode as if they were on an older version of Windows can often solve the problem. In this guide, we’ll walk you through the steps to run a program in Compatibility Mode on Windows 11.
This is the most straightforward way to manually set compatibility mode for a specific application.
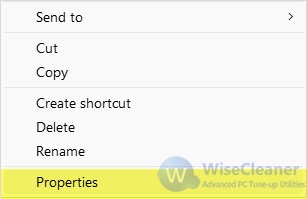
Right-click the shortcut of the program you want to run on your desktop, and choose Properties from the context menu.
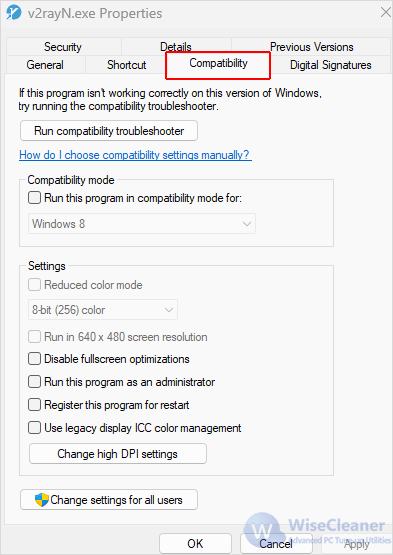
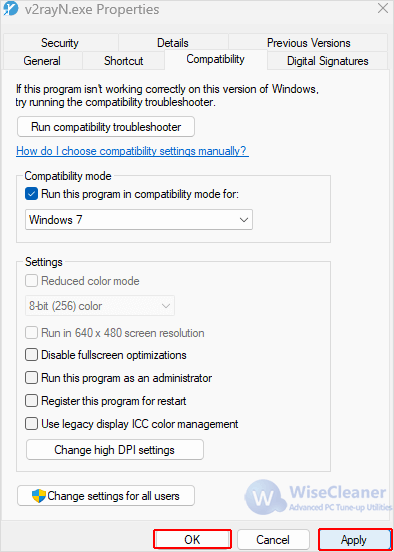
In the Properties window, switch to the Compatibility tab at the top.
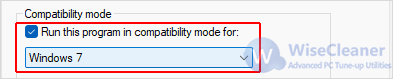
Once selected, click Apply, then OK to save changes. Double-click the program to launch it and see if it works. If it doesn’t, repeat the process and try a different Windows version.
Running a program in compatibility mode on Windows 11 is a simple yet effective way to breathe new life into older software. If you find this useful, view more handy skills and tips for Windows PCs at WiseCleaner.
Additional Related Articles
wisecleaner uses cookies to improve content and ensure you get the best experience on our website. Continue to browse our website agreeing to our privacy policy.
I Accept


