WiseCleaner Think Tank
Encounter difficult computer problems?
All about maintenance and optimization of your Windows System.
May 29, 2024
Windows 11 has brought a more convenient way to access quick settings compared to other Windows versions. The Quick Settings panel, also known as the Action Center, allows users to easily access to the functions they use most frequently, such as Wi-Fi, Bluetooth and Focus Assist.
By customizing the icons (Quick Action) in the Action Center, you could enhance your productivity. This WiseCleaner post is a step-by-step guide on how to add and remove icons in the Quick Settings panel on your Windows 11.
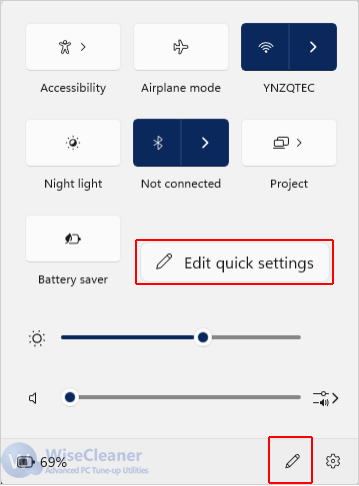
Click on any of the Internet, Sound or Battery icon on the far right of the Taskbar to open the Quick Settings panel (Action Center).
Alternatively, pressing Windows + A key on your keyboard can also open the panel by using the keyboard shortcuts.
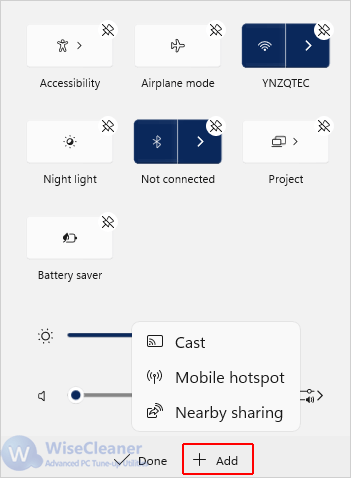
Note please: You should add icons which are frequently accessed according to your needs, such as Wi-Fi, Bluetooth, or Night Light. If you like, you can drag and drop the icon on the Action Center to rearrange them in the order you prefer.
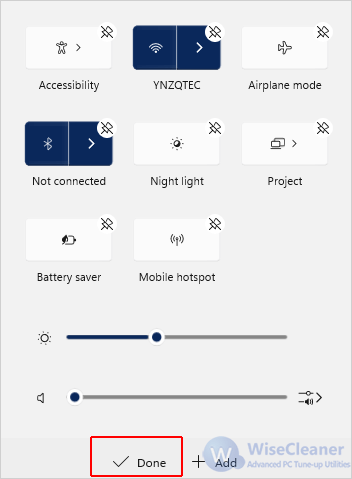
If your Quick Settings panel looks cluttered or contains icons you seldom use, you can easily remove them.
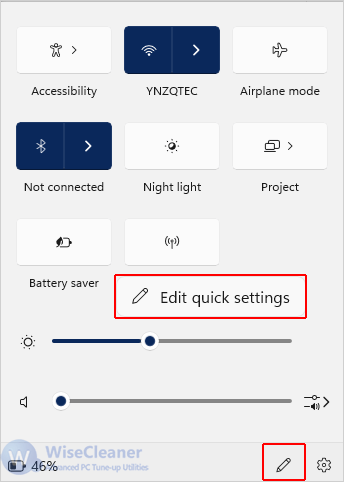
Open the Quick Settings panel by clicking the Internet icon on the Taskbar, or by pressing Windows + A key on the keyboard.
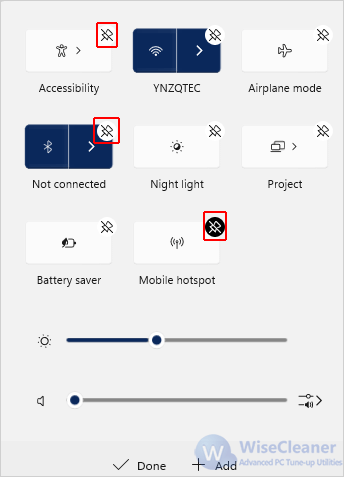
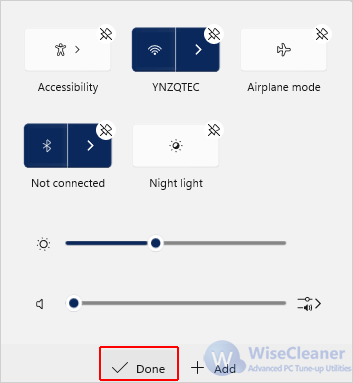
Note please: Limiting the number of the icons helps keep the panel uncluttered and makes it easier to find what you need quickly.
Customizing the icons in the Quick Settings panel on Windows 11 is an excellent way to ensure that the settings you use most are always within easy reach by adding and removing icons on your preference. View more handy skills and tips for Windows PCs at WiseCleaner.
wisecleaner uses cookies to improve content and ensure you get the best experience on our website. Continue to browse our website agreeing to our privacy policy.
I Accept


