WiseCleaner Think Tank
Encounter difficult computer problems?
All about maintenance and optimization of your Windows System.
Nov 23, 2022
Many users know it is not safe to put every file on the system disk which is also known as the Disk C or C Drive. The system disk has OS installed. Over time, all kinds of files and other items accumulate on the Disk C. When the computer crashes, the important data on it could be lost very likely.
It is best to transfer your files to other partitions which you can keep using and extracting data from even if C Drive breaks (click here to view how to create a new partition). This WiseCleaner post will teach one simple method to change the most common new content save location from Disk C to others.
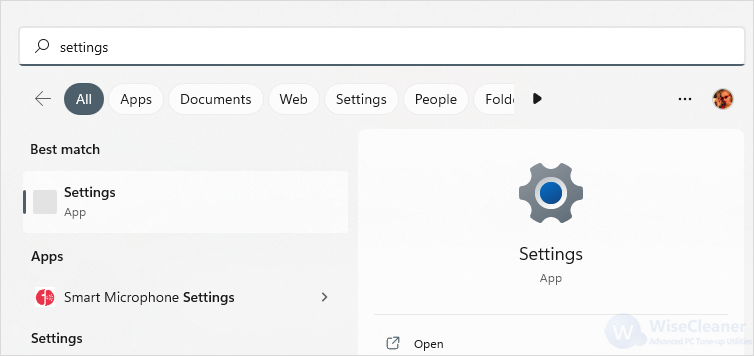
There is one simplest way to open Settings or any other Windows built-in programs. All you need to do is to type its name in Search and click it open from the result.
On the page of System, select Storage.

Here you click on Advanced storage settings to open its secondary menu, and choose Where new content is saved.

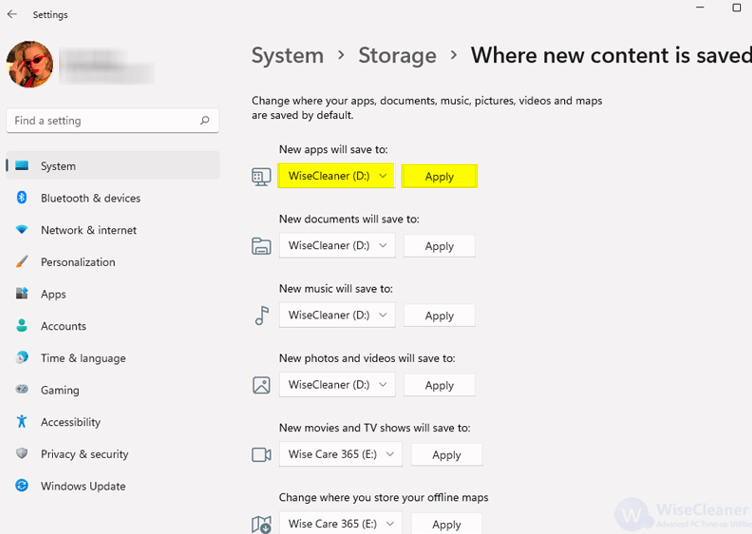
Now you will see all of your drives including internal, external and removable to save apps, documents, music, pictures, videos and maps. Change into another disk by clicking the arrow and selecting the new disk. Make sure you don’t forget to click on Apply, otherwise the changes won’t take effect. It is recommend to select any other disks except Disk C.
In case you have any questions do not hesitate to ask in the comment section. Professional WiseCleaner will always offer you better solutions to optimize your Windows PCs and make them at best performance.
Additional Related Articles
wisecleaner uses cookies to improve content and ensure you get the best experience on our website. Continue to browse our website agreeing to our privacy policy.
I Accept


