Every coin has two sides, we have to admit the advantage and convenience which internet brings to us, while we also worry about its bad influence especially on our children. Fortunately, Windows 10 allows us to add children's accounts so that we can monitor or manage how our kids use the computer. In this tutorial, we’ll show you how to do that.
Add a child account in windows 10:
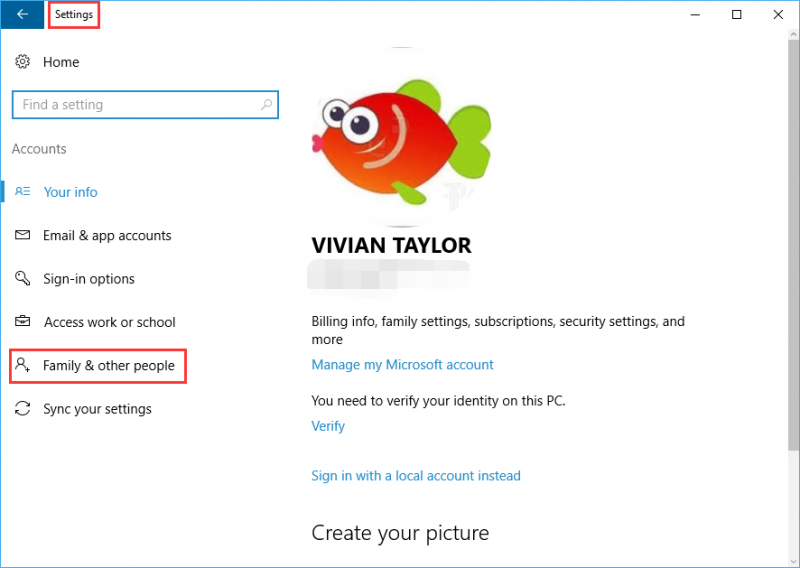
Step 1: Click “settings” from the start menu, and then choose “Family & other people”.
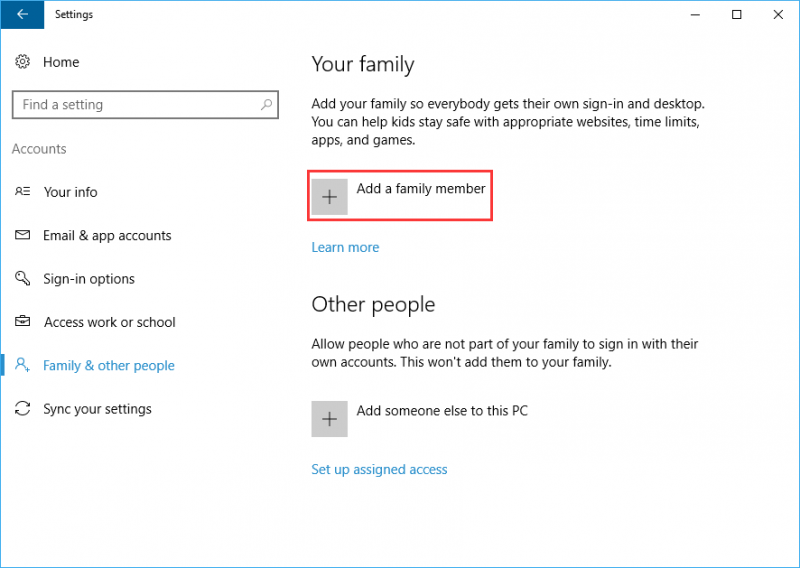
Step 2: Click “Add a family member”, don’t forget to log in with your Microsoft account, or you can’t find the option here.
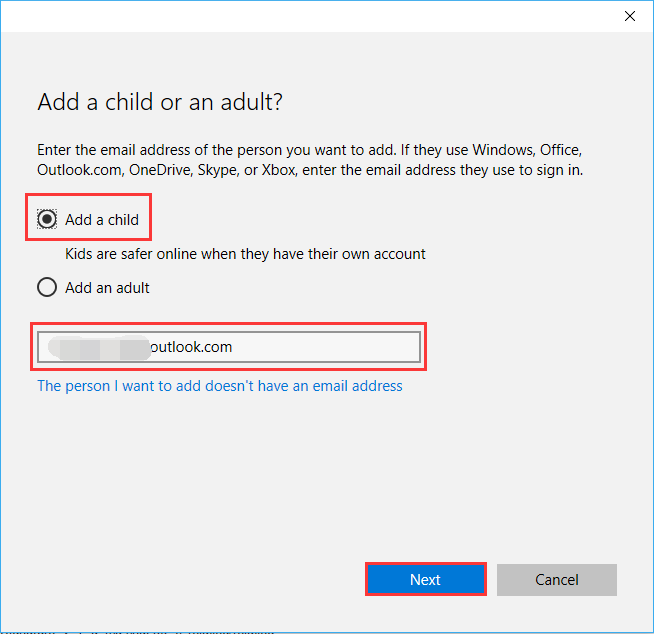
Step 3: On the next screen, click “Add a child”. If your child already has an email address, enter it and click “Next.” If not, please click “The person I want to add doesn’t have an email address” to create a new one.
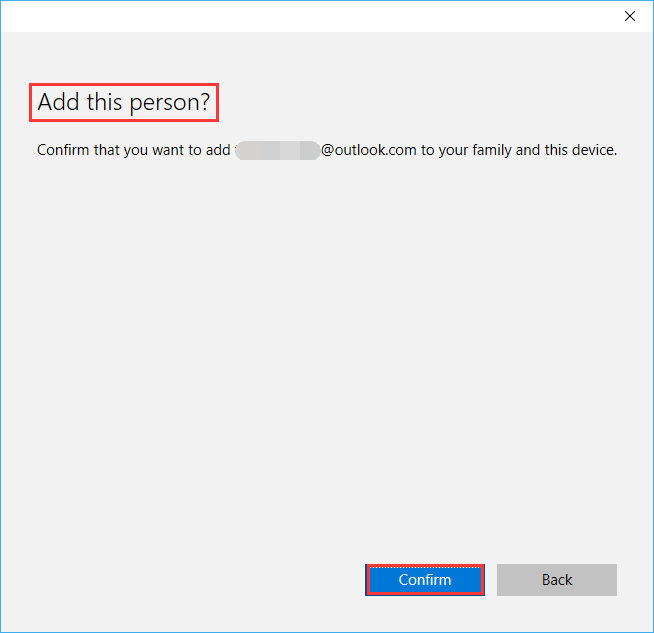
Step 4: Now, your action will be asked to "confirm".
Step 5: After confirmation, the invitation will be sent to your child’s mail address. Please click “Close”.

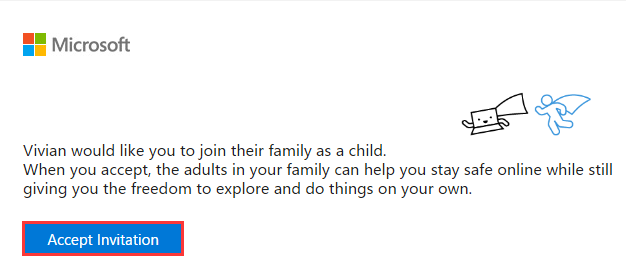
Step 6: Don’t forget to login to the child email and accept the invitation by clicking “Accept Invitation”.
Manage a child account in windows 10:
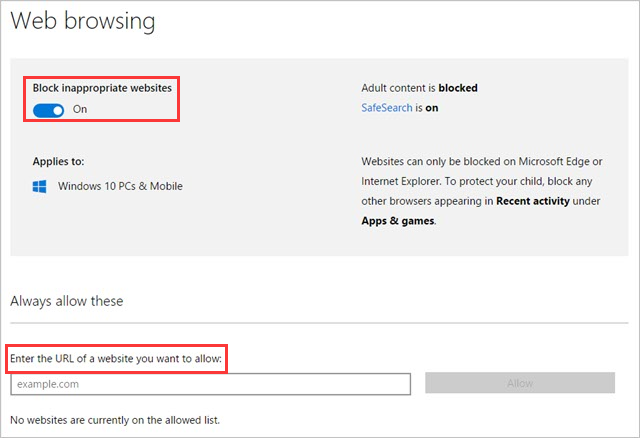
First, turn on “activity reporting” to track your kid’s PC activity, then choose “Block inappropriate websites” by clicking the web browser tab.
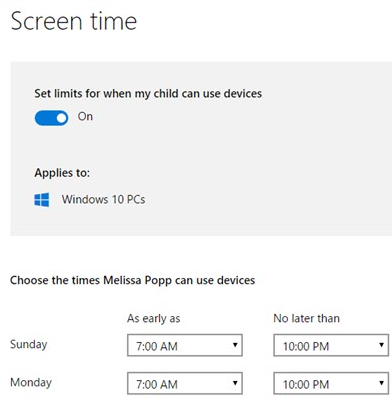
And you can also limit the time your child accesses your PC. Just turning on “Set limits for when my child can use devices.”
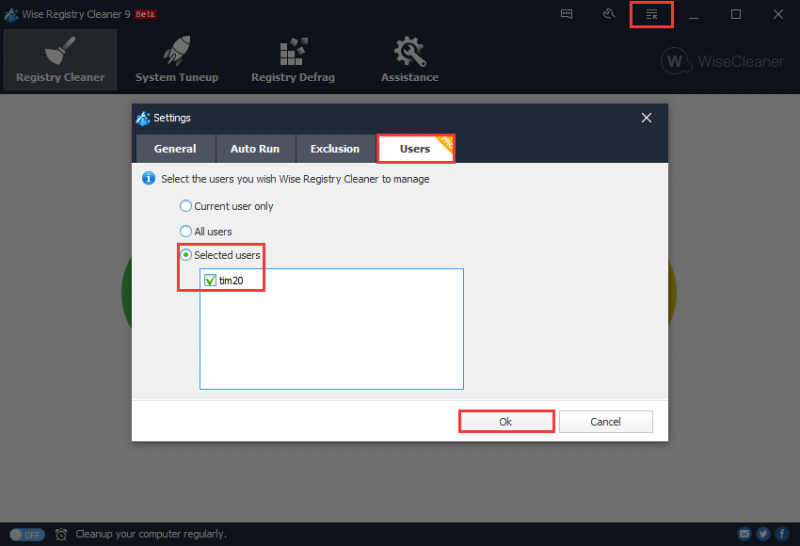
What’s more, the new added feature in Wise Registry Cleaner allows you to scan and clean all users’ registry. So it is unnecessary for you to worry about any registry issue caused by your child.
Any questions or comments you would like to add, please leave a message below. Thanks.

