WiseCleaner Think Tank
Encounter difficult computer problems?
All about maintenance and optimization of your Windows System.
Jan 5, 2023
Use the optional features in Windows 11, which allow you to install other features on your computers, such as XPS, Hyper-V, Windows Developer Mode, and much more. These features are friendly to some users. However, it may be too advanced for some users and may cause problems on your PC if configured incorrectly. If you ever wondered how to add or remove optional features, this article will tell you the answer.
Using the settings in Windows is the easiest way to help you quickly add or remove optional features.
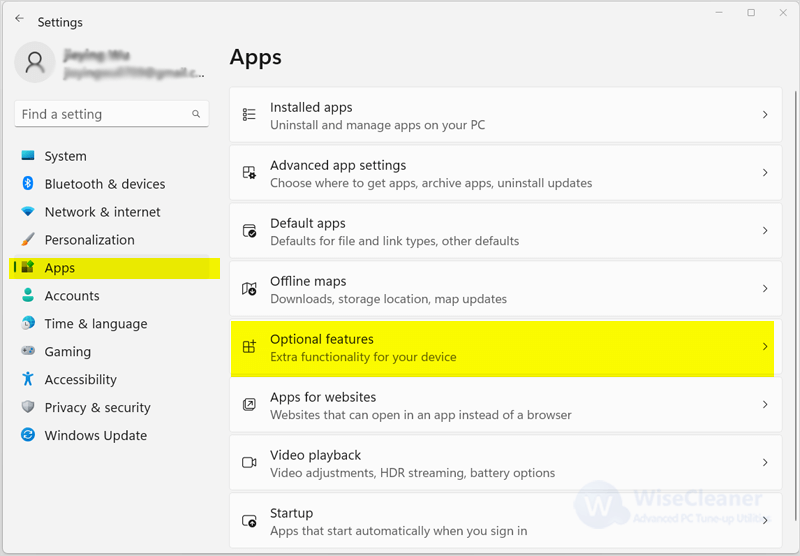
Press Win + I on your keyboard to open Settings. Click on the App on your left pane and choose the optional features on your right pane.
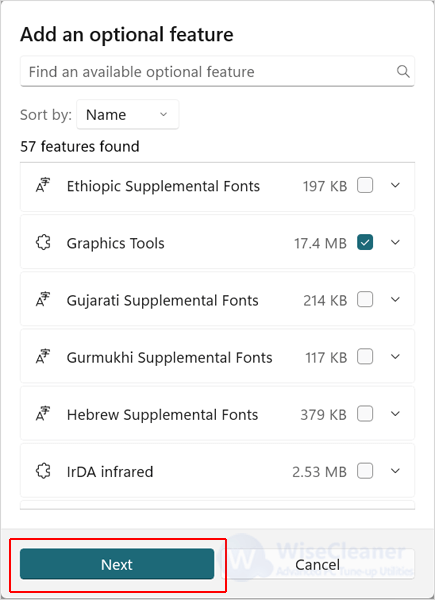
Click on the View features button, roll the mouse to check the optional feature that needs to be added, and then click next.
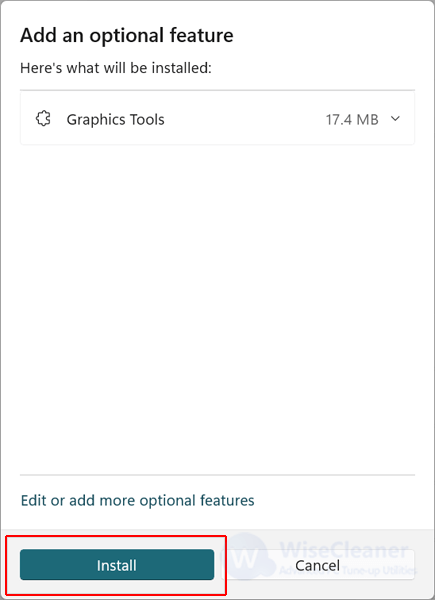
In the window that appears, select Install.
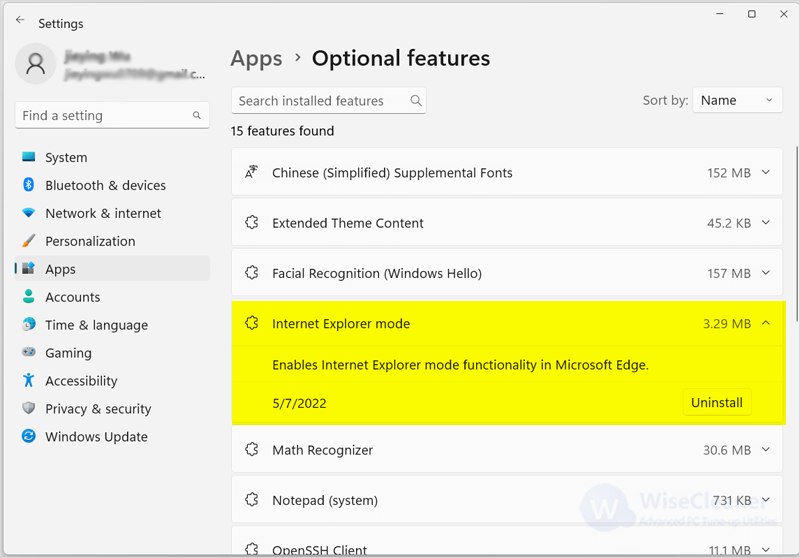
If you want to uninstall optional features, simply follow the steps above to open optional features, select the optional feature you want to uninstall, and click Uninstall.
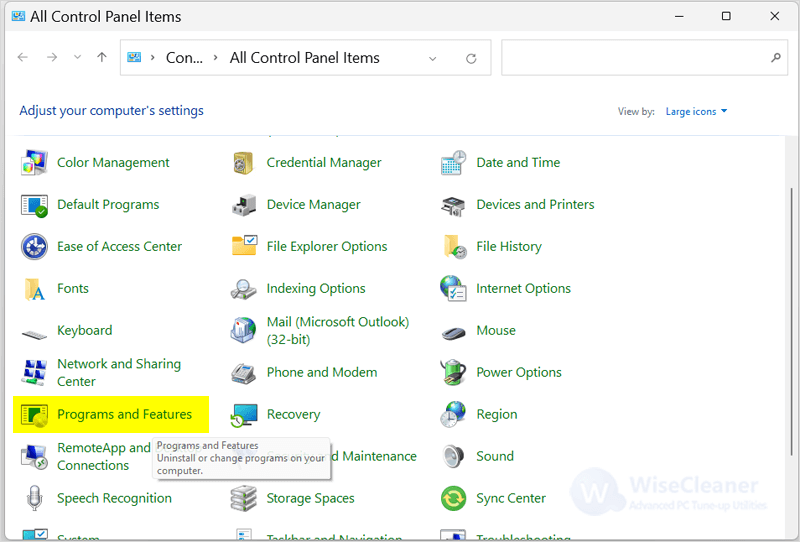
Click on Windows Start and type the control panel in the search box, and open the matched item.
Click the Category drop-down menu at the top right of the Control Panel window and select Large Icons. Select Programs and Features from the list of options that appears.
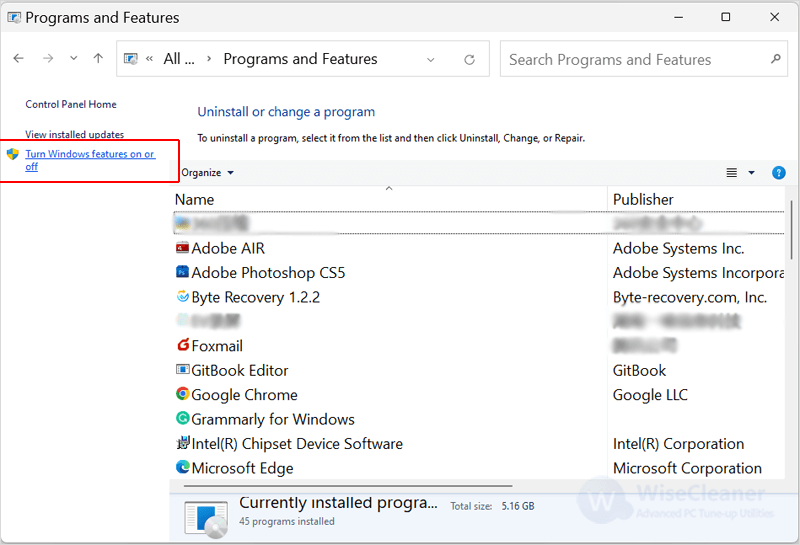
And next click on the ‘Turn Windows features on or off’ option from the left sidebar.
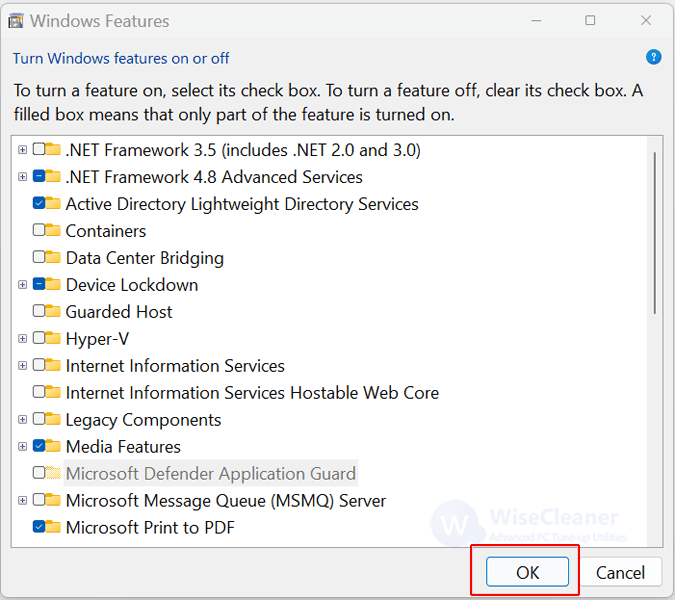
Add or remove optional features in the Windows Features dialog, then click the OK button.
Notice: The check box is a small tick icon to add this optional feature, and the horizontal line icon is to delete this optional feature.
In addition to the above methods, you can also use Windows PowerShell to perform administrative tasks. You can add or remove optional features by following the steps below.
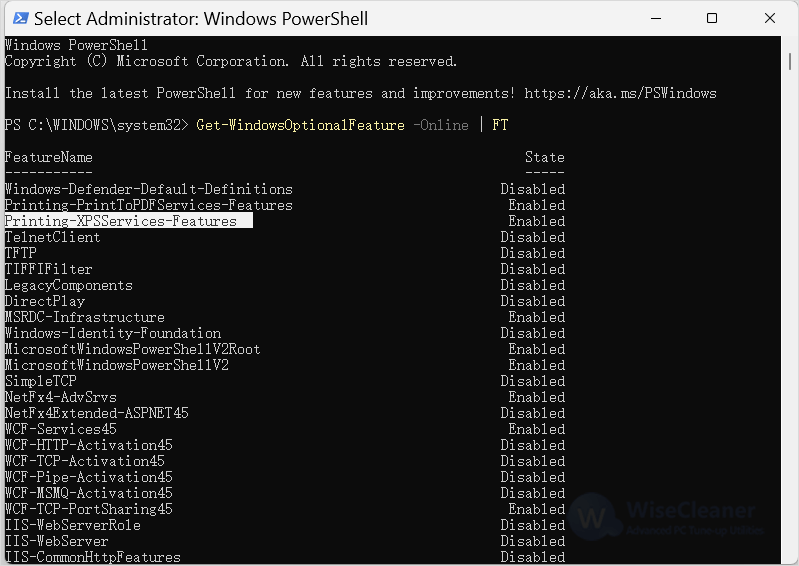
Click on Windows Start and type Windows PowerShell in the search box. Click on the matching item to open it.
Type the command below and press Enter. A screen will appear with all the optional features available on your PC.
Get-WindowsOptionalFeature -Online | FT
Select the optional feature you want to remove or add, and copy its name.
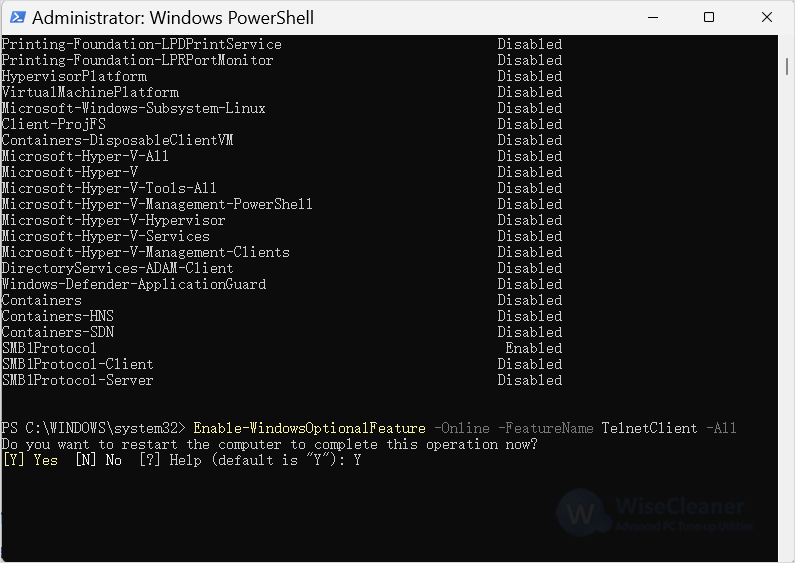
Enter the following command to add an optional feature to your computer.
Enable-WindowsOptionalFeature -Online -FeatureName
Notice: You need to replace the command
After executing the above command, type Y and press Enter to restart your computer and install optional features.
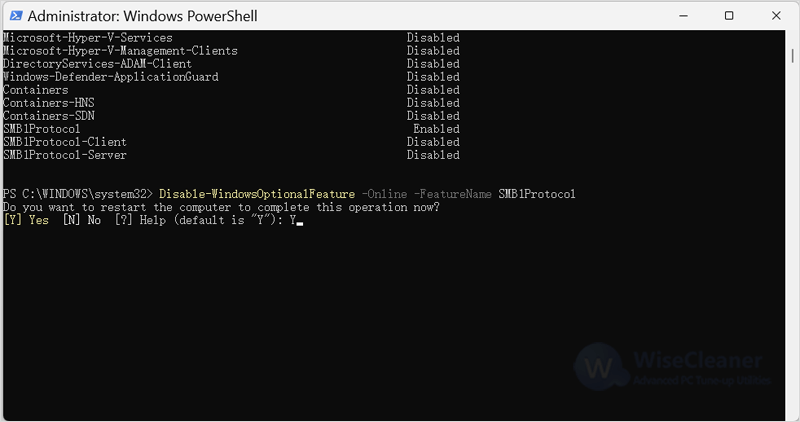
Enter the following command to remove an optional feature from your PC.
Disable-WindowsOptionalFeature -Online -FeatureName
Notice: You need to replace the command
After executing the above command, type Y and press Enter to restart your computer and uninstall optional features.
The above is the method of adding and removing optional features, have you learned it? If you have other problems with computer usage, you can visit WiseCleaner, which has a lot of computer tips, and hope it can help you.
Additional Related Articles
wisecleaner uses cookies to improve content and ensure you get the best experience on our website. Continue to browse our website agreeing to our privacy policy.
I Accept


