WiseCleaner Think Tank
Encounter difficult computer problems?
All about maintenance and optimization of your Windows System.
Dec 7, 2022
OneDrive is a great tool that helps users sync documents from their computers to the cloud. But some users don't want to back up some sensitive files to the cloud. And when the user starts OneDrive, it runs in the background, taking up computer memory.
If your computer is not running fast and you don't need to use OneDrive, then you can choose to disable OneDrive or remove it directly to get more system resources. This article will show you how to disable or remove OneDrive on Windows 11.
To prevent OneDrive from syncing and uploading confidential files, you can choose to turn off file syncing.
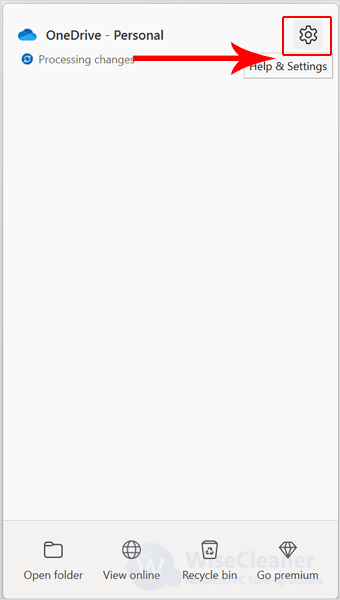
Click OneDrive (a cloud icon) in the taskbar. You will see a OneDrive panel, click the gear icon in the upper right corner.
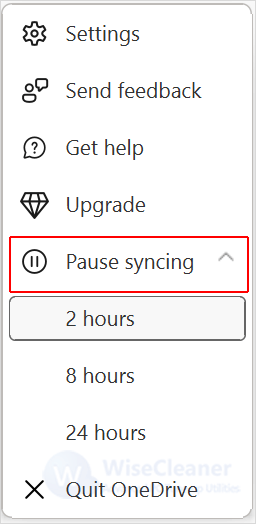
Select Pause Syncing on the open menu. You can choose the period of time to disable file synchronization, the selectable time is 2 hours, 8 hours, or 24 hours. After the selection is complete, OneDrive will stop file synchronization within the corresponding time period.
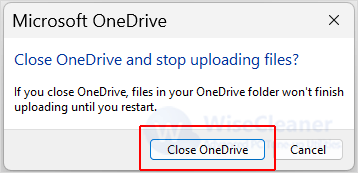
If you don't want to sync files for any period of time, you can quit OneDrive. There will be a prompt box asking if you want to close OneDrive, click Close OneDrive. OneDrive will no longer sync files or notifications in the future.
To prevent OneDrive from starting to sync files when your computer starts up, you can turn it off.
Click the OneDrive icon (a cloud icon) in the taskbar. You will see a OneDrive panel, click the gear icon in the upper right corner, then select Settings.

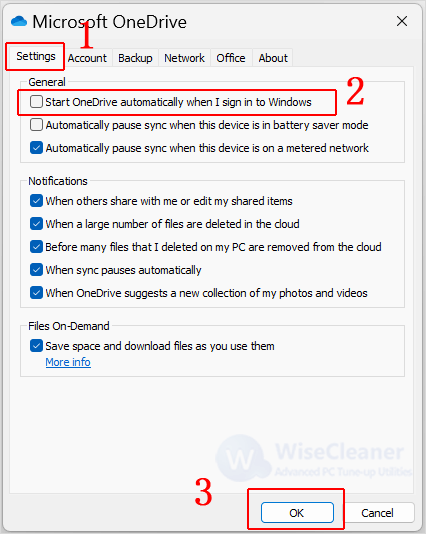
Select settings at the top of the Microsoft OneDrive window, then uncheck the "Start OneDrive Automatically When I Sign In to Windows" option. Finally, click OK to close the window.
If you have decided not to use OneDrive anymore, you can choose to uninstall this software. The specific steps are as follows.
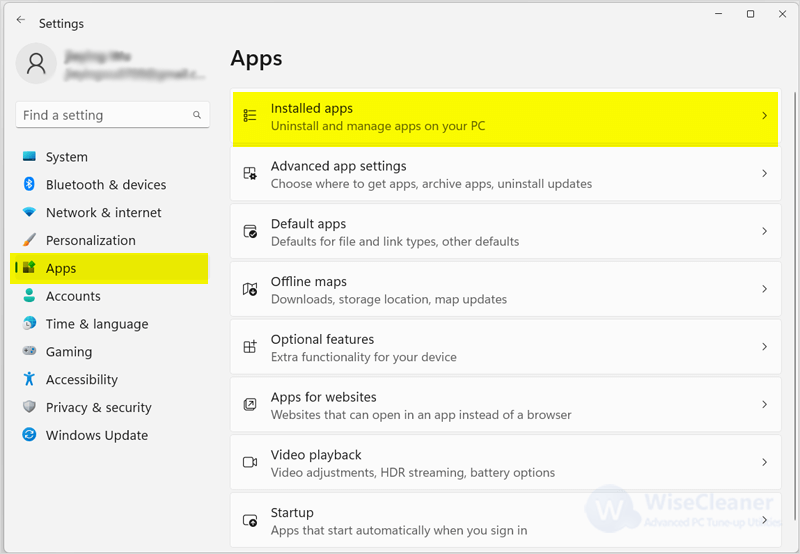
Press Win + I to open the settings. Click the Apps in the left pane. Then click on the Installed apps option in the Apps section.
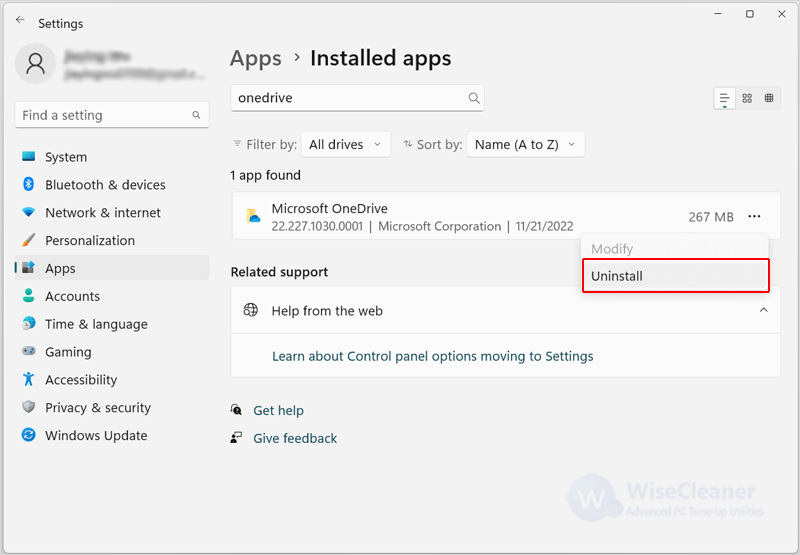
Scroll down and locate the Microsoft OneDrive app in the list. Click on the three dots and select the Uninstall option. There will be a prompt box reminding you that the program and related information will be uninstalled. Click Uninstall to complete the operation.
If you're also struggling with OneDrive synchronizing your files, or you don't need to use it, you can use the above methods to disable or uninstall it. If you have other problems with computer usage, you can visit WiseCleaner, which has a lot of computer tips, and hope it can help you.
Additional Related Articles
wisecleaner uses cookies to improve content and ensure you get the best experience on our website. Continue to browse our website agreeing to our privacy policy.
I Accept


