In the previous article, we introduced a method to quickly recover recently deleted files (photos, movies, documents, etc.). But some users say Quick scan can't find the file I want to recover, or I can't open the recovered file. In this article, I will introduce how to use Deep Scan in Wise Data Recovery to restore deleted files that Quick Scan cannot find.
1. Use deep scan to scan the drive in-depth
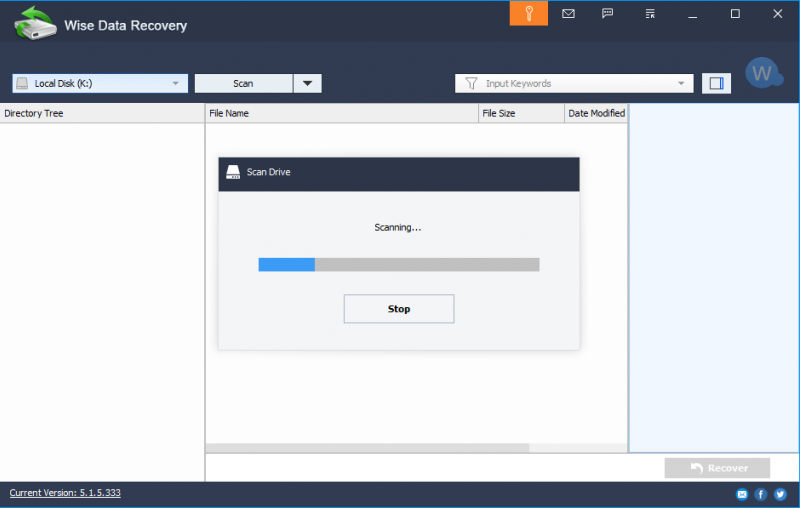
It is the same as Quick Scan, select the drive, click the drop-down menu, and then select Deep Scan. However, it takes more time than a quick scan. So please wait patiently.
2. Find the file you want to recover
In the left pane, Deep Scan has one or more sections than Quick Scan, with similar names More files. That is a major difference.
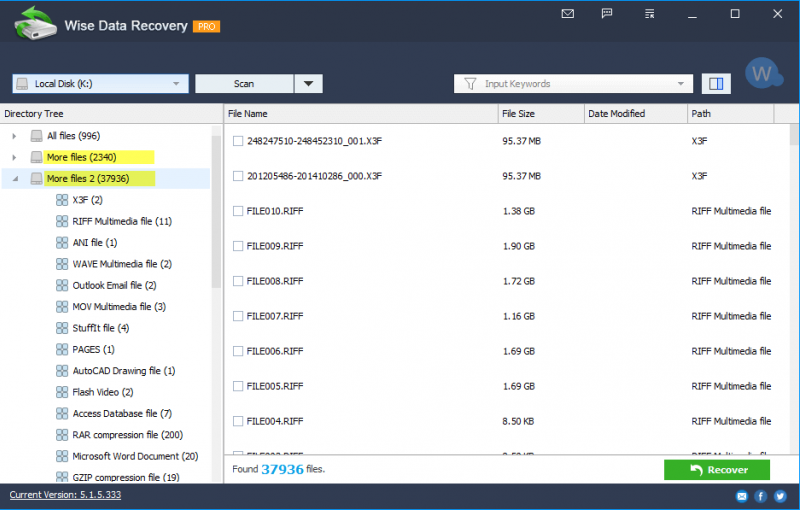
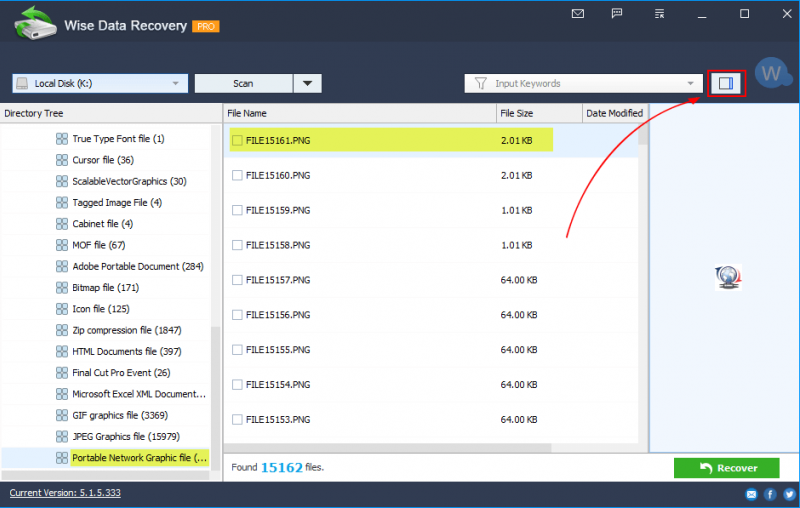
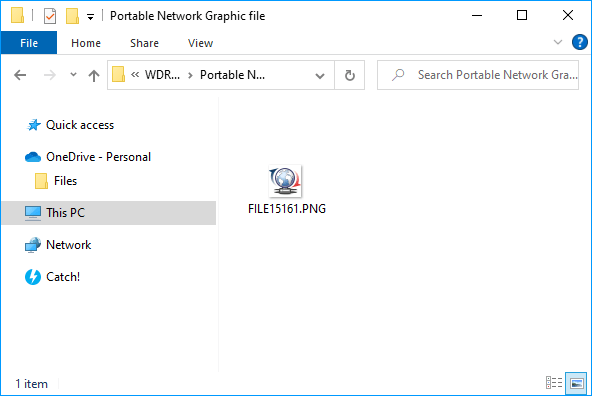
Expand More Files, find the category of the file you want to recover. For example, Portable Network Graphic files refer to image files with file extension PNG. Wise Data Recovery supports to preview image files before recovering. If an image file could be previewed then it can be opened after recovering.
3. Recover selected files
Find the file that needs to be recovered by previewing the picture or file name, then tick the checkbox in front, click the Recover button in the lower right corner.
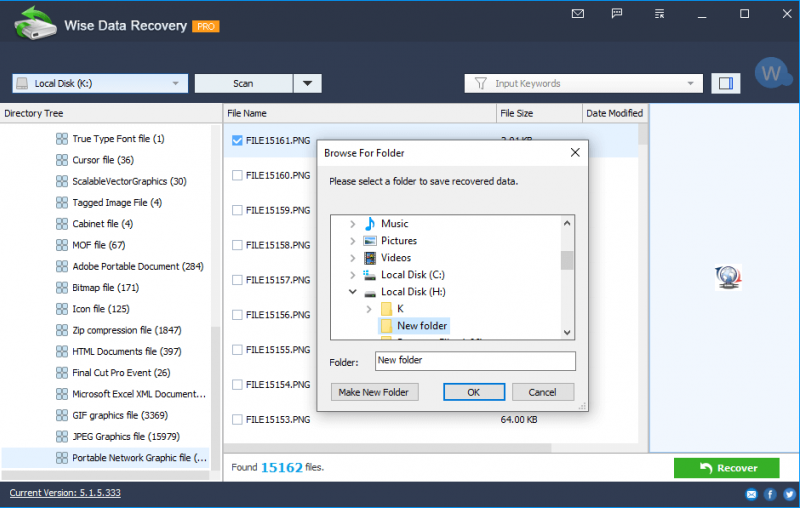
Wise Data Recovery will ask you to choose a location to store the recovered file.
We highly recommend choosing a different drive to save the recovered files. But you can move it back to the original drive after restoring.
It is so easy! If the Quick Scan doesn't find the file you want to recover, please try Deep Scan of Wise Data Recovery.

