WiseCleaner Think Tank
Encounter difficult computer problems?
All about maintenance and optimization of your Windows System.
Nov 2, 2022
Many users' work and study are inseparable from wireless networks, which have become an important part of our lives. But recently numerous Windows 11 users have encountered the situation of Wifi connection but no network, which affects the user's work and study. If you also encountered such trouble, this article will tell you how to fix a WiFi connection but no internet in Windows 11.
Various reasons can cause a WiFi connection but no network in the process of using the computer. Here are some of the causes of WiFi connected but no internet.
How to fix WiFi connected but no internet in Windows 11? There are many ways to check WiFi connection but no network. You can follow the methods below to find the problem in order. Before we proceed, please make sure that you have turned off the airplane mode of your computer, enabled the WiFi adapter, and used a WiFi connection problem on other devices to prove that the WiFi is working properly.
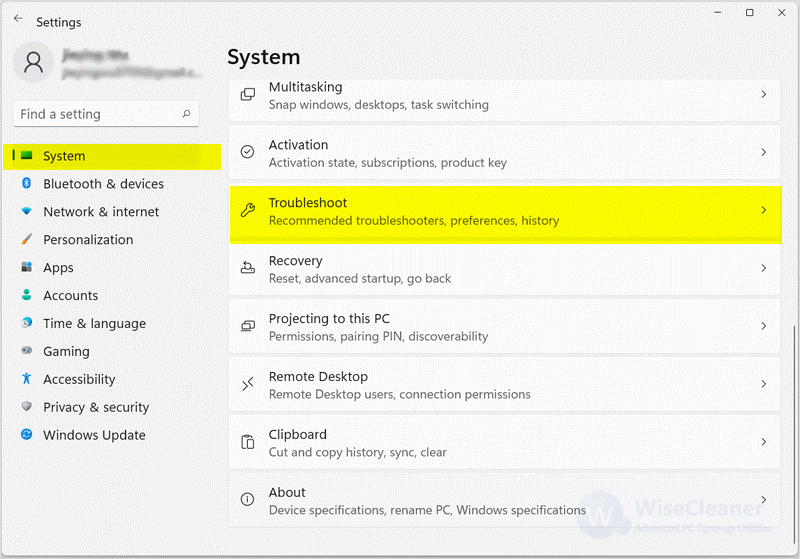
Press Win + I on your keyboard to open the settings. Click the System in the left pane, then scroll down and select Troubleshoot in the right pane.
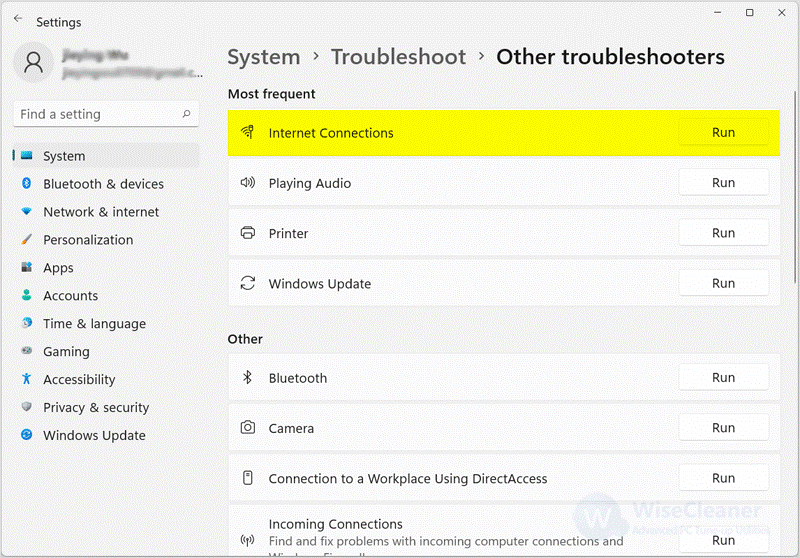
Click the Other troubleshooters, and then click Run next to Internet Connections.
Select Troubleshoot my connection to the Internet in the pop-up Windows.
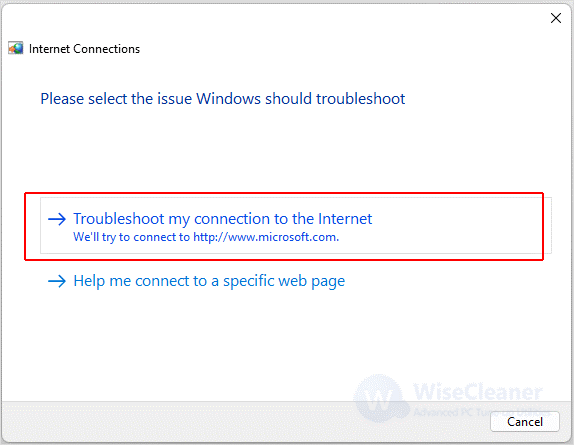
Wait for the system to check the network connection, and if there is still no network connection after checking, continue to try method 2.
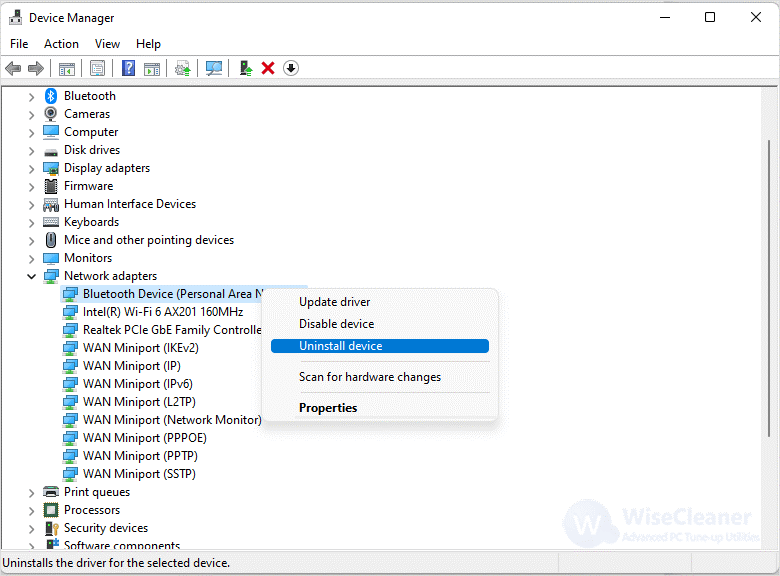
An outdated or damaged WiFi driver can make the network unreachable, and reinstalling the WiFi driver is a great way to fix the network.
Type Device Manager in the search bar and open the program.
Expand Network Adapters. Right-click the WiFi driver and select Uninstall device. Click Uninstall in the pop-up Windows.
Restart your computer and your computer will automatically reinstall an appropriate WiFi drive.
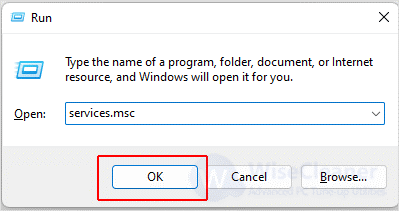
Press Win + R on your keyboard to open the Run box. Type services.msc and then click OK.
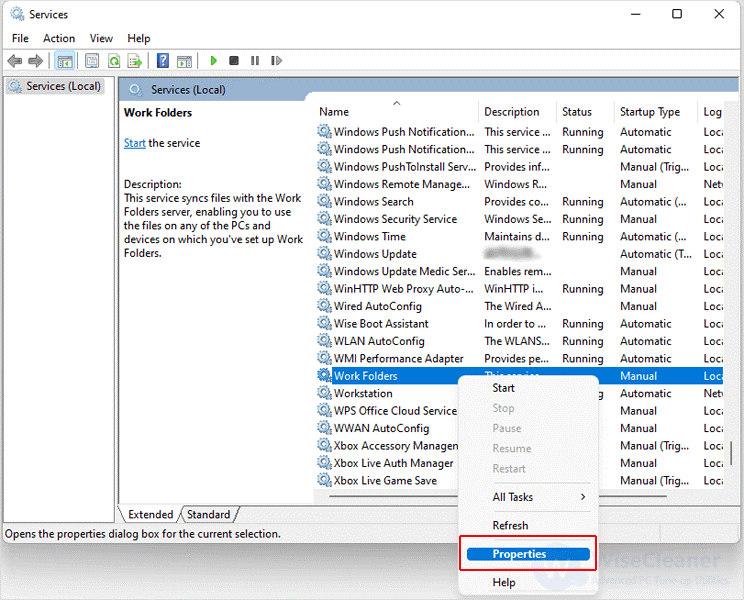
Scroll down to find and right-click WLAN AutoConfig and select Properties.
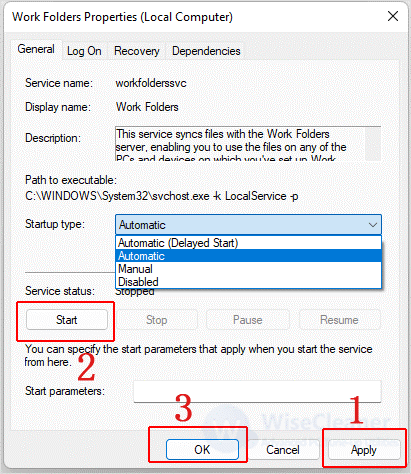
Select Automatic in the Startup type, then click Apply, Start, and Ok to close the window. Restart your computer again and check if the network is connected properly.
The network not working may be a problem after the Windows 11 update. If none of the above methods help you solve the problem, then you can try to uninstall the Windows 11 update.
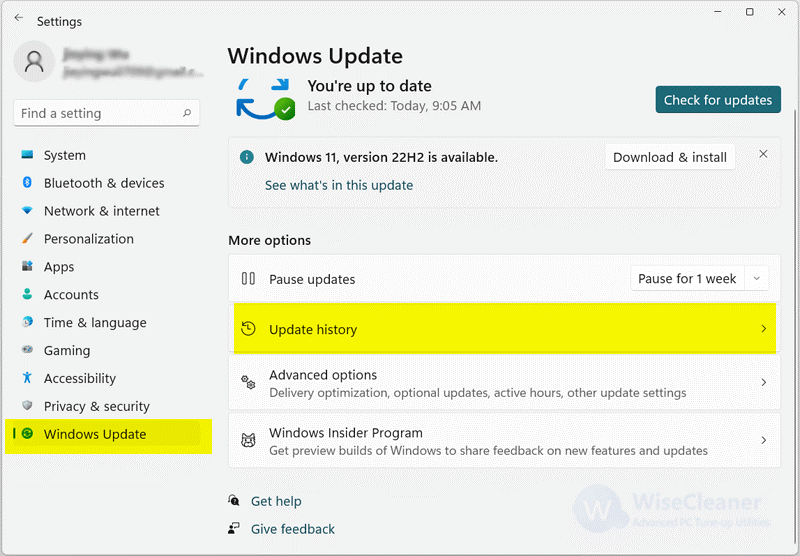
Press Win + I on your keyboard to open Settings, select the Windows Update in the left pane, and then click the Update history.
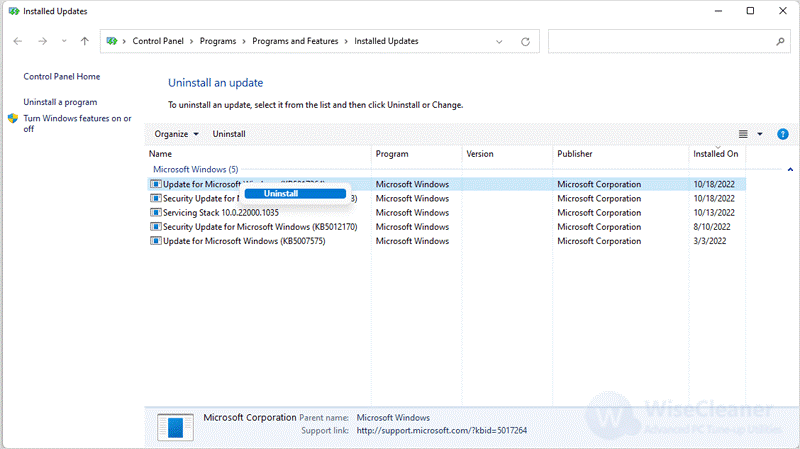
Click the Uninstall updates. Select the update you want to remove and click Uninstall. Finally, click Yes when a dialogue box appears.
If you also encounter a WiFi connection problem but the network does not work, I hope the above methods are helpful to you. If you have a better solution, welcome to contact us.
Additional Related Articles
wisecleaner uses cookies to improve content and ensure you get the best experience on our website. Continue to browse our website agreeing to our privacy policy.
I Accept


