If you updated to windows 10, you might notice something strange happened on your computers such as poor performance, low memory, and display problems, which are all signs of low memory. Here we sum up some solutions to help you fix this memory usage going high issue on windows 10. You can have a try on your PC.
Method 1. Check memory usage using Task Manager
Check whether a program overuses memory, and uninstall the app which you are not using on windows 10.
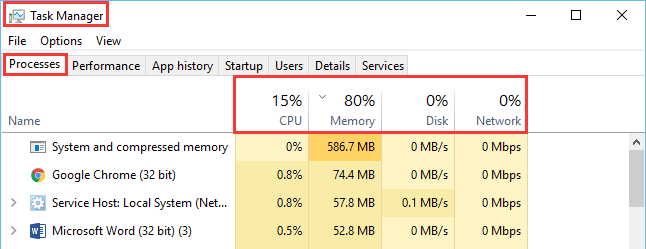
Step 1. Open Task Manager
Open Task Manager by right-clicking the taskbar, and click Start Task Manager, then click the Processes tab.
Step 2. Sort the Memory
You can see more information by navigating to the Memory tab. In this view, you will see the information found in Windows Task Manager and a graph that breaks down how your system is currently allocating RAM.
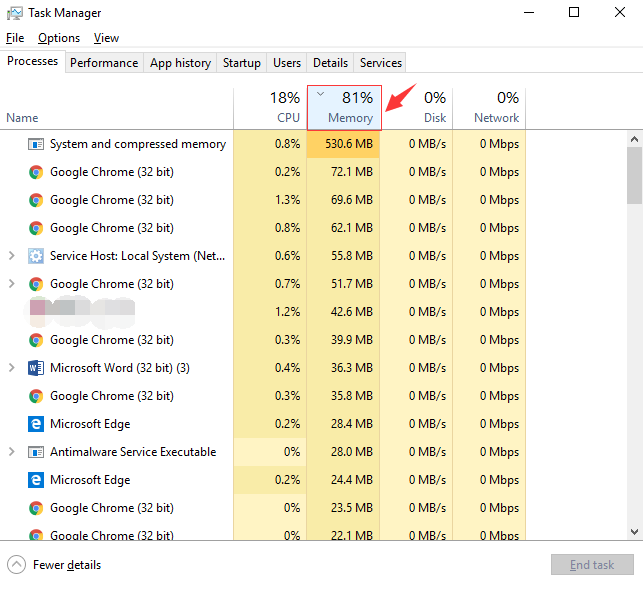
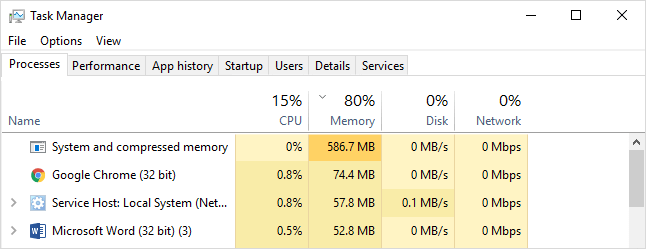
Step 3. End the process with high memory usage
After sorting the memory in ascending order, you can clearly see the processes with high memory usage. Select a process, right-click or click the End task button at the bottom of the window to stop the process and release the memory occupied by the process.
Important: Stop only processes you know about. Stop certain system processes, which may cause the system to stop working or restart.
Method 2. Disable programs running at Startup.
If you want to save lots of CPU memory usage, please disable as many programs as possible that are running at startup on windows 10.
Step 1. Open Task Manager
In addition to the above method of opening the task manager through the taskbar, you can also use the following 3 methods.
- Press Ctrl + Alt + Delete
- Press Ctrl + Shit + ESC
- Press Win + X to open the Power User Menu, then click Task Manager.
Step 2. Switch to the Startup tab
Windows 10 provides an easy way to manage programs that will start automatically when Windows starts. After opening the task manager, click on the startup tab and you will see the programs that will run automatically.
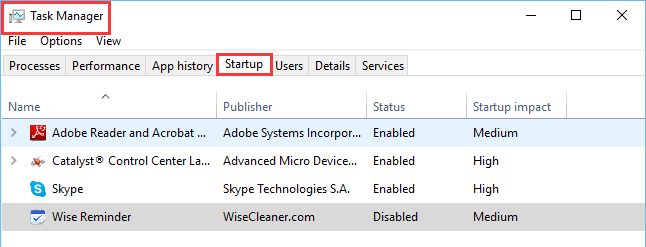
Step 3. Disable programs
Right-click on the application that you don’t want to run at startup and select Disable
Method 3. Free up memory with Wise Memory Optimizer
If you find that it is hard to check the driver issue manually, please try to use Wise Memory Optimizer which can help you defrag memory and free up more memory with one click.
Step 1. Download and install Wise Memory Optimizer
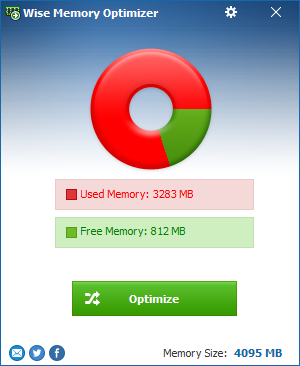
Download and install Wise Memory Optimizer, the main interface shows the used memory and free memory clearly.
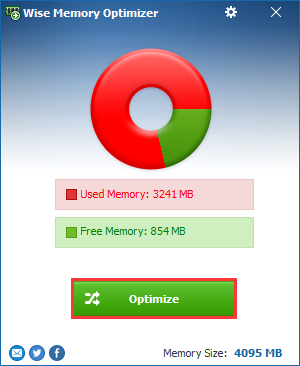
Step 2. Optimize memory manually
Click Optimize now, and wise Memory Optimizer will help you to free up as much memory as possible. So easy, right?
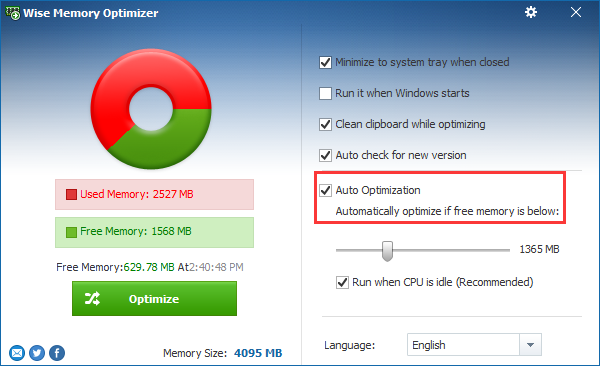
Step 3. Set up auto optimization task
Besides, it can also optimize your memory automatically if you choose enable auto optimization in settings.
Conclusion
Hopefully, these steps will help you to fix the memory issue on your Windows 10-powered PC. If you have any questions about solving high memory usage issue, please contact us or leaving a message below.

