WiseCleaner Think Tank
Encounter difficult computer problems?
All about maintenance and optimization of your Windows System.
Feb 14, 2023
Microsoft will release some updates to Windows 11 from time to time, including Quality Updates to fix system bugs, Feature Updates to add new features, Driver Updates to improve hardware performance, Definition Updates to provide system security, and updates to other related products and tools. But updates may also bring new system problems, so not all users are willing to apply all Windows 11 updates at all times. In fact, we can turn off Windows Update in some ways. Below we introduce 3 ways to stop Windows 11 from automatically updating.
Use the shortcut key Win or left-click the Start menu to open the Settings.
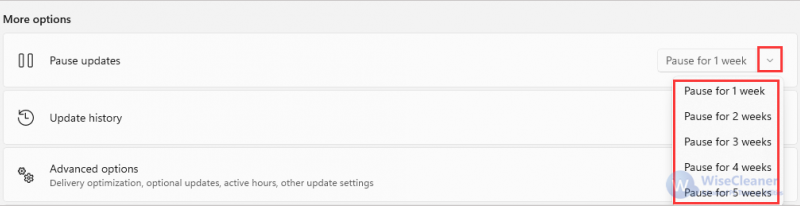
Click Windows Update on the left sidebar. After entering the Windows Update interface, pull down the checkbox of the Pause updates and choose the time to pause Windows updates, for example, you can choose Pause for 1 week, Pause for 2 weeks, etc.
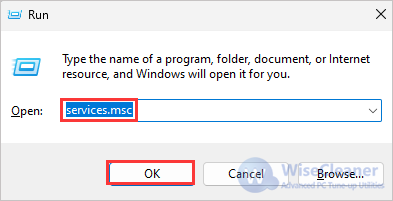
Use the shortcut key Win+R to open the run box.
Enter services.msc in the run box, click OK or directly press Enter key to open the Service.
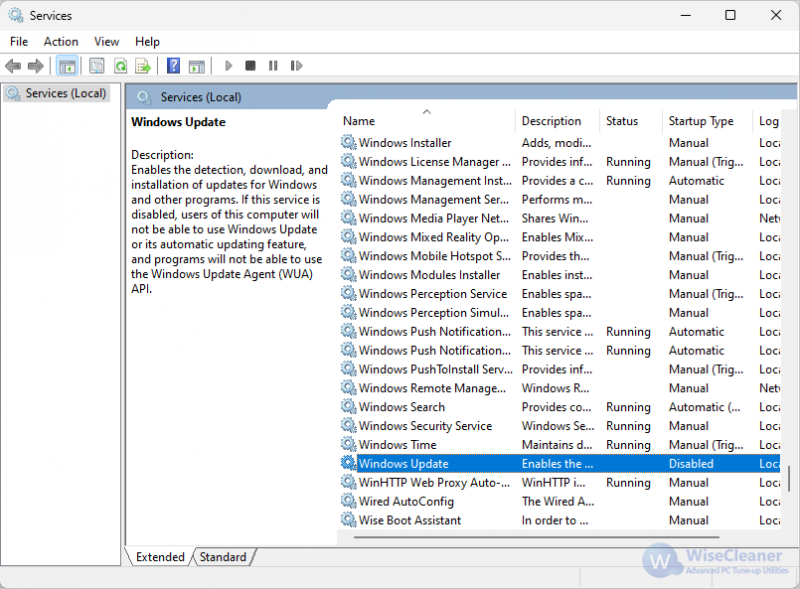
Find Windows Update in the service, double-click the left mouse button to open it.
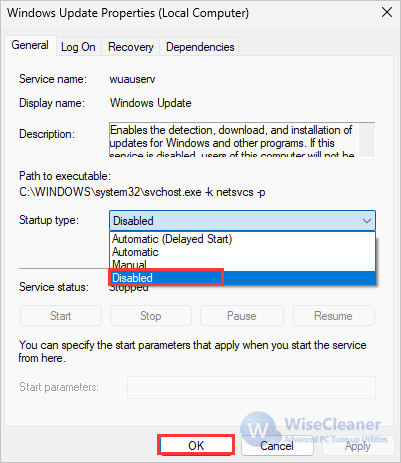
In the Startup type column, change the option to Disabled, and then click the OK button.
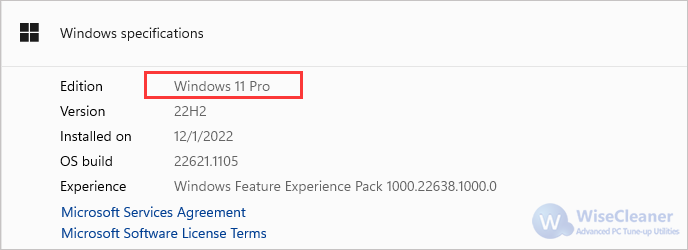
If you are using Windows 11 Pro, you can disable Windows System updates by using Local Group Policy Editor. You can check which version you are using by following steps: click Start menu, and then open Settings. Under System, select About, and under Windows Specifications, look for Edition. If it is displayed as Windows 11 pro, it meets the conditions for using Local Group Policy Editor.
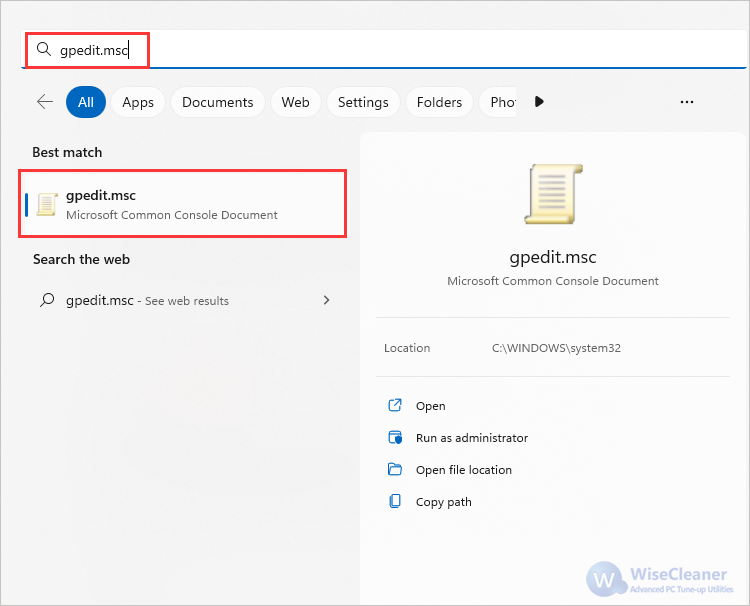
Click the Start button or use the shortcut key Win+S to open the Search.
Enter gpedit.msc, and then click the gpedit.msc option under Best Match to enter the Local Group Policy Editor panel.
Then follow this path: Computer Configuration > Administrative Templates > Windows Components > Windows Update > Manage end user experience
Click Configure Automatic Updates option to open it.
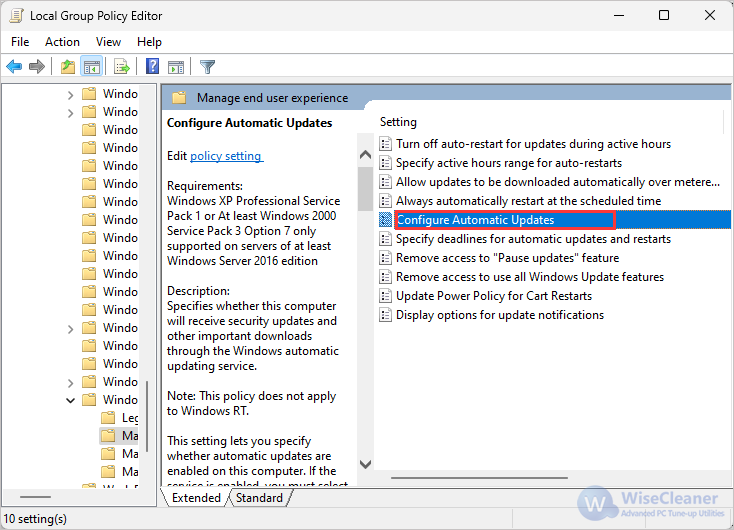
Check the Disable - OK option to permanently turn off the automatic update of Windows 11.

The above are the methods of how to disable system updates in Windows 11. If you have other problems with computer usage, you can visit WiseCleaner, which has a lot of computer tips.
Additional Related Articles
wisecleaner uses cookies to improve content and ensure you get the best experience on our website. Continue to browse our website agreeing to our privacy policy.
I Accept


