WiseCleaner Think Tank
Encounter difficult computer problems?
All about maintenance and optimization of your Windows System.
Feb 5, 2024
In our fast-paced digital world, fast and efficient document scanning has become a daily reality for many users, especially when you want to save time taking notes or simply grab a single passage from a library book.
You can use the built-in Notes app on your iPhone to quickly scan documents and create digital copies of them. In this WiseCleaner post, we will walk you through the steps of easily scanning documents with your iPhone camera and organizing them in Notes.
First, make sure your iPhone has the latest version of iOS to ensure you have the latest features and best performance when scanning documents using the Notes app. Here are the general steps to scan a document using the Notes app on your iPhone:
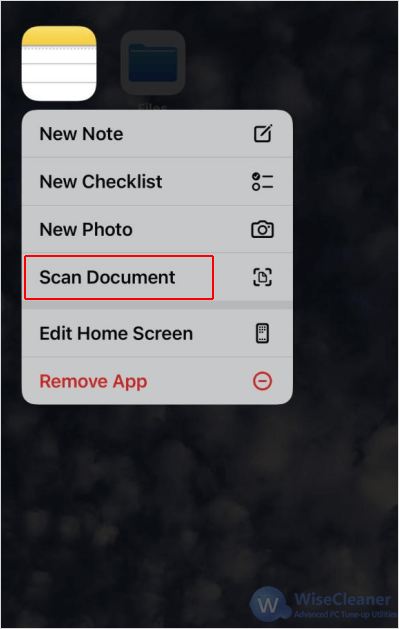
Find the Notes app on your iPhone and press it until the drop-down menu shows. Click on Scan Document from the menu that appears.
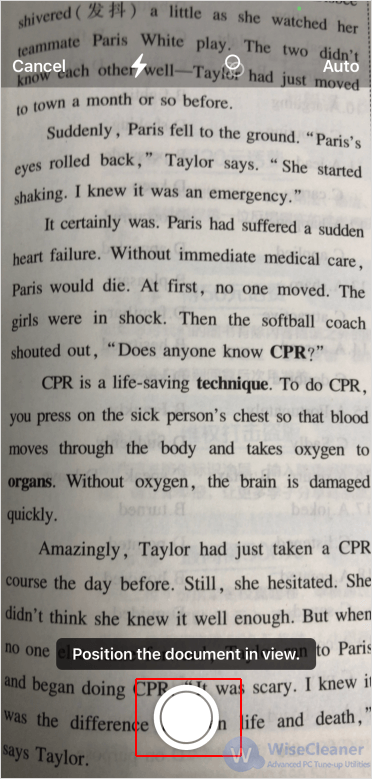
You can use the flash if necessary by tapping the flash icon and choosing On to increase visibility in low light conditions.
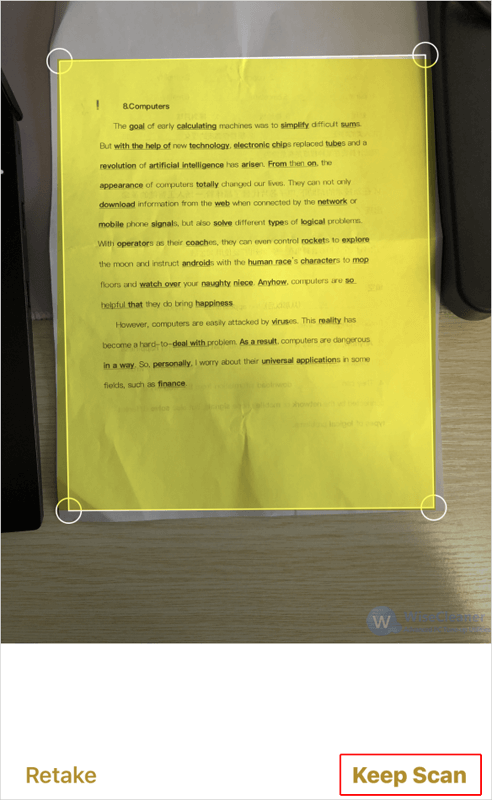
After scanning, you might have the option to drag the corners to adjust the scan to fit the page if the automatic detection was not accurate. Once you are satisfied with the scan, tap Keep Scan.
If you need to add additional pages to this scan, position the camera over the next document and repeat the scanning process.
You can also choose the filters, such as Adjust, Color, Grayscale, Black & White, Photo, or Rotate that you prefer by clicking the scanned document on the bottom left corner.
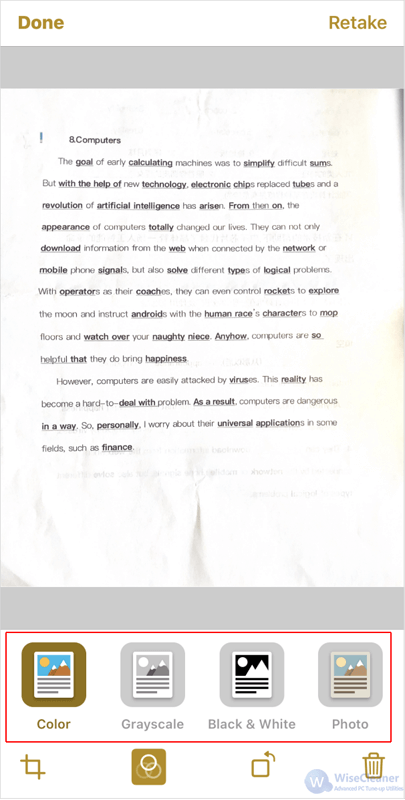
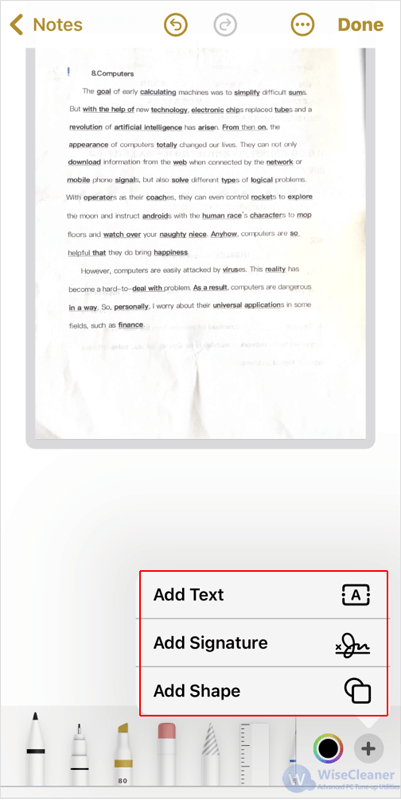
When you are done, tap Save on the bottom right corner to save all scanned pages into your note. This will open another new page where you can add more advanced options into the Notes, like Add Text, Signature, Shape, Annotation or Photo to further enhance the utility of your digital notes.
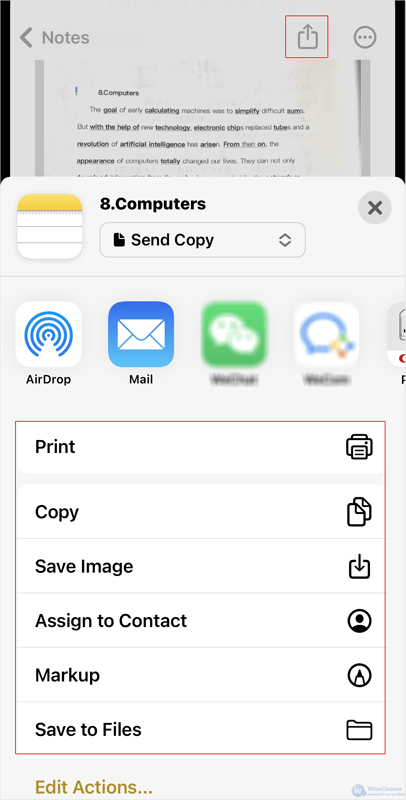
Finally, click on the Share button on the top of the screen to send the PDF document via Mail or any other sharing options available on your iPhone, directly Print it or Save the PDF document to Files, etc..
By using the Scan Document feature in the iPhone Notes app, you can simplify the document management process and reduce the need for external scanning devices or actual paper. Whether you want to digitize favorite passages, preserve important paperwork, or simply organize your notes, the iPhone Notes app has you covered.
wisecleaner uses cookies to improve content and ensure you get the best experience on our website. Continue to browse our website agreeing to our privacy policy.
I Accept


