In Windows, hiding files and folders can help protect personal privacy by preventing others from seeing or accessing these files directly. Besides that, hiding files and folders can also reduce the possibility of users deleting important files by mistake. This post will show you two ways to hide files and folders. If you are interested, just keep reading on.
Method1. Hide files and folders using Windows PowerShell
Windows PowerShell is a very useful tool that helps you to accomplish tasks easily through the command prompt. Here are the specific steps to hide files and folders using Windows PowerShell.
Step1. Open the Windows PowerShell
Click Windows Start and type PowerShell in the search box. Find the matched item and open it as administrator.
Step2. Type the command to hide the file and folder
If you only want to hide individual files, you can copy the following command into a PowerShell window and click Enter.
attrib +h "file path"
Notice: Please replace "file path" with the actual path of the file. e.g.: attrib +h "E:\1\folder1\8.png"

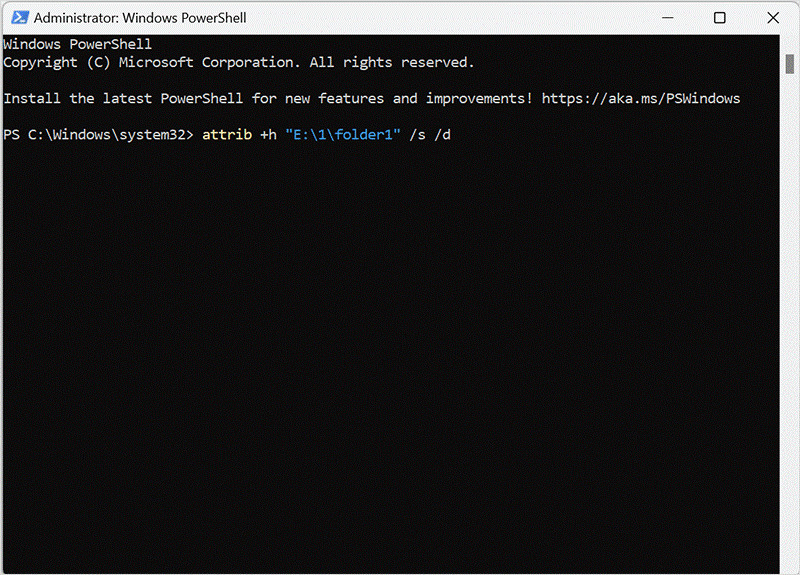
If you want to hide an entire folder, you can copy the following command into a PowerShell window and click Enter.
attrib +h "folder path" /s /d
Notice: Please replace "folder path" with the actual path of the folder. e.g.: attrib +h "E:\1\folder1" /s /d
Although PowerShell can use the command prompt to quickly hide files and folders, entering a command can only hide files in one path. With Wise Folder Hider, you can add multiple files at once.
Method2. Hide files and folders using Wise Folder Hider
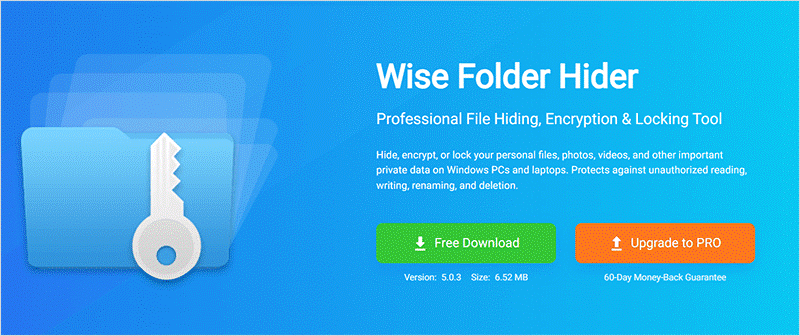
Wise Folder Hider is a professional file-hiding, encryption, and locking tool. It can easily hide your files and folders and make them disappear from Windows File Explorer. No one can see your hidden files and folders. Effectively protect your private or important data from unauthorized access and deletion.
Step1. Download and install Wise Folder Hider
If you haven’t downloaded Wise Folder Hider, you can click here to download it safely.
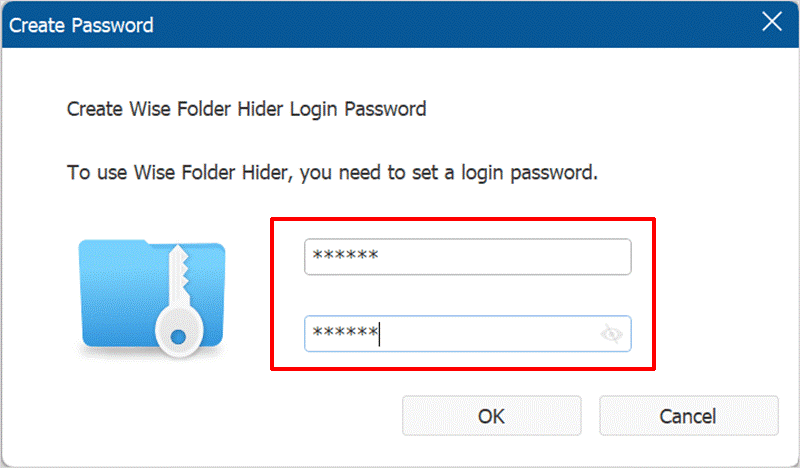
Step2. Set up a Login Password
If you are using Wise Folder Hider for the first time, you need to set a login password and click OK.
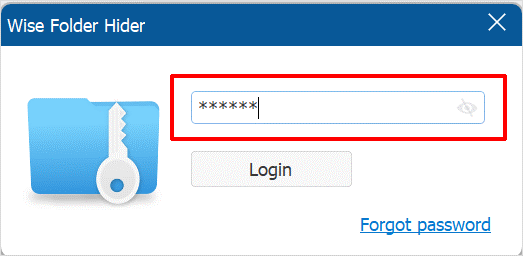
If you have already used Wise Folder Hider, you only need to enter the set password to log in.
Step3. Hide files and folders
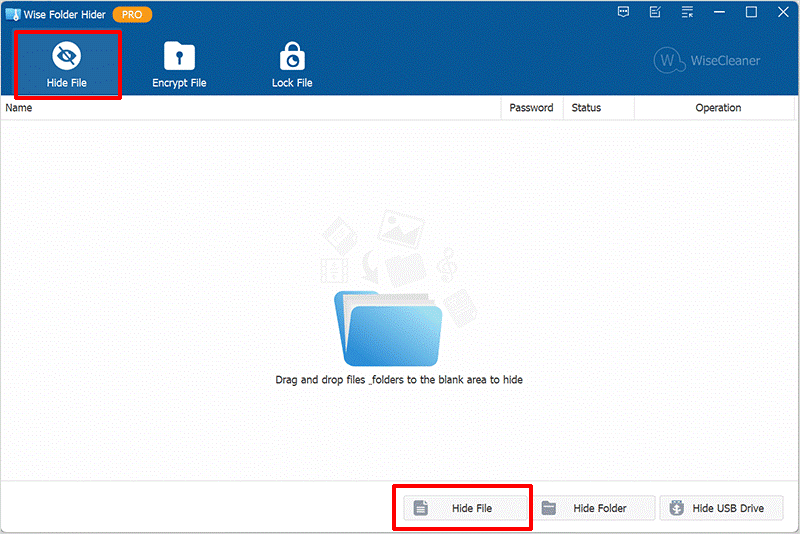
Run Wise Folder Hider, and select Hide File on the navigation bar. Then click the Hide File button in the bottom right corner of the window.
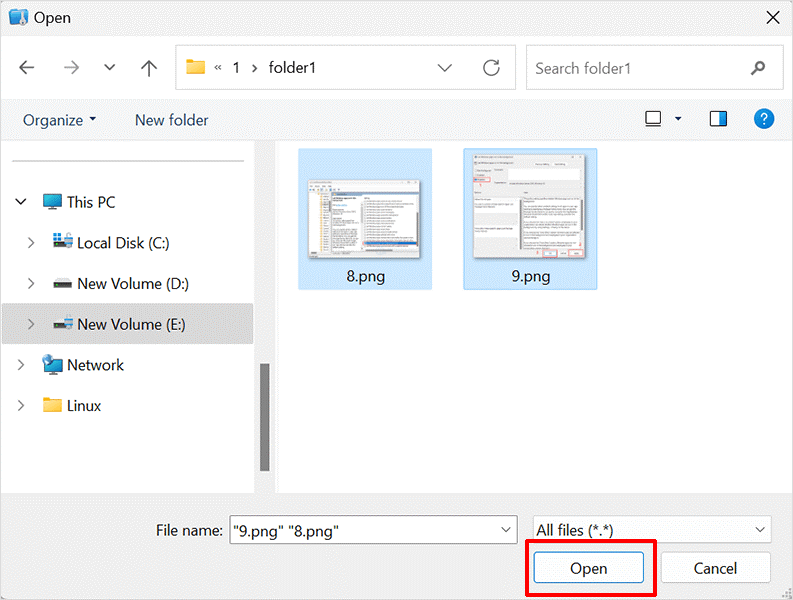
Then you can select the files you want to hide. You can select one or multiple files. After selecting, click Open to automatically hide the selected files.
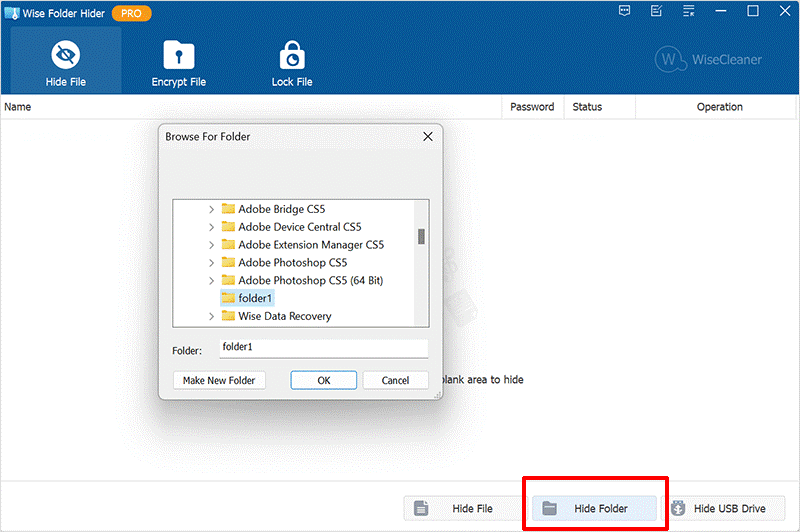
Similarly, if you want to hide a folder, just select Hide Folder in the bottom right corner of the window, then select the folder you want to hide, then click OK. Please note that you can only select one folder at a time.
Step4. Set a password
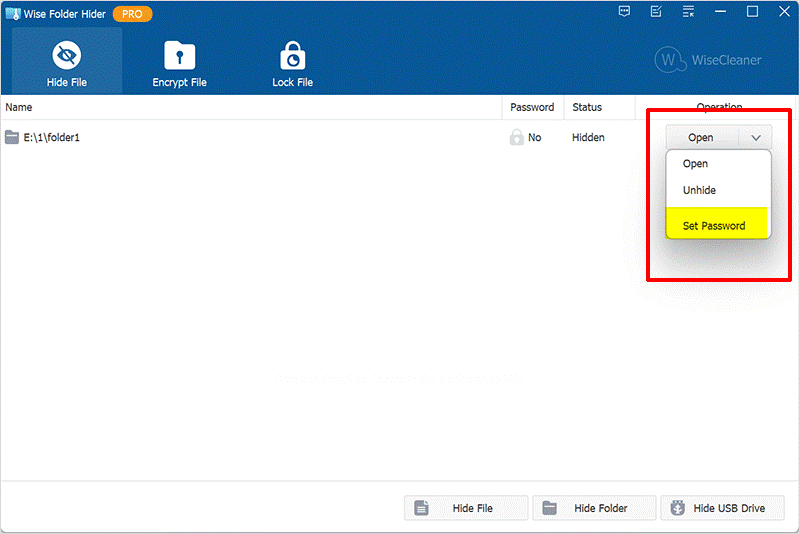
If you feel that just hiding files is not secure enough, you can also set passwords for hidden files or folders. All you need to do is click on the drop-down menu next to the Open button, select Set Password, and enter the password.
Conclusion
Hiding files and folders can protect your privacy and reduce the possibility of accidental deletion to a certain extent. But a safer method is to not only hide files but also set passwords for files to ensure the confidentiality of files under double protection. Wise Folder Hider is a professional file-hiding and encryption tool that can double-protect the privacy of your files in just 4 steps.

