Compress Videos
The free version of Wise Video Converter is limited to compressing videos less than 30 minutes in length, but there is no limit on the number of files.
Compressing video is very similar to converting video. The main difference is that the compressed video size can be adjusted arbitrarily in the settings.
Step 1: Import (add) videos
Wise Video Converter provides 2 ways to import videos: Drag & drop files, and 【Add】 button. 
Can not drag and drop files? Please try this: 7 Ways to Fix Drag and Drop Not Working on Windows 11
If multiple videos you want to convert are in the same folder, use CTRL or SHIFT keys to select them and add them to Wise Video Converter.
If you want to remove a video from the list, click the 【Delete】 icon after the video to delete it from the list. 
Step 2: Customize compression settings
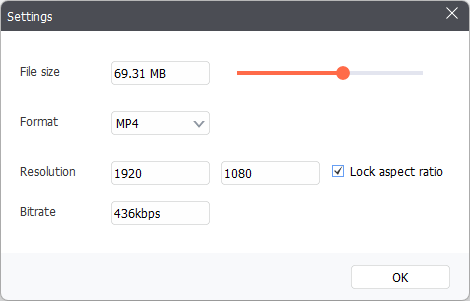
1. Change the output settings
In Settings, you can adjust the file size, output format, resolution, and bitrate of the compressed video, just need to click the 【Settings】 button behind the video. 
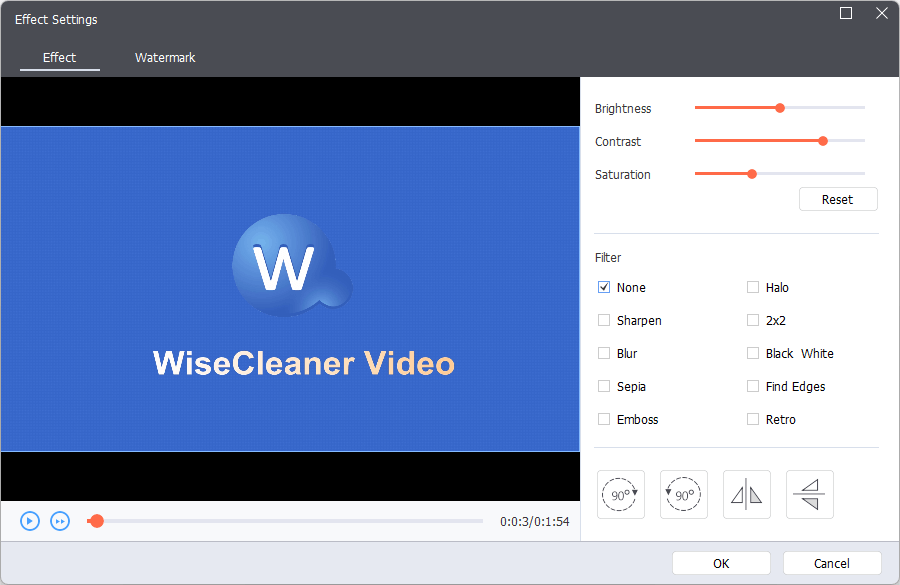
2. Add a watermark or video effect
Click the 【Watermark & Effects】 icon behind the video to add watermarks or effects. 
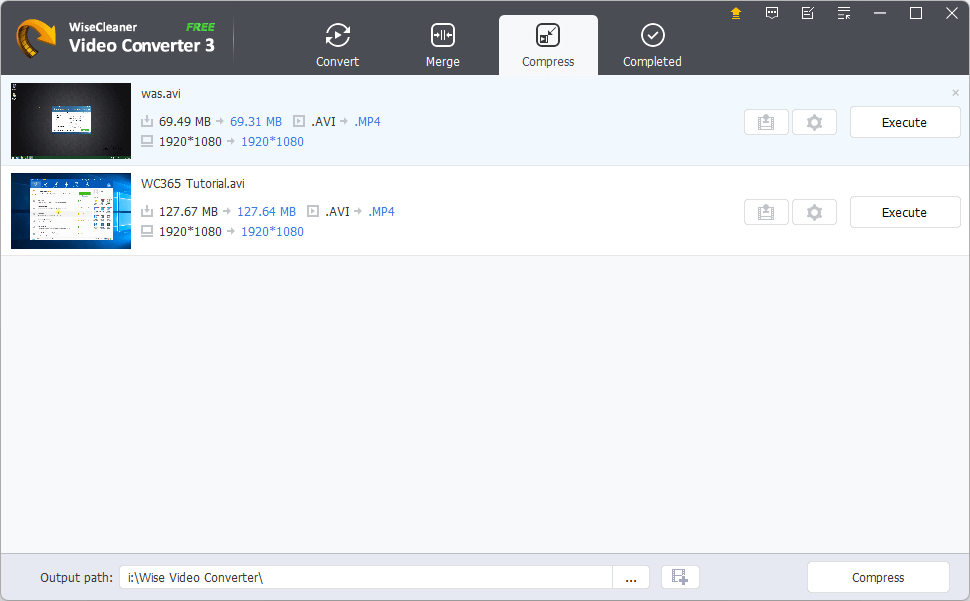
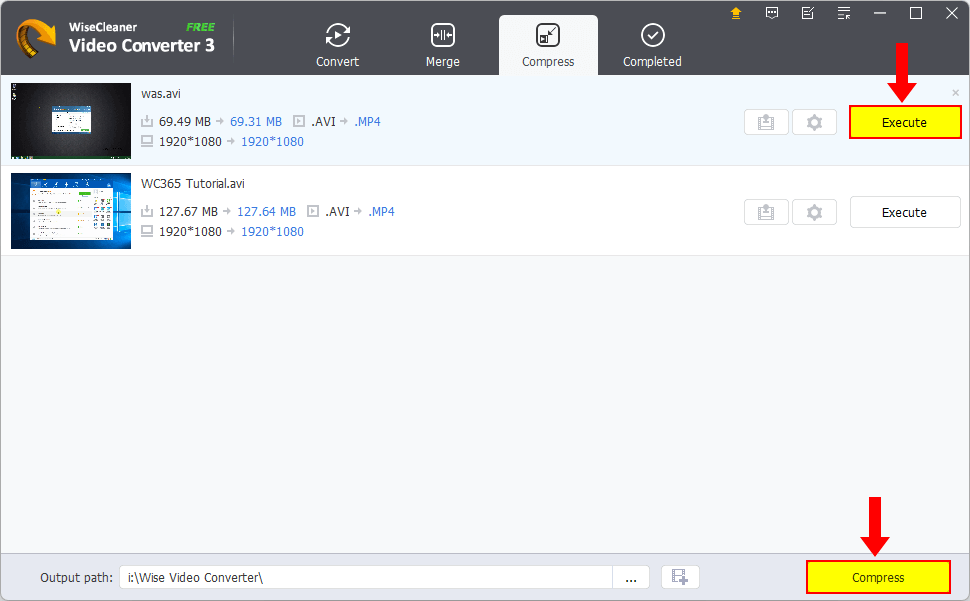
Step 3: Start compressing
Both the 【Execute】 button behind the video and the 【Compress】 button at the bottom can start compression.
The only difference is that the 【Execute】 button compresses only one video, while the 【Compress】 button compresses all videos in the list.
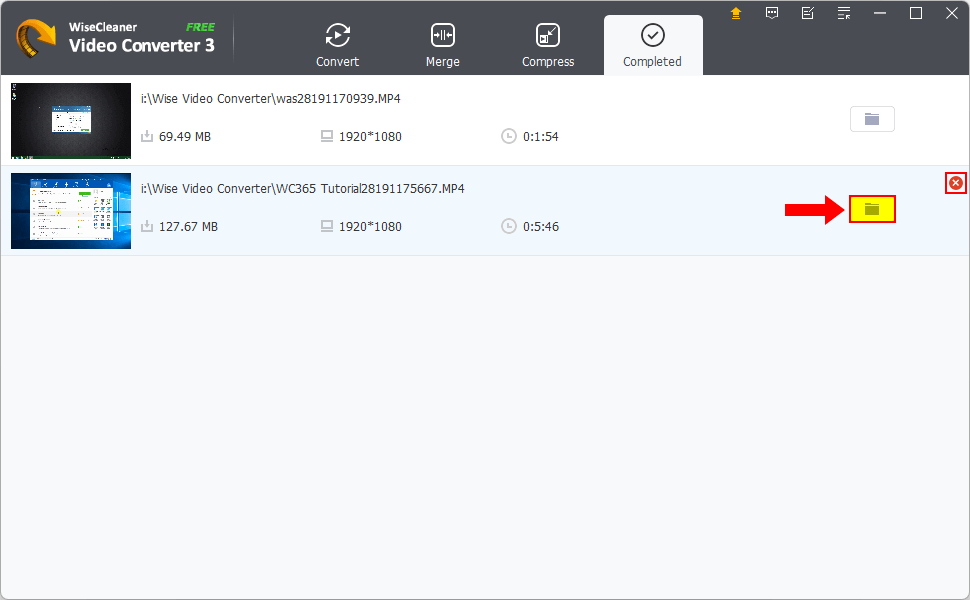
Step 4:Check the compressed videos
After the compression is completed, the compressed video will be displayed in the Completed list. Here you can open the output folder to check the compressed videos.
The 【Delete】 icon behind a video is used to remove this record from the completed list. It does not delete the converted video files.