WiseCleaner Think Tank
Encounter difficult computer problems?
All about maintenance and optimization of your Windows System.
Nov 16, 2022
It is a good habit to back up files and folders. You can use backups if your system crashes or files become corrupted and inaccessible. File History is available in all versions of Windows starting with Windows 8. This allows you to back up important files on an external storage device. If you're also interested in file history, keep reading.
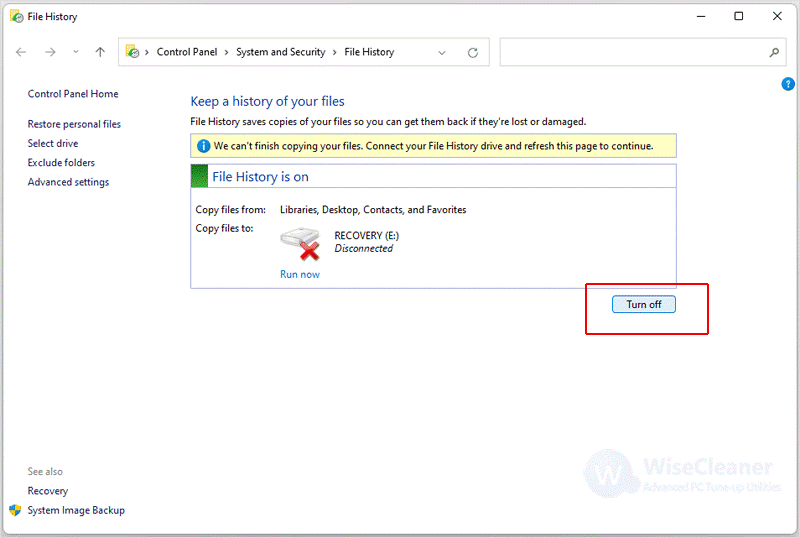
Click the Windows Search icon on the taskbar and type File History in the search box. Select File History from the results to open the Control Panel applet.
Click the Turn on button. If you want to disable File History later, just click the Turn off button.
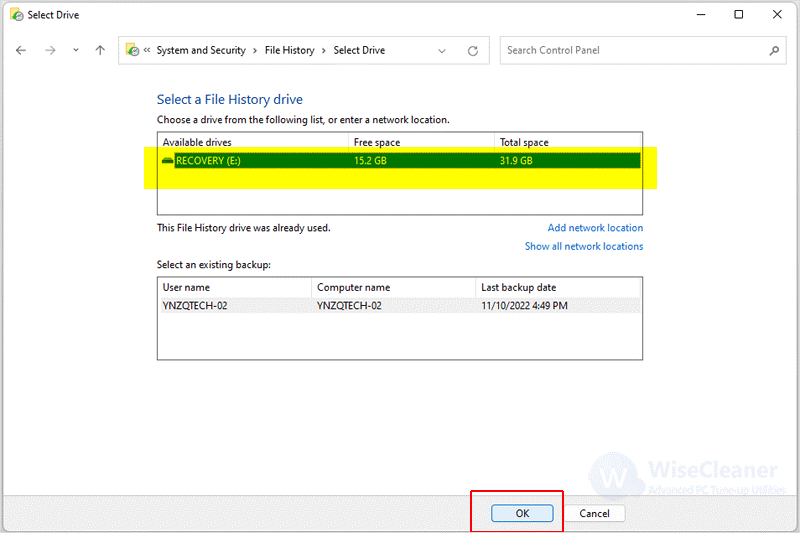
Insert a USB storage device into your computer and click the Select drive button in the left pane.
Then select the storage drive listed. Finally, press the OK button to confirm your chosen storage device.
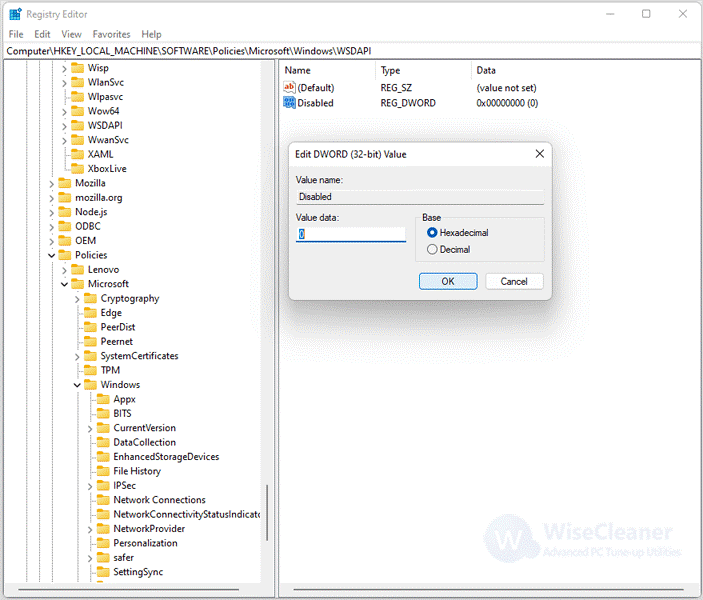
Press Win + R to open the run, type regedit in the text box, and click OK. Input this registry key location within the Registry Editor’s path bar and press Enter.
HKEY_LOCAL_MACHINE\Software\Policies\Microsoft\Windows\
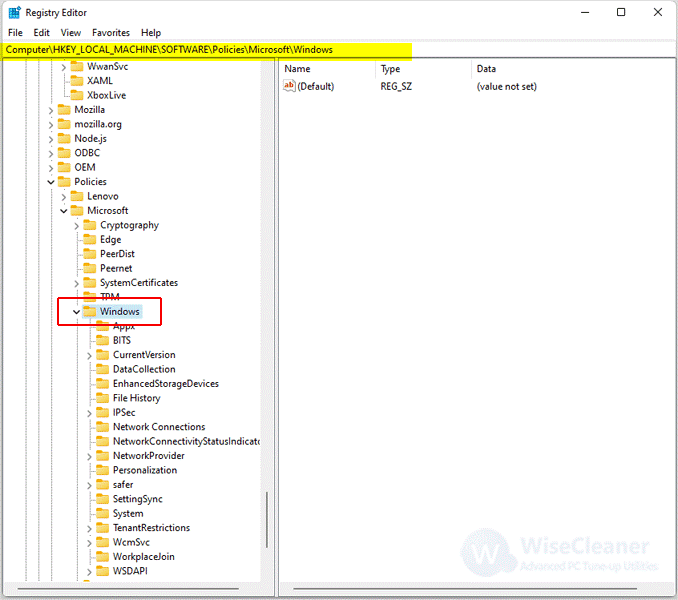
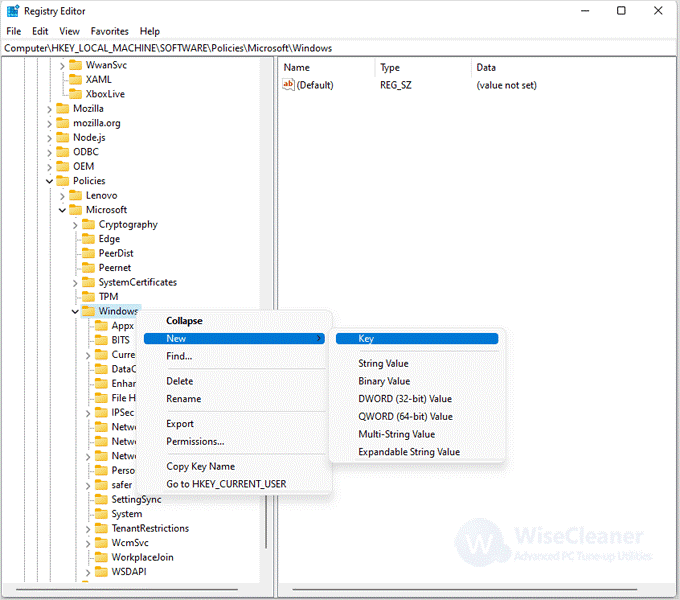
Right-click the Windows key on the left pane and select New, then key. Enter File History as the title.

Right-click in the right pane of the registry to select New, then DWORD (32-bit) Value. Enter Disabled as the title.
Double-click the new Disabled DWORD and enter 0 in the Value data box to enable File History. If you want to disable File History, enter 1 in the Value data box. Finally, press the OK button to save your value setting for that DWORD.
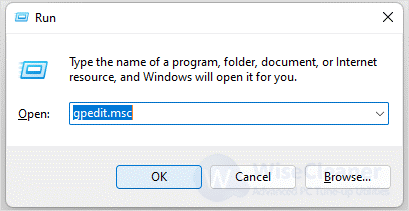
Press Win + R to open the run, type gpedit.msc in the text box and click ok.
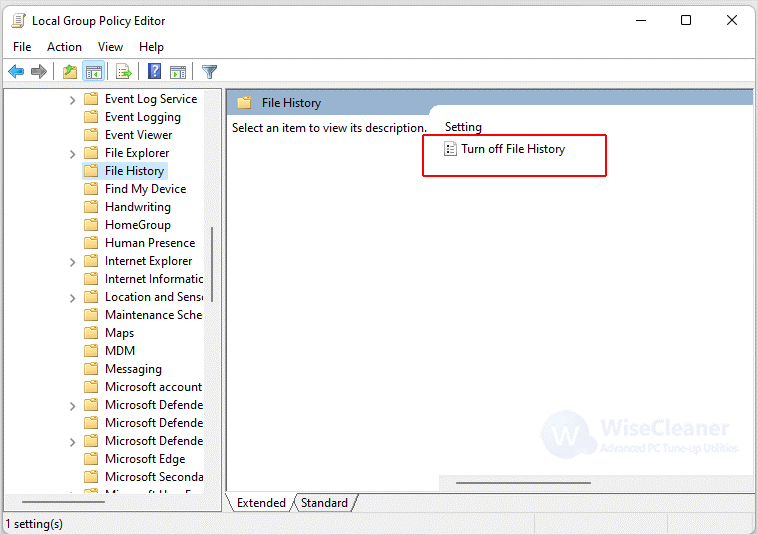
Find the following locations in the Local Group Policy Editor's window.
Computer Configuration\ Administrative Templates\ Windows Components\File History
Next, select File History on the left of the window and Double-click the Turn off File History button.
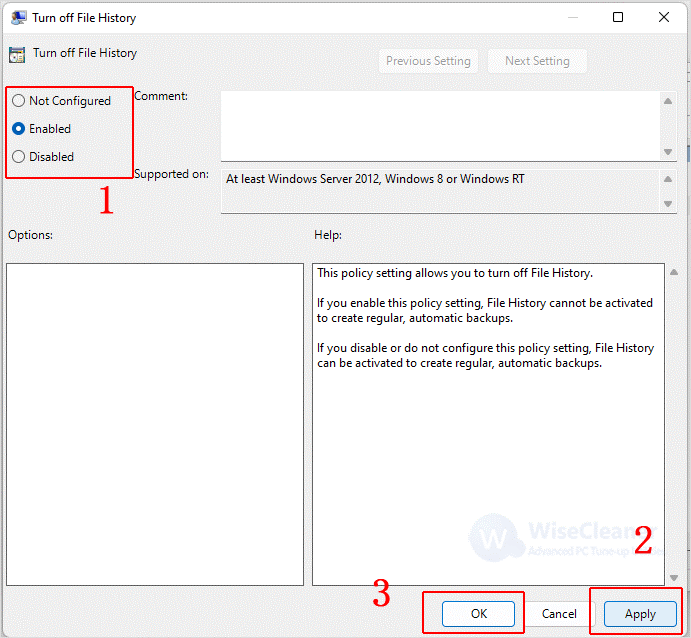
Finally, select the Enable or Disable button according to your own situation. Click the Apply button to save the new policy setting and click OK to close the window.
Here's how to enable or disable File History in Windows 11. Although you rarely need to restore a backup version of a file, it's a good idea to use File History to keep your files at all times, just in case.